Work with glossary
On this page
Glossary can help you in documenting groups of records that meet specific criteria, simplifying the process of cleaning and streaming these groups of records.
In this article, you will learn how to work with the glossary in CluedIn. Glossary consists of terms that are grouped into categories. Each term contains a list of records that correspond to your conditions.
Working with the glossary in CluedIn includes creating categories and creating terms within those categories. You can have multiple terms under one category.
Prerequisites
Before proceeding with the glossary, ensure that you have completed the following tasks:
-
Ingested some data into CluedIn. For more information, see Ingest data.
-
Created a stream that keeps the data synchronized between CluedIn and the Microsoft SQL Server database. For more information, see Stream data.
Create category
Category refers to a logical grouping of terms. For example, you can have a category named Customer, which would contain customer records organized by regions. Each region is a separate term within the category. In other words, a category acts as a folder for terms.
To create a category
-
On the navigation pane, go to Management > Glossary.
-
Depending on whether or not you have created categories before, do one of the following:
-
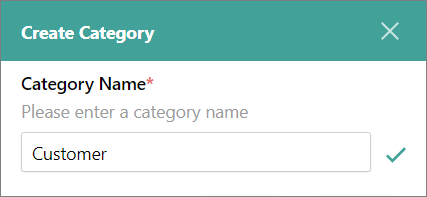
If you haven’t created any categories before, then in the middle of the page, select Create Category.
-
If you already created some categories, then, in the upper-left corner, select Create > Create Category.
-
-
Enter the category name. Then, in the lower-right corner, select Create.
You created the category. Now, you can create a term in the category.
Create term
Term refers to the list of records that meet specific conditions. For example, within the Customer category, you can have a term named North America encompassing customer records where the BusinessRegion vocabulary key is set to North America.
To create a term
-
Select Create Term.
-
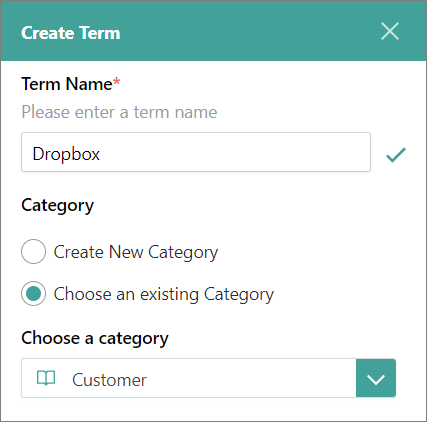
On the Create Term pane, do the following:
-
Enter the term name.
-
In the Category section, leave the Choose an existing Category checkbox selected.
-
Select the category that you created.
-
In the lower-left corner, select Create.
You created the term. Now, proceed to define the records that will be included in this term.
-
-
In the upper-right corner of the term details page, select Edit.
-
On the Configuration tab, in the Conditions section, select Add first rule, and then specify which records will be included in the term:
-
Select the type of property (Property or Vocabulary).
-
Depending on the type of property that you selected, do one of the following:
For Property, find and select the needed property.
For Vocabulary, find and select the needed vocabulary key.
-
Select the operation.
-
Select the value of the property.

The fields for configuring a filter appear one by one. After you complete the previous field, the next field appears.
-
-
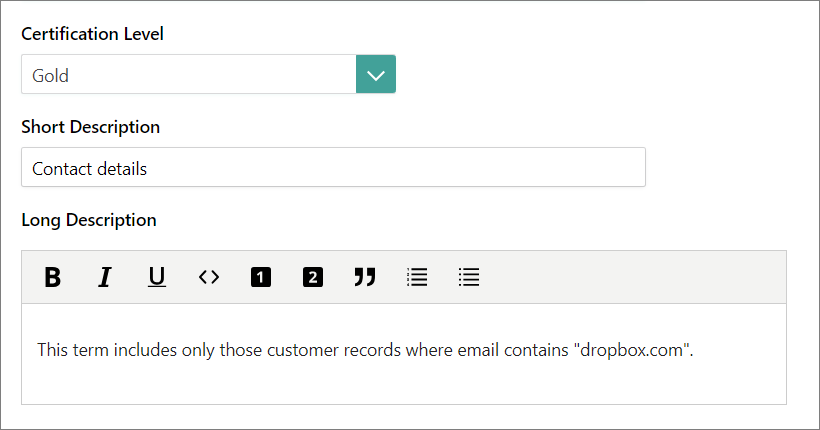
(Optional) Specify additional details about the term:
-
In the Certification Level dropdown list, select the quality level of the records.
-
Enter the Short Description and Long Description of the term.
-
-
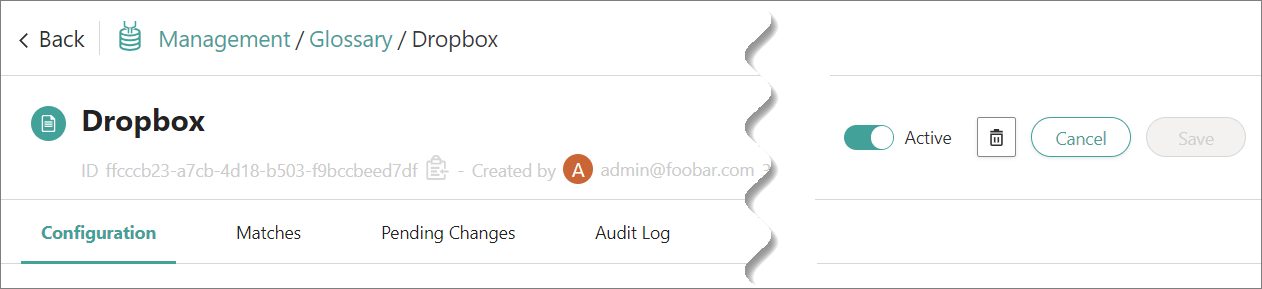
In the upper-right corner of the term details page, select Save.
-
Go to the Matches tab to view the records that meet the condition that you set up.
By default, all records are displayed in the following columns: Name, Entity Type, and Description. To add more columns to the table, see step 3 of Find data.
-
Activate the term by turning on the toggle next to the term status.
You created the term and defined the records that are included in this term.
Now, you can clean the glossary term and stream it to a Microsoft SQL Server database. As an example, update the configuration of the stream that you created in the Stream data guide.
Manage glossary
You can do the following actions with the terms in the glossary:
-
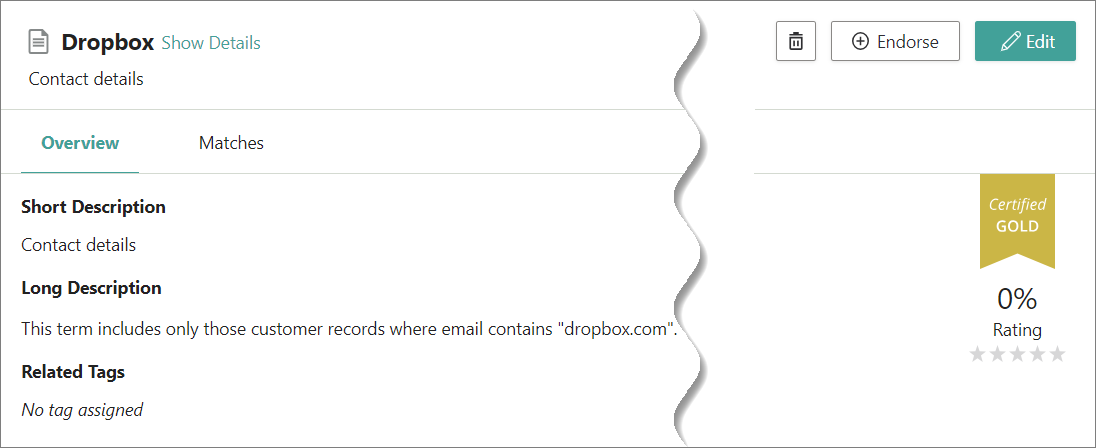
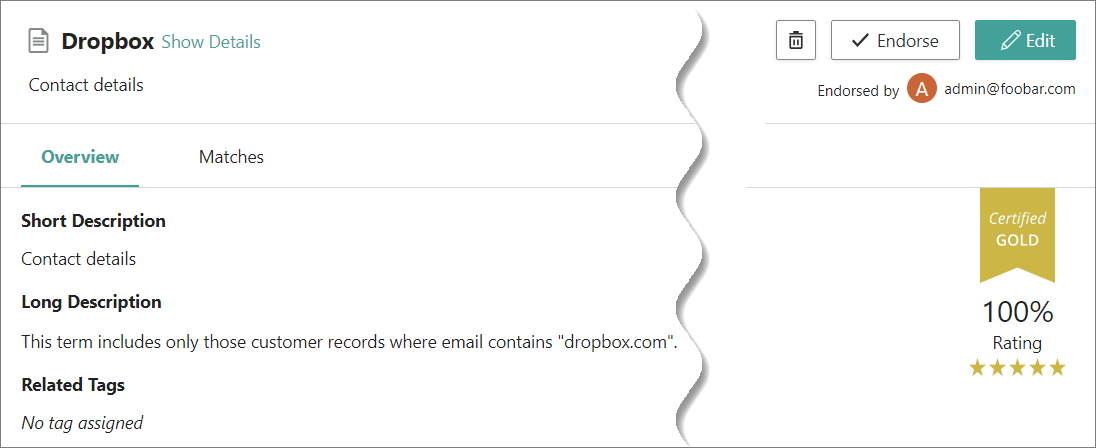
Endorse the term when you are confident that the records are of good quality, signaling to other users that the term is reliable for their use. To do that, in the upper-right corner of the term page, select Endorse.
-
Rate the term, enabling other users to view that it is reliable for their use.
Update stream configuration
Streaming the glossary terms to the database is more convenient than streaming specific records based on filters. You only need to specify the name of the glossary term, rather than setting filters for properties or vocabulary values.
To update the stream
-
On the navigation pane, go to Consume > Streams.
-
Open the needed stream.
-
On the Configuration page, in the Filters section, delete the existing filter.
-
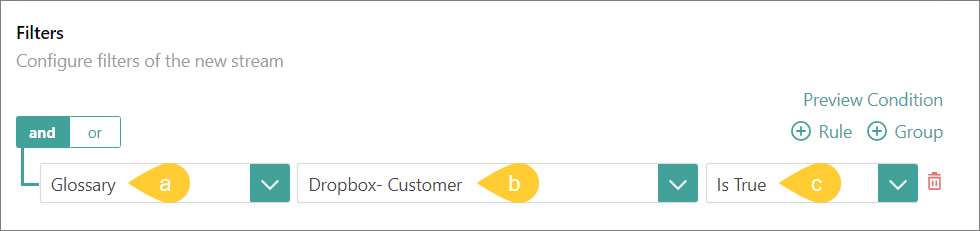
Select Add First Filter, and then specify the glossary term that you created:
-
In the Select Property Type dropdown list, select Glossary.
-
In the All Glossary dropdown list, select the glossary term that you created.
-
In the Choose Operation dropdown list, select Is True.
-
-
In the upper-right corner select Save. Then, confirm that you want to save your changes.
The stream is updated with the new filter. As a result, the database table now contains the records from the glossary term.
If you update the glossary term, the records will be automatically updated in the database.
Results
You created a glossary term in CluedIn.