

Assign or remove roles
how-to Steps to accomplish one task
On this page
In this article, you will learn how to assign and remove roles for users to manage their access to features within CluedIn.
Assign roles
After you add a user to CluedIn, you can give the user access to more features within the platform by adding other roles to the user.
You can assign roles to the users in two places within the platform:
-
Administration > User Management > Users – this option is useful when you want to assign multiple roles to one user.
-
Administration > Roles – this option is useful when you want to assign one role to multiple users.
The following diagram shows the flow of assigning roles to users.
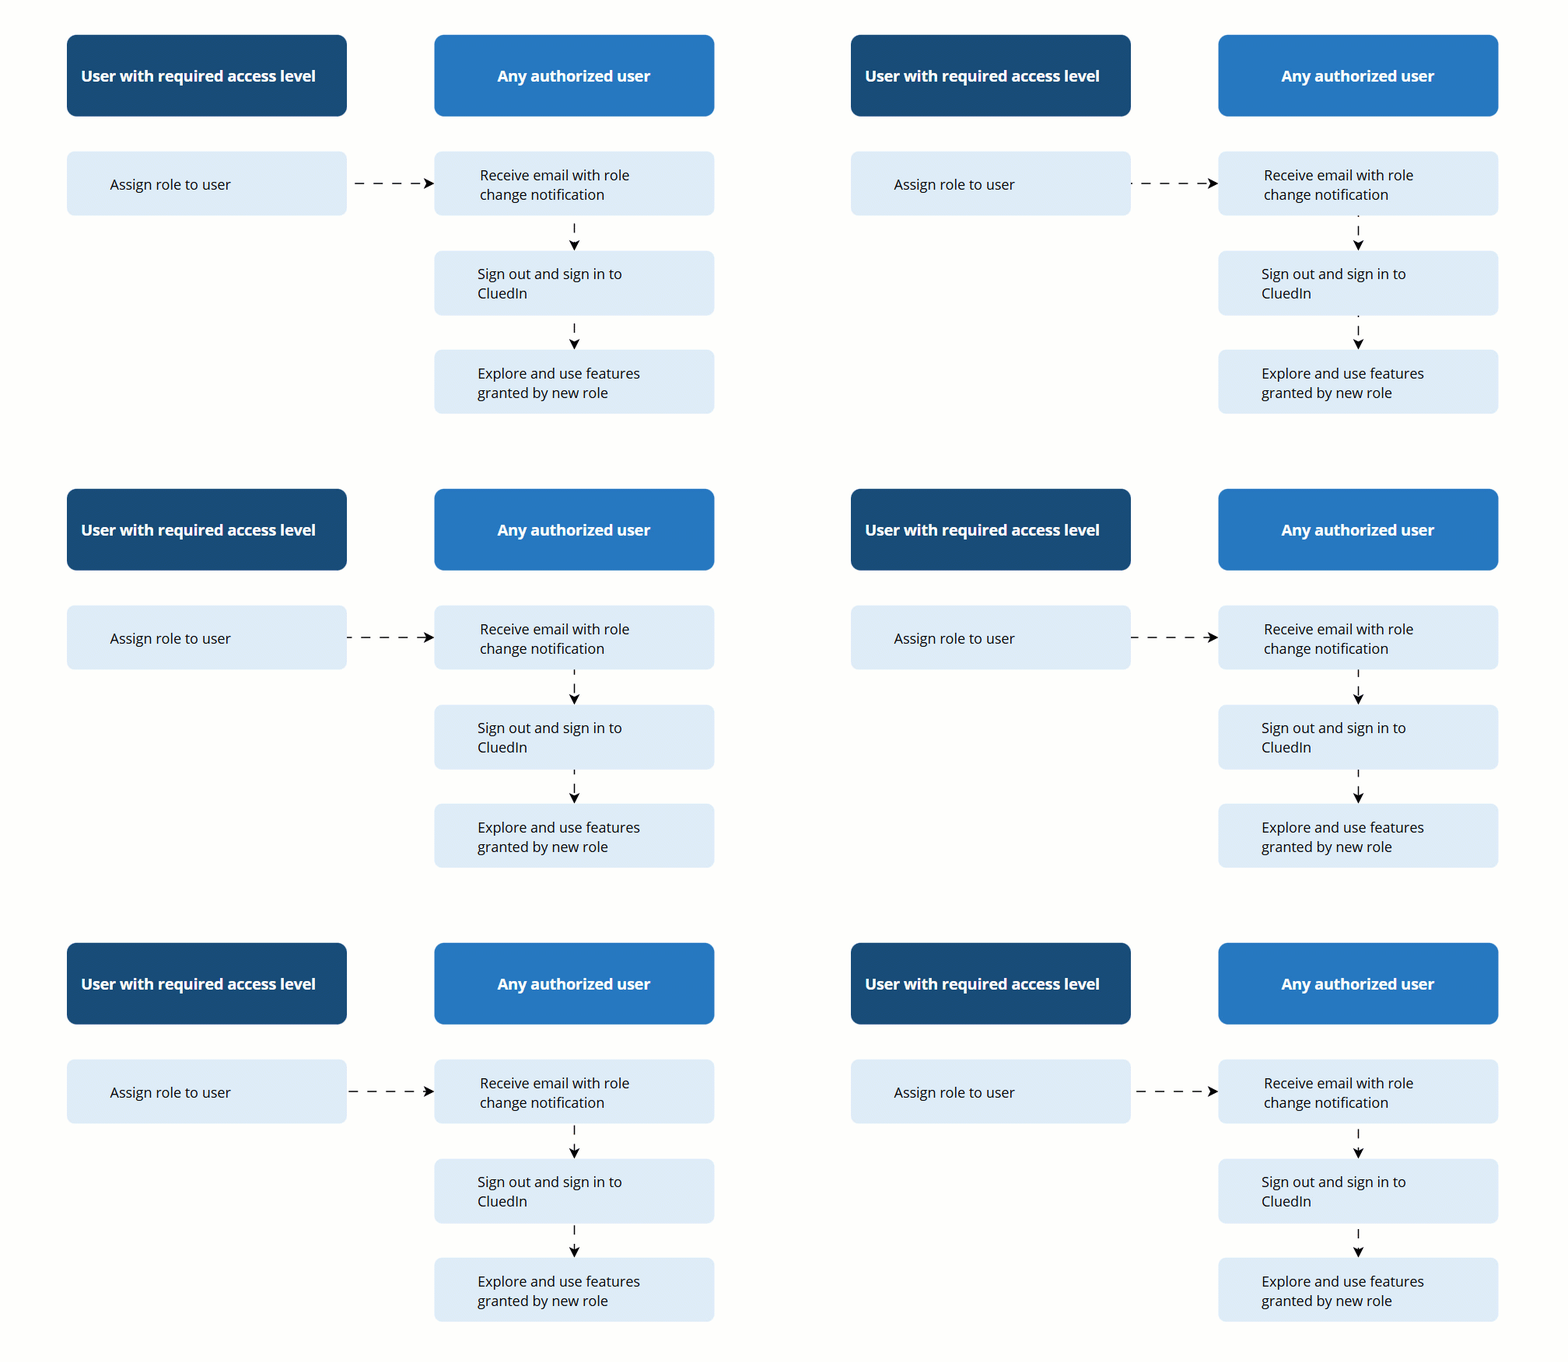
Assign roles in Users
You can review the roles that are already assigned to the user and assign other roles in the Users section.
To assign roles to a user in the Users section
-
On the navigation pane, go to Administration > User Management. Then, select Users.
-
On the All users page, select the user to whom you want to assign the role. Then, go to the Roles tab.
-
Select Add role to user.
-
On the Add role to user pane, select the roles that you want to assign to the user. In the upper-right corner, select Add Roles, and then confirm that you want to assign the role to the user.
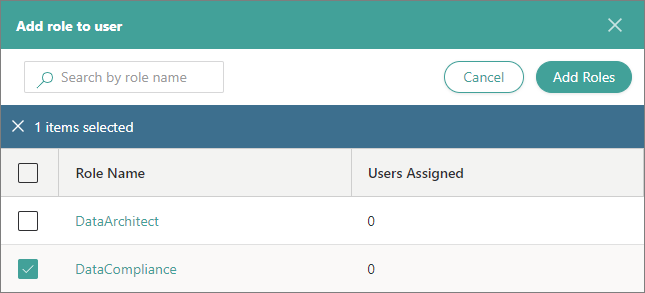
A new role is assigned to the user and it is displayed on the Roles tab of the User Details page.
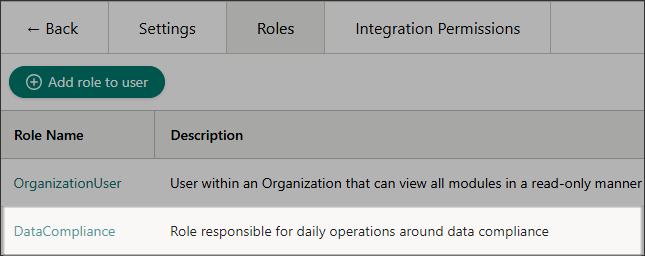
The user will receive an email about the role changes. For the changes to take effect, the user has to sign out and sign in again.
Assign roles in Roles
You can review the users who have been already added to the role and add other users in the Roles section.
To assign roles to a user in the Roles section
-
On the navigation pane, go to Administration > Roles.
-
Select the role that you want to assign to the user. Then, go to the Users tab. Here, you can view the users who have been added to the role.
-
Select Add users.
-
On the Select users to add pane, find and select the users that you want to add to the role. In the upper-right corner, select Add users, and then confirm that you want to add the users to the role.
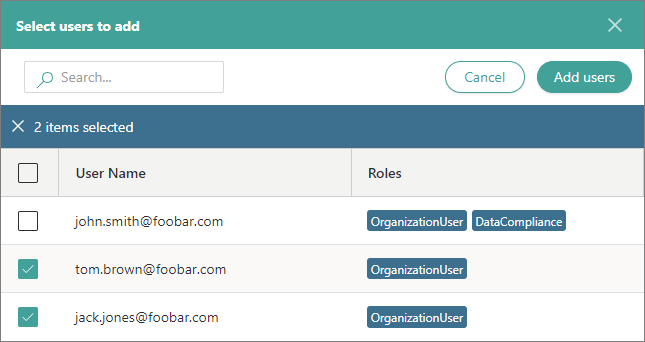
The users are added to the role and they are displayed on the Users tab of the role.
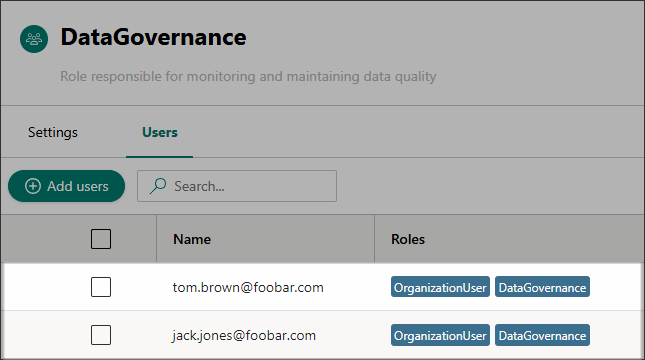
The users will receive an email about the role changes. For the changes to take effect, the users have to sign out and sign in again.
Remove roles
The following diagram shows the flow of removing roles from users.
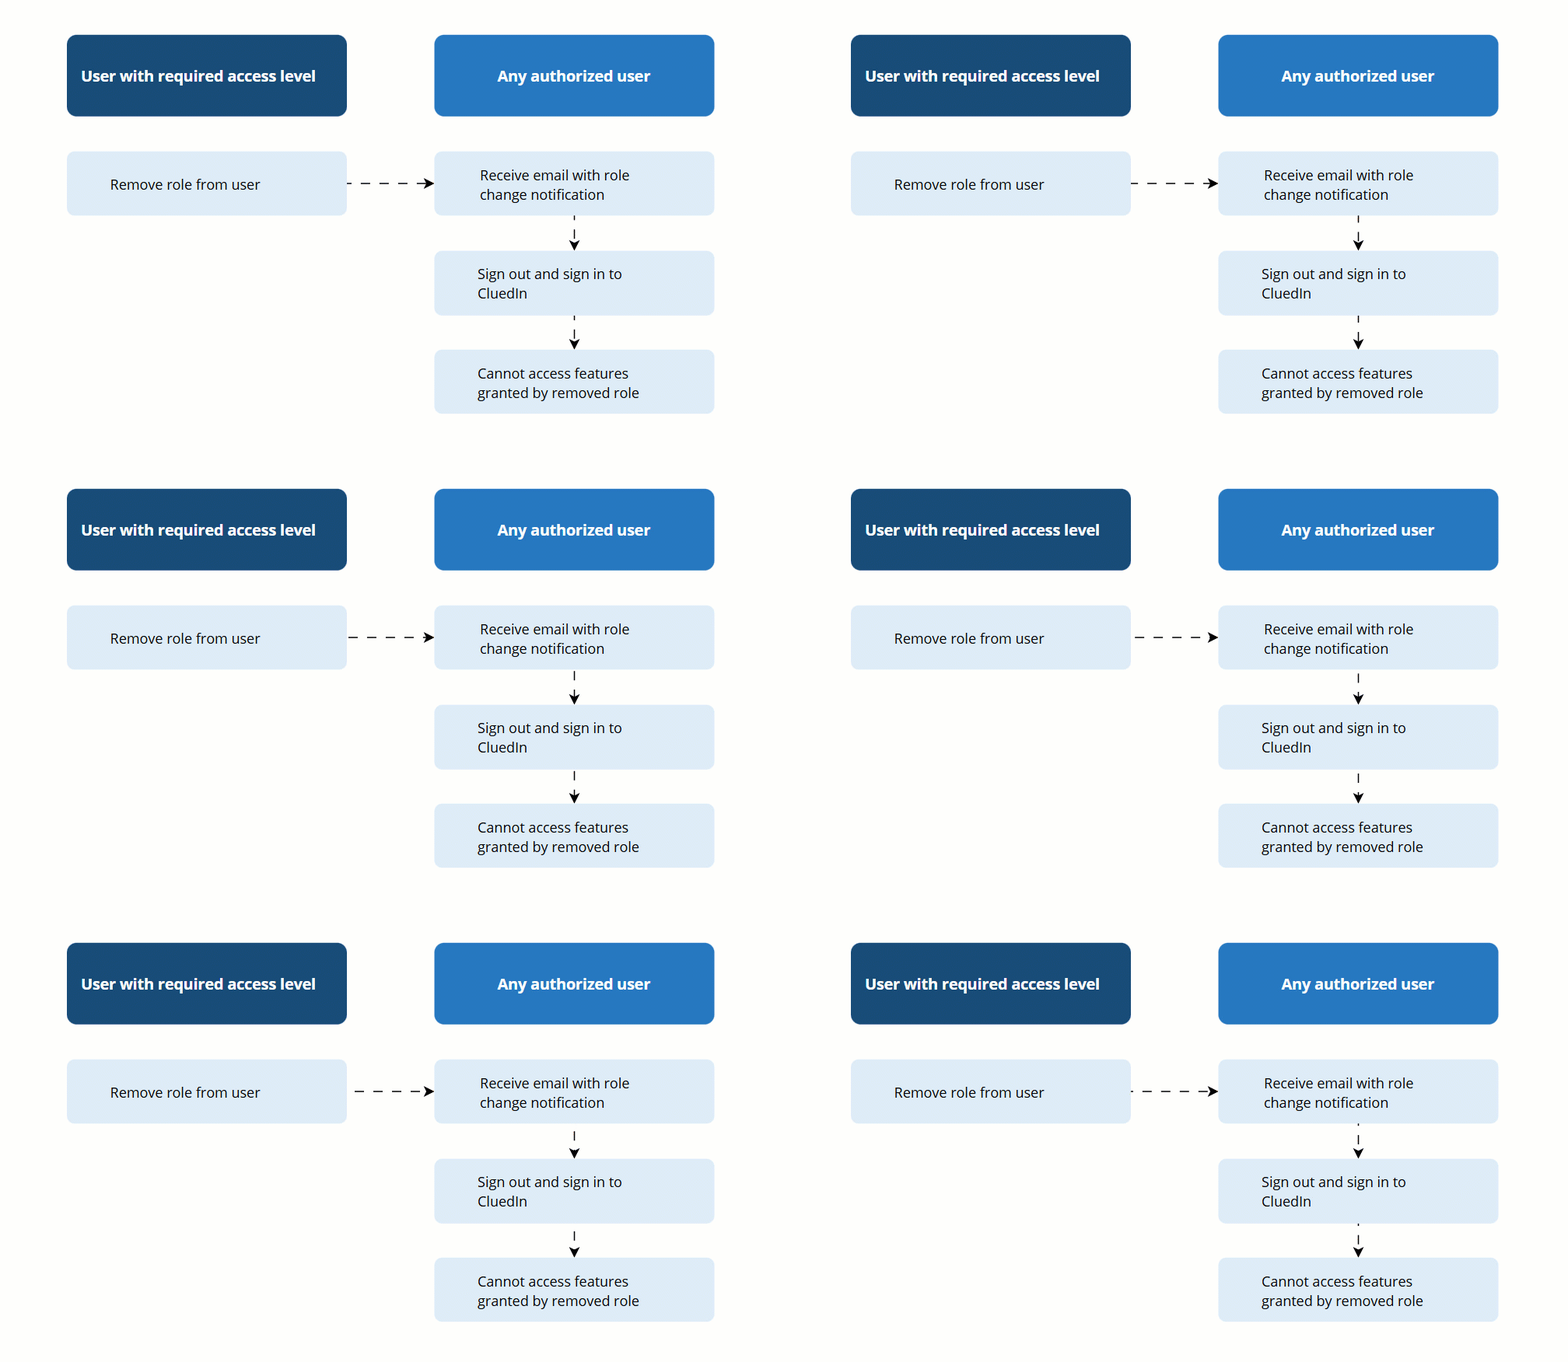
To remove roles from a user
-
On the navigation pane, go to Administration > Roles. Then, select the needed role.
Alternatively, you can go to Administration > User Management > Users. Select a user, go to the Roles tab, and then select the role that you want to remove from the user.
-
Go to the Users tab.
-
Select the checkbox next to the user whom you want to remove from the role.
-
Select Remove from role, and then confirm your choice.
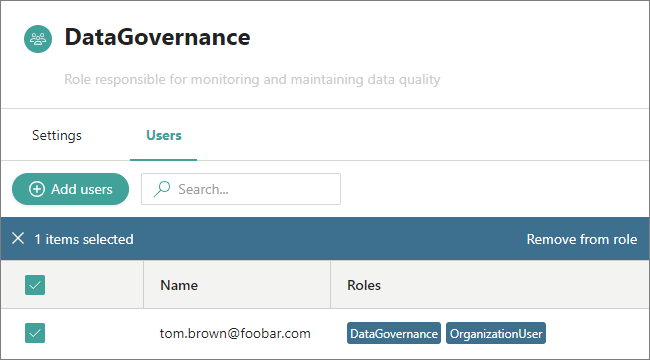
The role is removed from the user. The user will receive an email about the role changes. For the changes to take the effect, the users have to sign out and sign in again.