

Process role requests
how-to Steps to accomplish one task
In this article, you will learn how to process the role requests you receive from users to grant them the access they need.
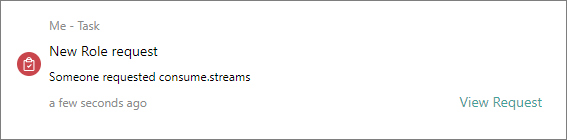
When users are browsing CluedIn and find that they do not have access to certain sections or modules, they can send a request to get access. When this happens, you’ll receive a new role request notification.
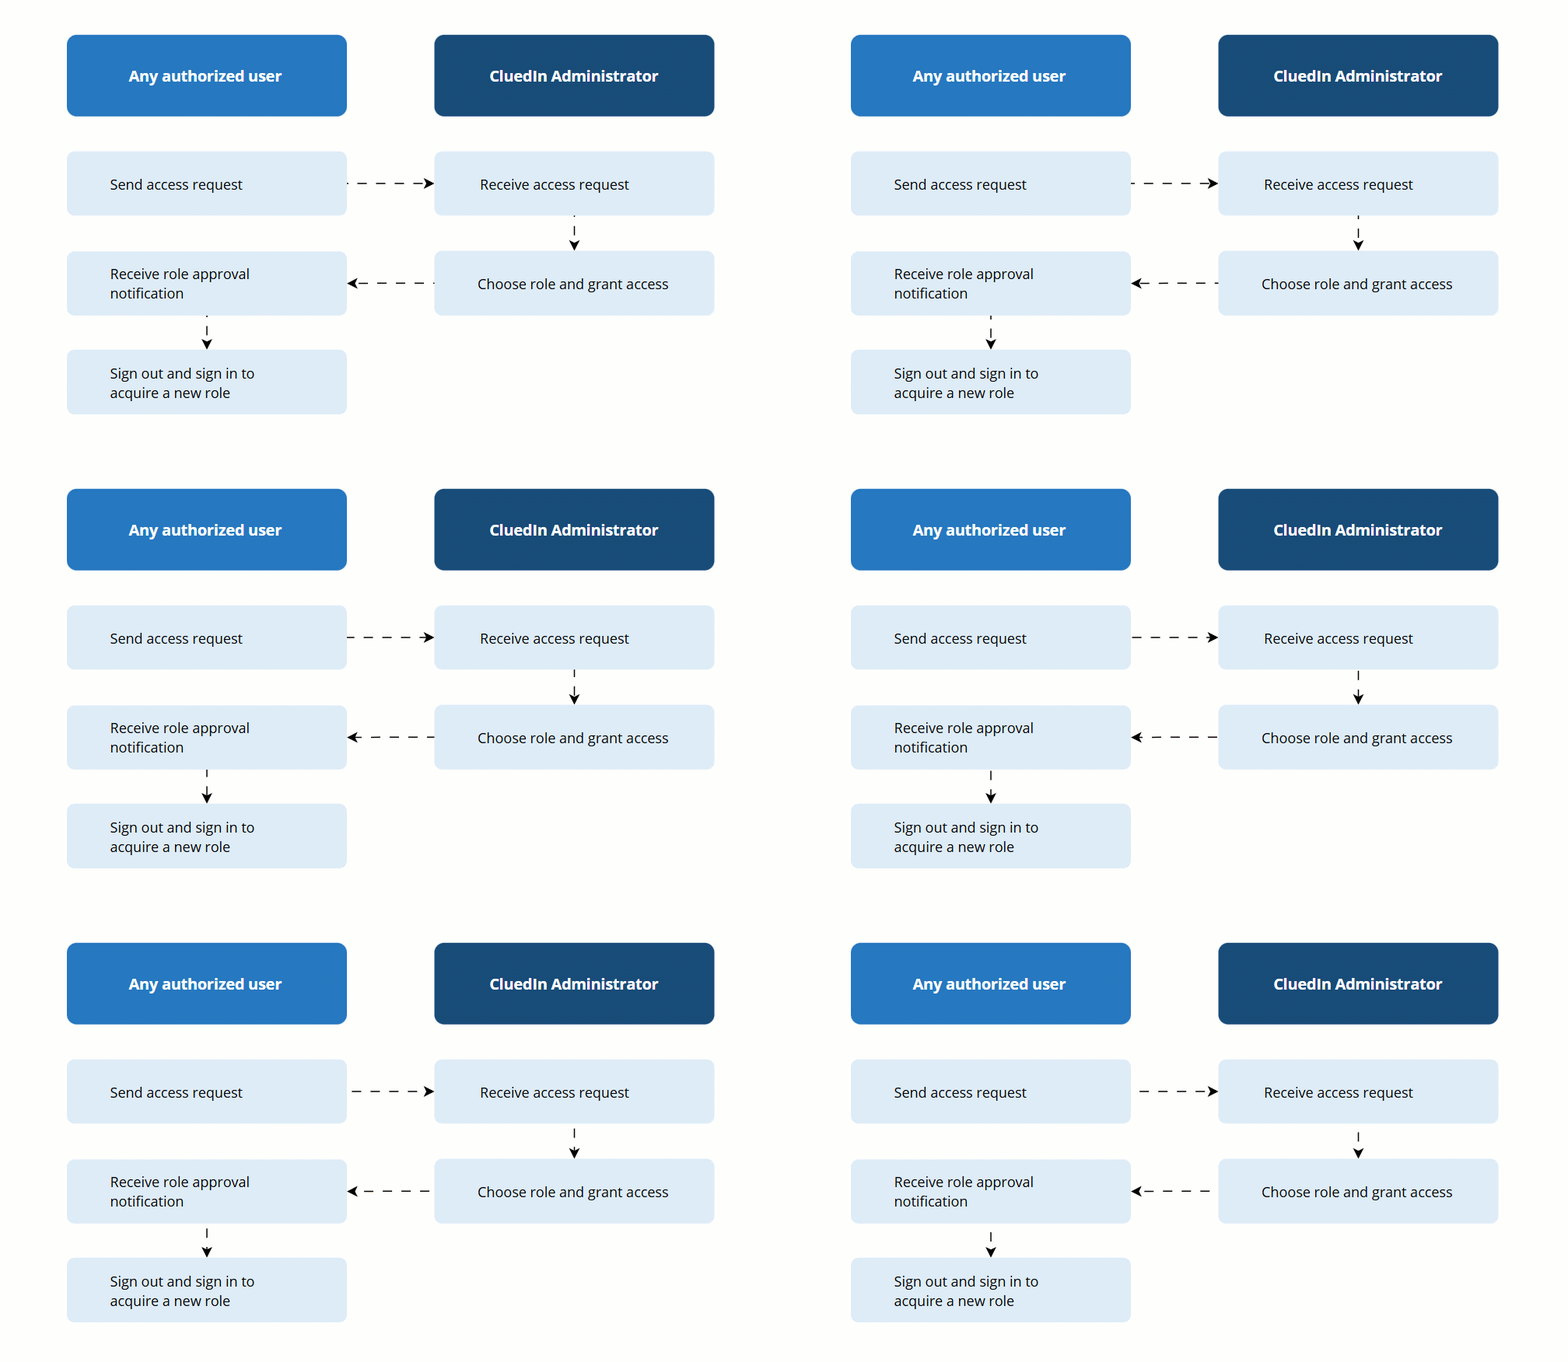
The following diagram shows the flow of processing role requests.
To process a role request
-
In the upper-right corner, select the ellipsis button, and then select My Tasks.
-
Select Role Requests, and then find the needed request.
-
In the Actions column, select Grant Access.
The dialog opens where you can view the details of the access request.
-
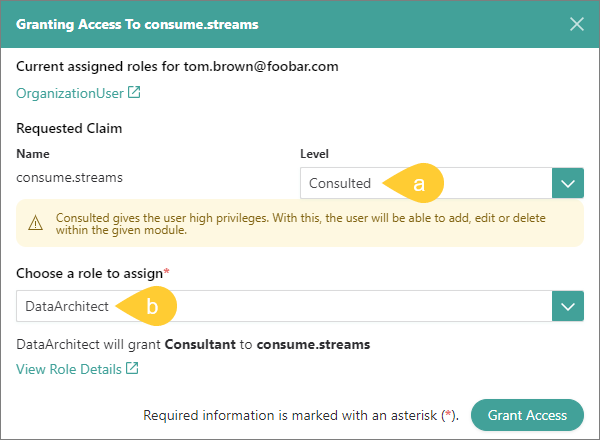
In the Granting Access To dialog box, do the following:
-
Review the access level and select another level if necessary.
The information message below the selected access level helps you understand the permissions that will be granted to the user.
-
Select a role to assign to the user.
-
In the lower-right corner, select Grant Access.
The user will receive a notification about the role changes. For the changes to take effect, the user has to sign out and sign in again.
-