
Sync data products
how-to Steps to accomplish one task
On this page
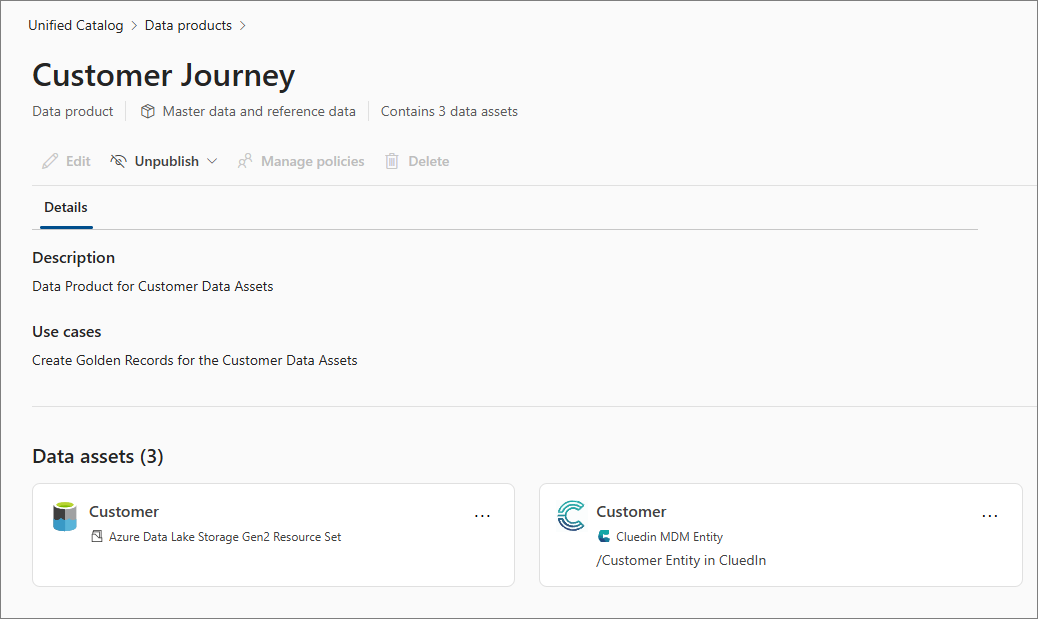
In this article, you will learn how to sync Purview data products and data assets into CluedIn data sources. This feature works only if Azure Data Factory (ADF) automation is enabled and configured. For more information, see Azure Data Factory pipeline automation.
Preparation
To sync Purview data products and data assets into CluedIn data sources, complete 2 preparation steps:
-
Prepare a data product in Purview – create a governance domain and a glossary term to act a filter for the data products you want to sync, create a data product and add data assets and a glossary term to it, publish the prepared resources, and finally assign the appropriate roles to Purview service principal in the governance domain.
-
Configure settings in CluedIn – enable the sync data products feature in Purview settings and provide the glossary term to identify the data products for syncing.
Preparation in Purview
To create a governance domain
-
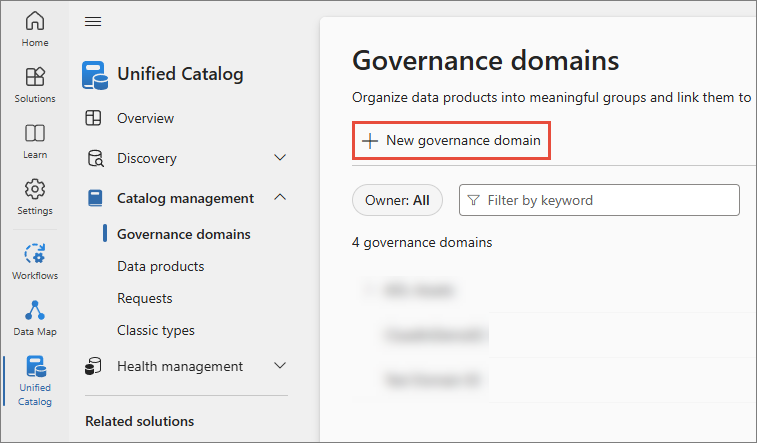
In the Microsoft Purview portal, navigate to Unified Catalog > Catalog management > Governance domain.
-
Select new governance domain.
-
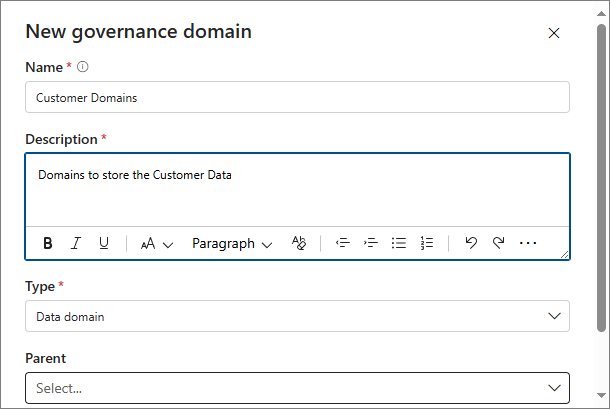
Enter the Name of the governance domain.
-
Enter the Description of the governance domain.
-
Select the Type of the governance domain.
-
Select Save.
The governance domain should have a dedicated glossary term that acts as a filter for the data products you want to sync.
To create a glossary term for a governance domain
-
On the governance domain details page, in the glossary terms card, select View all.
-
Select New term.
-
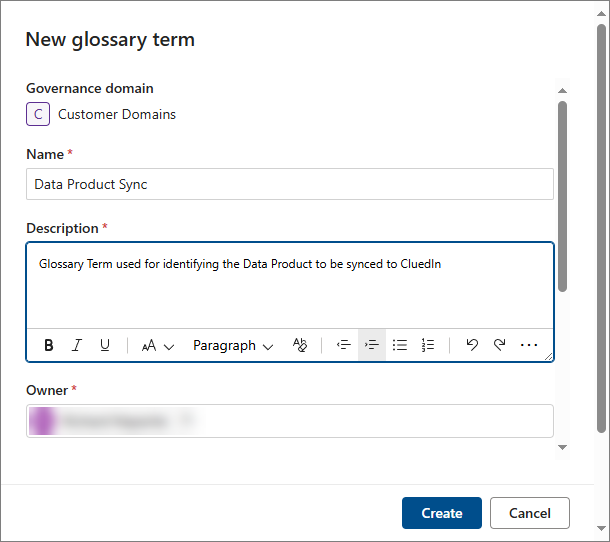
Enter the Name and Description of the term.
-
Select Create.
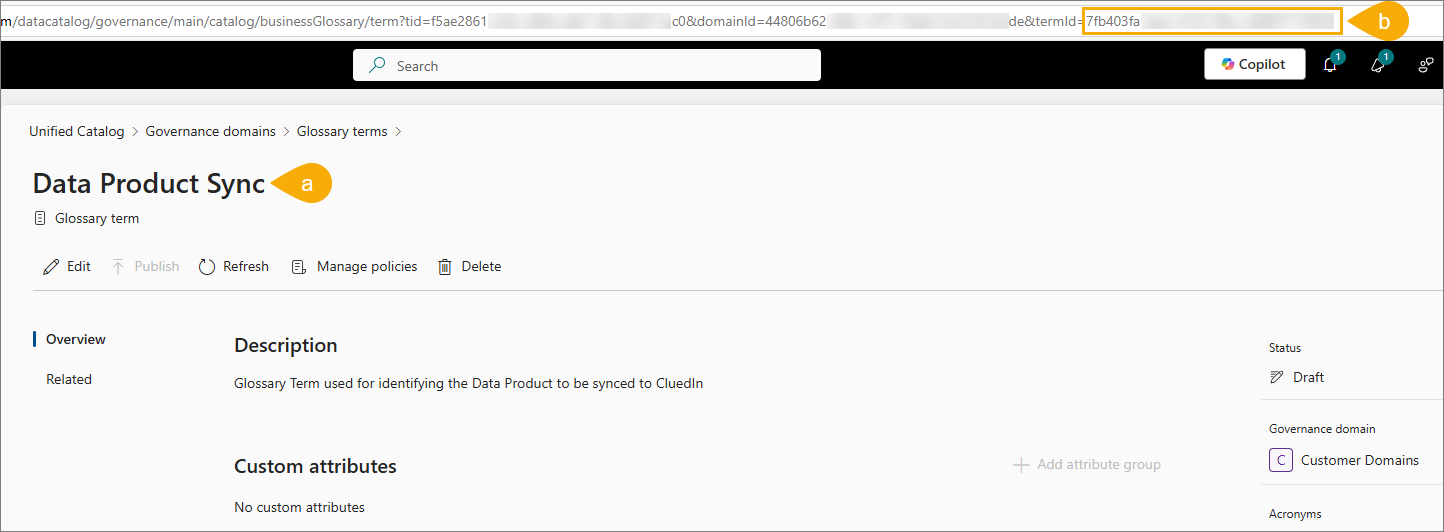
When the glossary term is created, note two methods for obtaining its identification:
-
The name of the glossary term.
-
The ID of the glossary term, which can be found in the URL.
To create data products
-
On the governance domain details page, in the data products card, select Go to data products.
-
Select New data product.
-
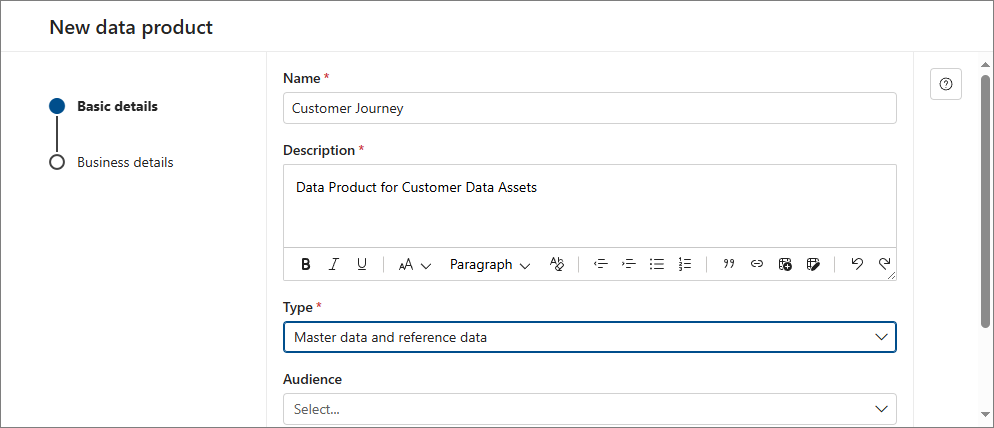
Enter the Name and Description of the data product.
-
In Type, select Master data and reference data.
-
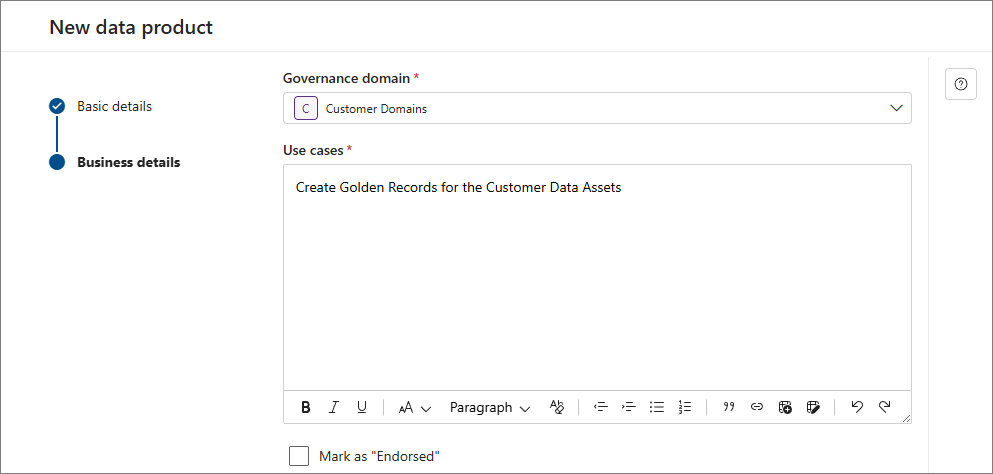
Select Next.
-
Enter the Use cases for the data product.
-
In Next steps, select Add data assets.
-
Select Done.
To add data assets to the data product
-
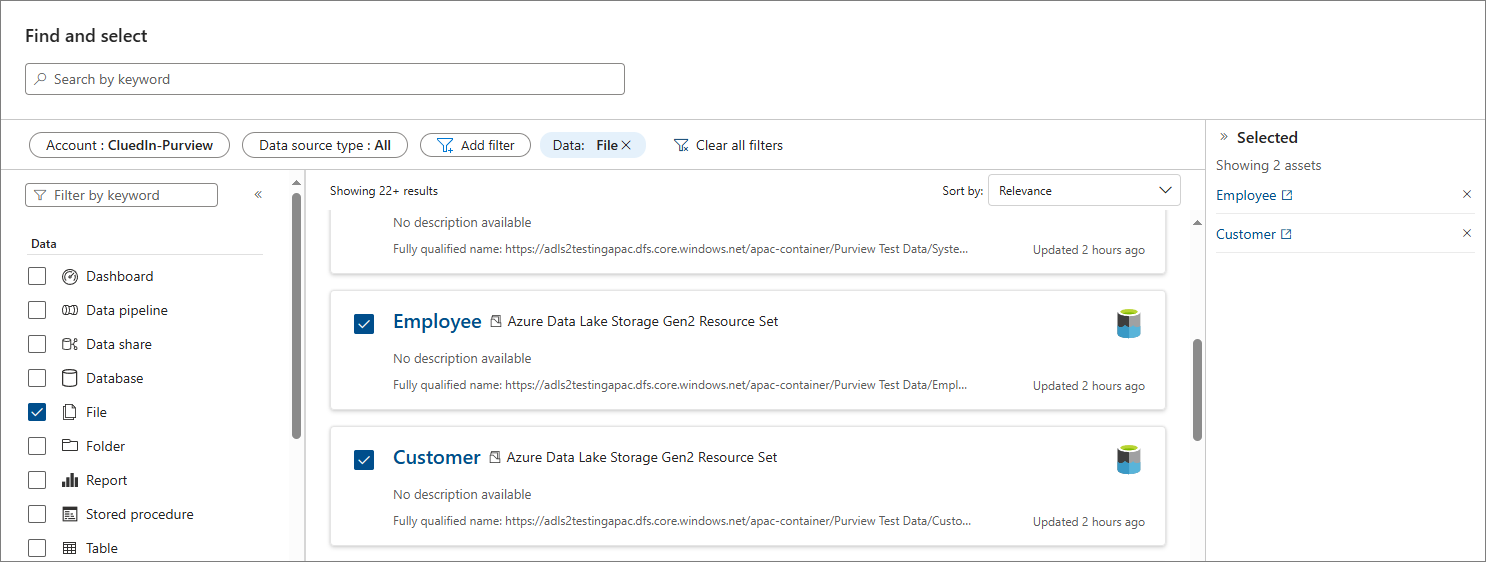
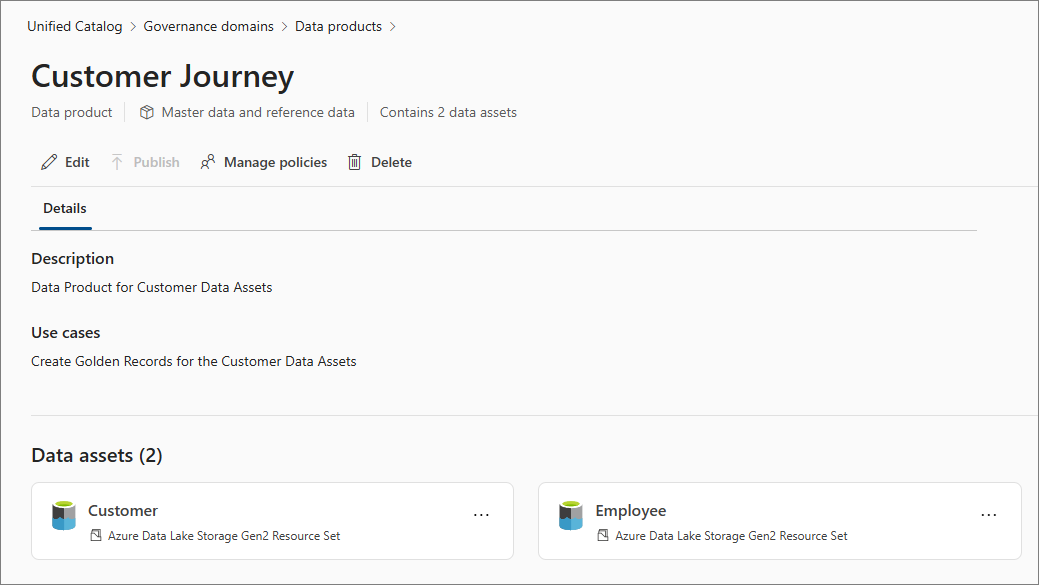
On the data product details page, expand the Add data assets dropdown list, and then select Find and select.
-
Find and select the data asset that you want to add to the data product.
-
Select Add.
As a result, the data assets are added to the data product.
To add a glossary term to the data product
-
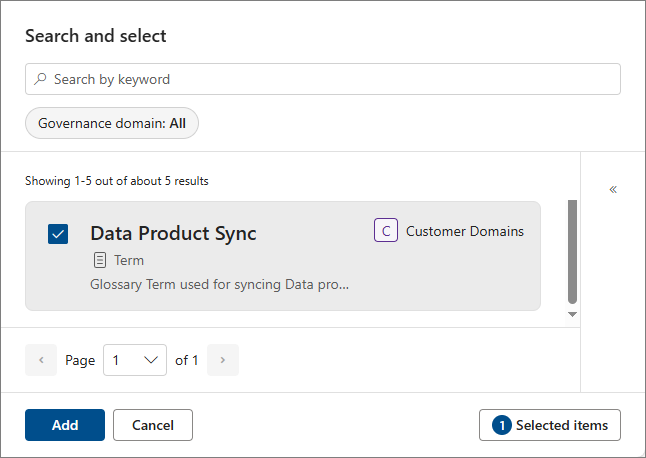
On the data product details page, in the Glossary terms section, select Add.
-
Find and select the glossary term that you want to add to the data product.
-
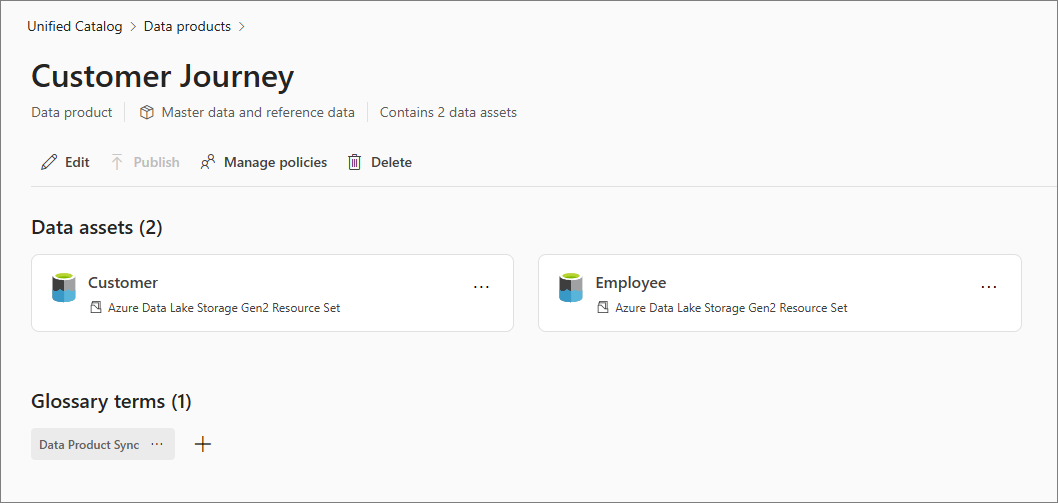
Select Add.
As a result, the glossary term is added to the data product.
To publish a governance domain
-
On the governance domain details page, select Publish.
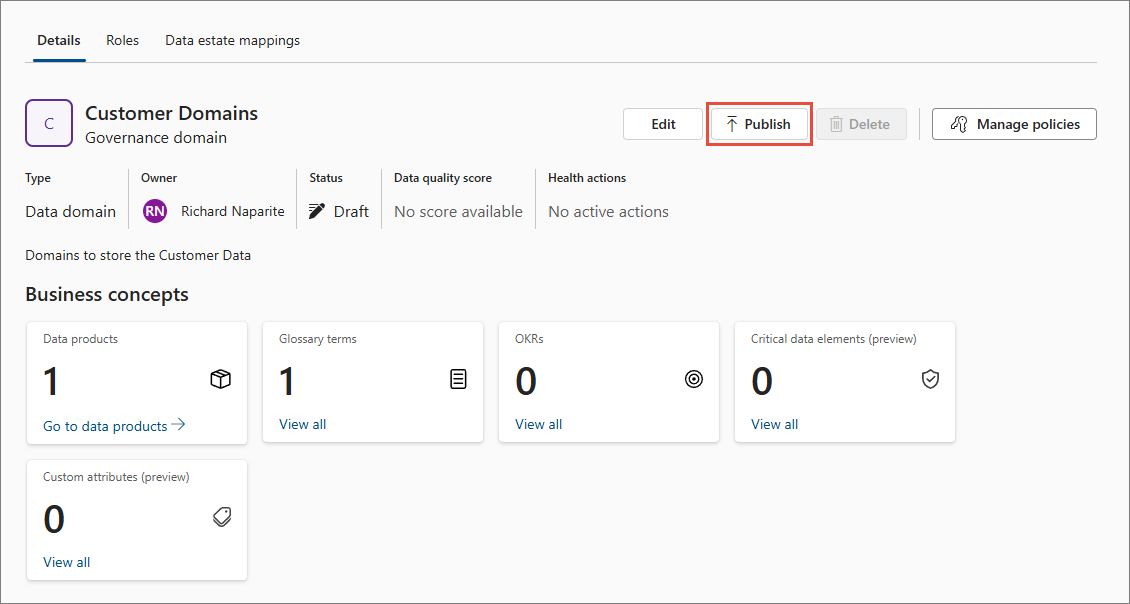
After successful publishing, the status of the governance domain changes to Successful.
To publish a glossary term
-
On the governance domain details page, in the glossary terms card, select View all.
-
Select the glossary term that you created before.
-
On the glossary term detail page, select Publish.
To publish a data product
-
On the governance domain details page, in the data products card, select Go to data products.
-
Select the data product that you created before.
-
On the data product detail page, select Publish.
To assign roles to service principal
-
On the governance domain details page, go to the Roles tab.
-
Find the Data Catalog Reader role, and then select the icon next to the role name.
-
Find and select the Purview service principal.
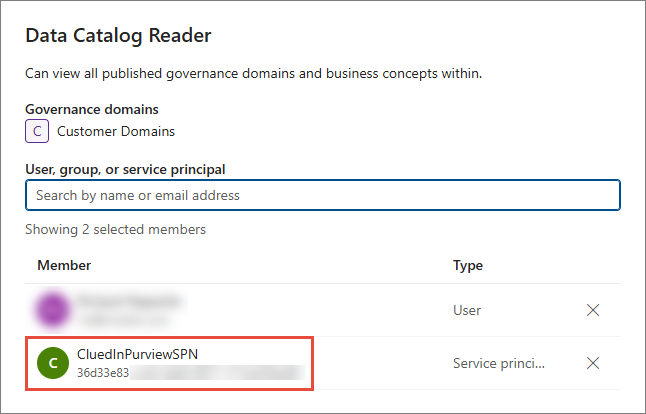
-
Select Save.
-
Find the Data Product Owners role, and then select the icon next to the role name.
-
Find and select the Purview service principal.
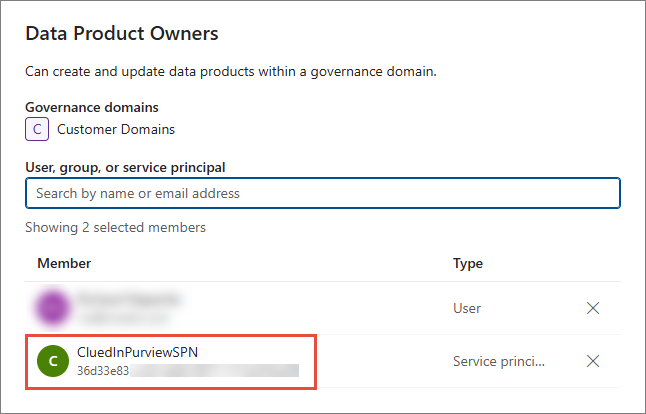
-
Select Save.
Preparation in CluedIn
-
In CluedIn, go to Administration > Settings, and then scroll down to find the Purview section.
-
Turn on the toggle in Sync Data Products DataSources.
-
In Sync Data Products Term Pattern, enter the identification of the glossary term that is associated with the governance domain that you want to sync.
-
If you want to automatically add the asset that has been already synced to CluedIn to the list of data assets of a specific data product, turn on the toggle in Append Asset to Data Product.
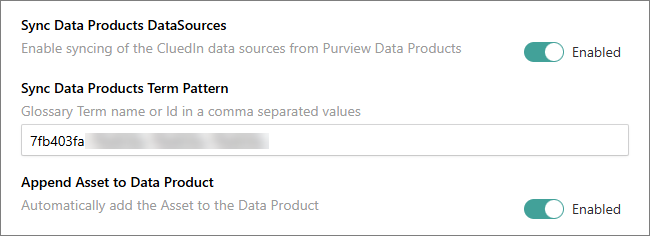
-
Select Save.
Once you save the changes, synchronization begins.
Feature overview
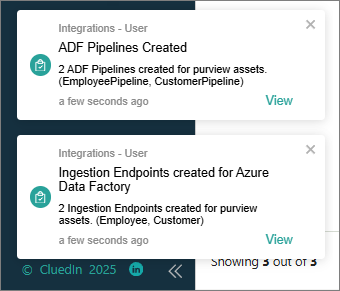
Once you enable synchronization of data products, you will receive a notification when the data product is synced.
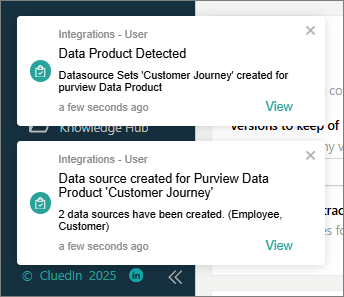
Additionally, you will receive notifications about the execution of ADF automation pipelines, which create ingestion endpoints in CluedIn and ingest the data from data assets.
How to check the ingested data in CluedIn?
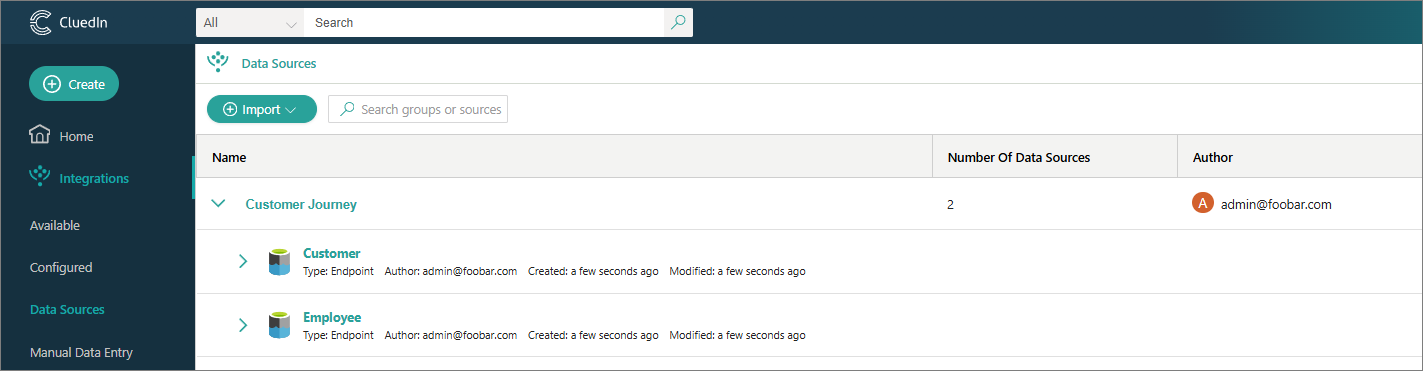
As a result of pipeline run, a new data source group is created in CluedIn. The data source group corresponds to Purview data product, and the data sources within the group correspond to data assets within the data product.
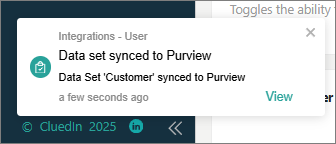
After you create the mapping and process the data set, it will be synced to Purview.
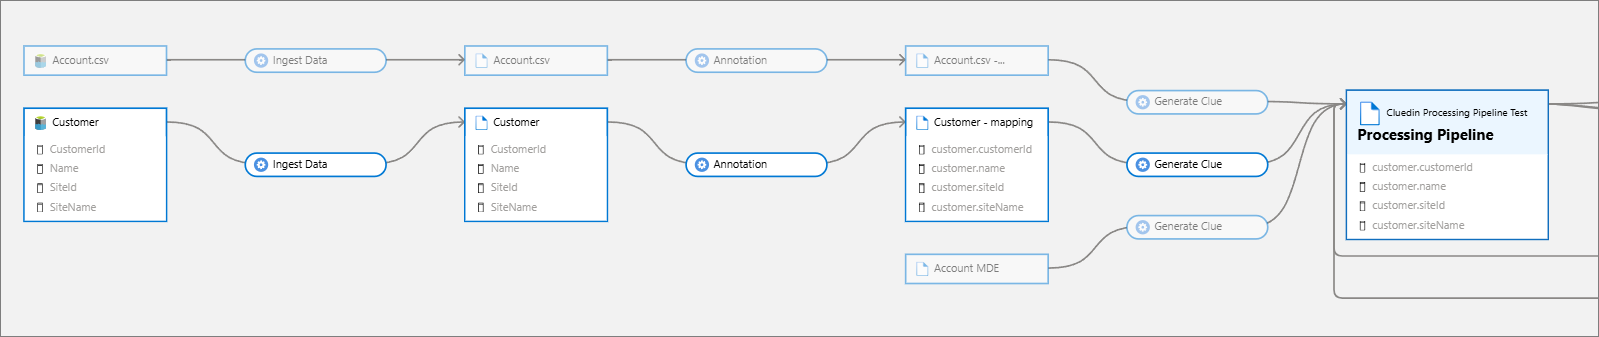
As a result, you can view a visual representation of an asset within the CluedIn processing pipeline.
Since we enabled Append Asset to Data Product, a new asset is created in the data product to represent the entity type that was created in CluedIn.