


Private SaaS - Azure Market Place
how-to Steps to accomplish one task
On this page
- TOC
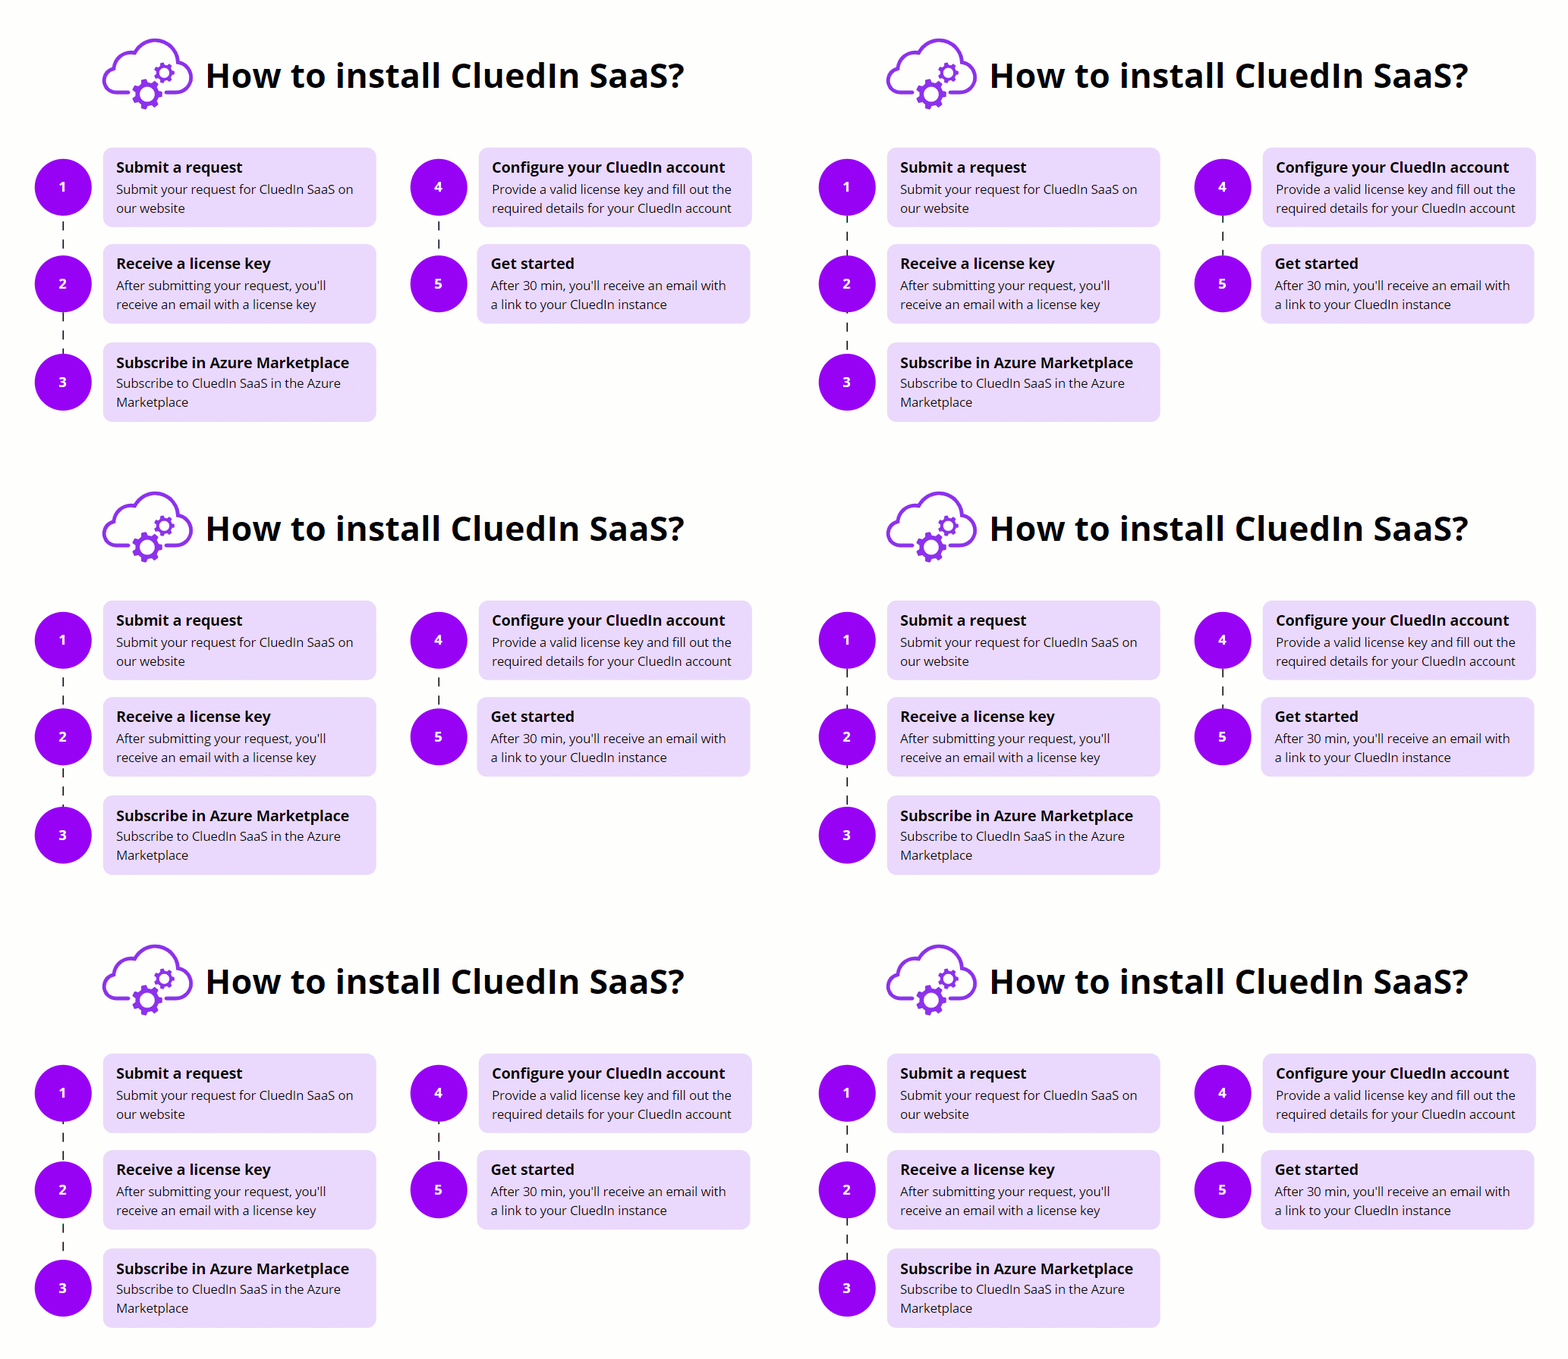
In this article, you will learn how to subscribe to CluedIn Private SaaS (via Azure Azure Marketplace) in the Azure portal and how to configure your CluedIn account.
CluedIn team performs installation activities on all business days except Friday. Deploying on a Friday carries higher risk because issues may not surface immediately and can escalate into weekend incidents with fewer people available to respond. As a best practice, it is recommended to schedule installations earlier in the week (Tuesday–Thursday) to allow time for monitoring, troubleshooting, and stabilization.
Submit a request and receive a license key
CluedIn Private SaaS (via Azure Azure Marketplace) is currently available by invitation only. You can request an invitation here.
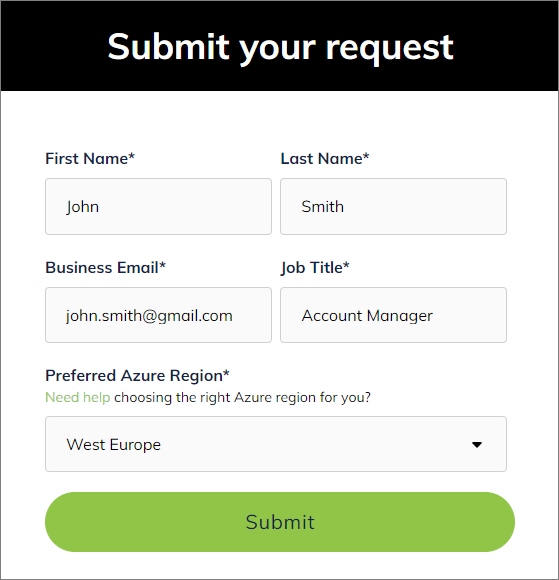
After you submit an application, you’ll receive an email with the license key needed to complete the Private SaaS installation process.
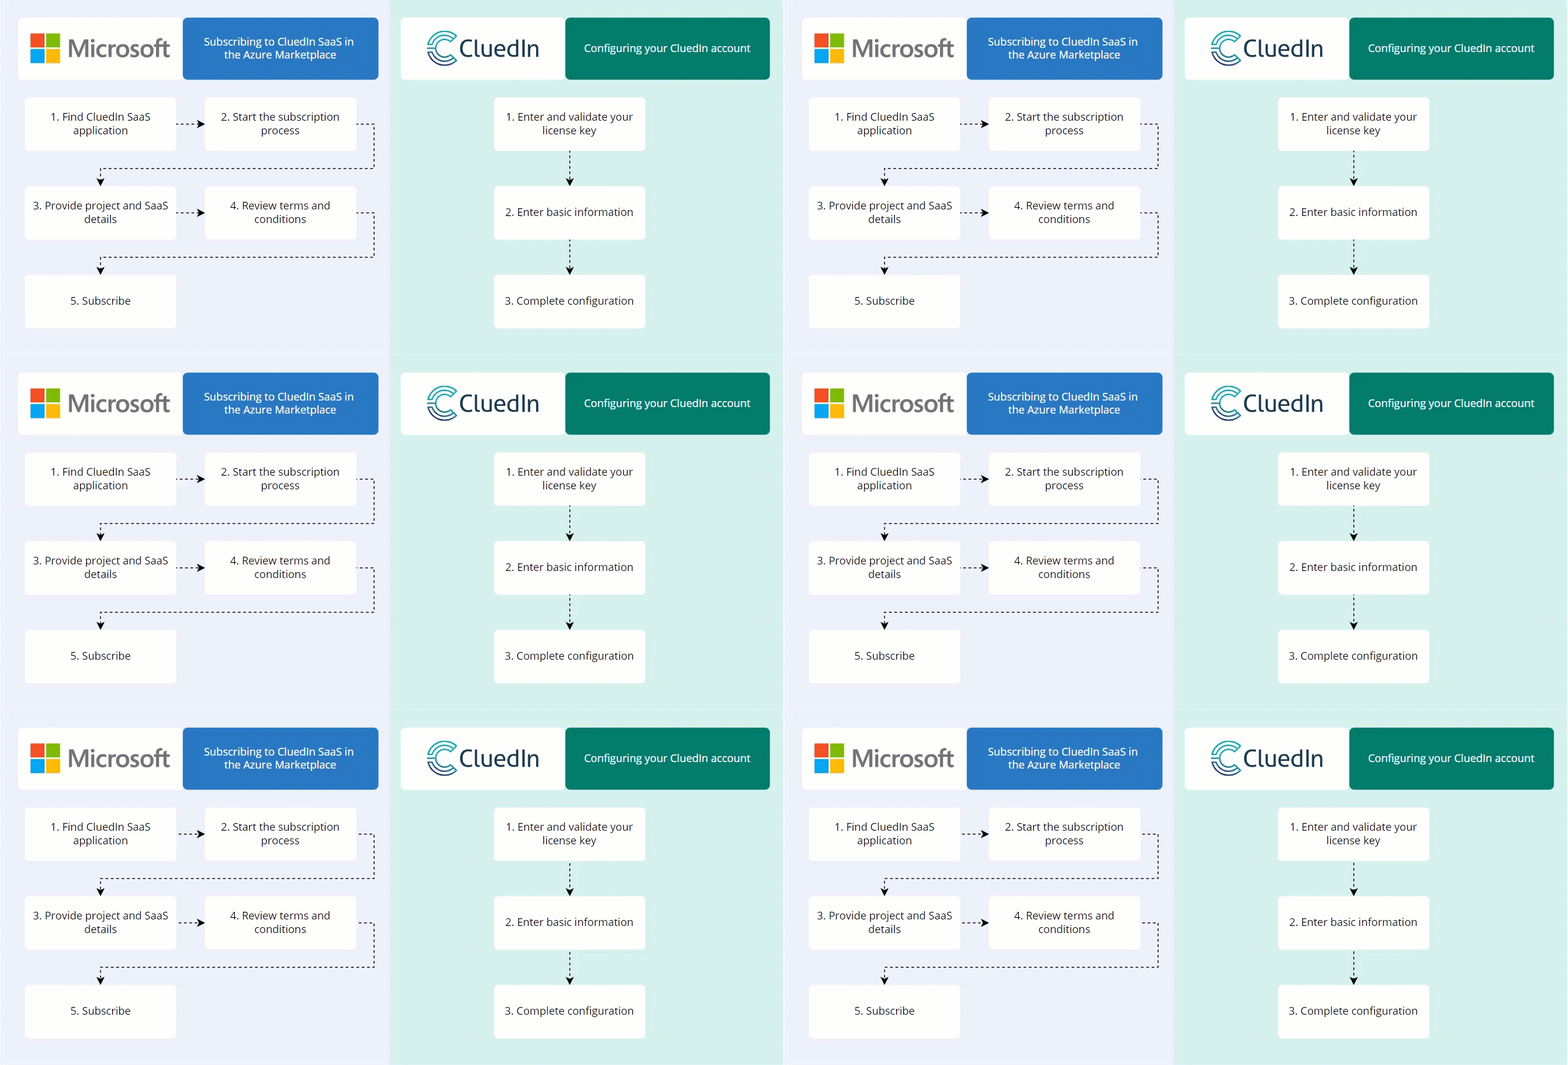
The CluedIn Private SaaS (via Azure Azure Marketplace) installation process consists of 2 parts:
-
Subscribing to CluedIn Private SaaS (via Azure Azure Marketplace). All details provided in this step are required by Microsoft.
-
Configuring an account with CluedIn. All details provided in this step are required by CluedIn.
Subscribe to CluedIn Private SaaS (via Azure Azure Marketplace)
Before you start the CluedIn Private SaaS (via Azure Azure Marketplace) installation process, make sure you meet all Azure requirements.
Make sure that you have enabled marketplace purchases and configured the required user permissions (at least Contributor) for the subscription where you want to store the CluedIn SaaS application. For more information, see Enable marketplace purchases in Azure.
To subscribe to CluedIn Private SaaS (via Azure Azure Marketplace)
-
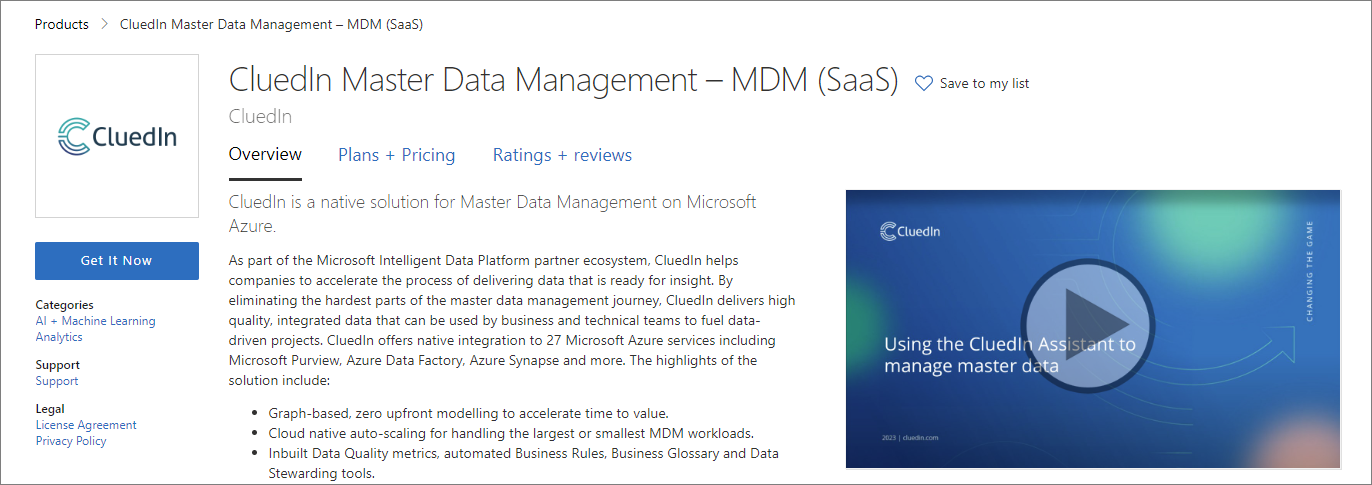
In the Azure Marketplace, find CluedIn Master Data Management – MDM (SaaS).
-
On the CluedIn Master Data Management Private SaaS page, select Get It Now.
-
On the page that opens, review basic information about CluedIn Private SaaS (via Azure Azure Marketplace). Then, select Subscribe.
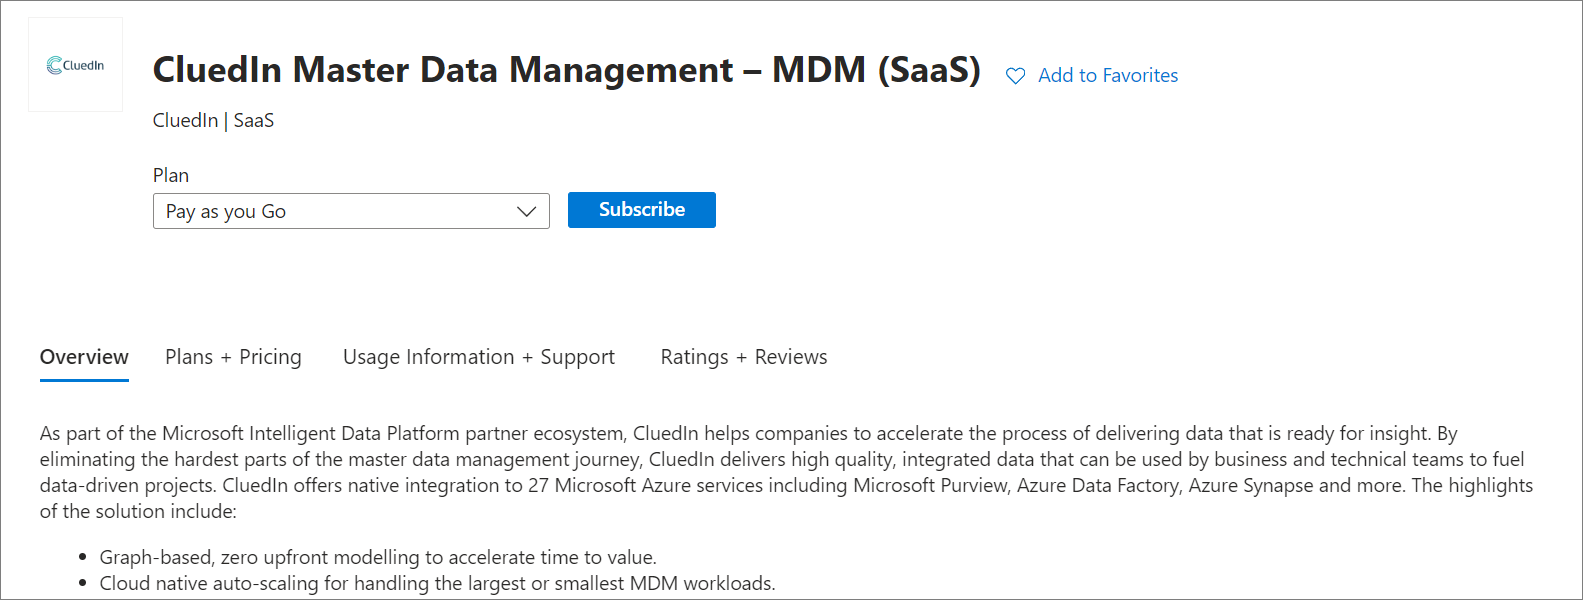
-
On the Basics tab, in the Project details section, do the following:
-
Select a Subscription where you want to store CluedIn Private SaaS (via Azure Azure Marketplace) application in your Azure account.
If you encounter an error stating that the subscription requires permission to make purchases, it means that you don’t have the required permission for the subscription. Contact your IT team to get the required permissions. For more information, see Enable marketplace purchases in Azure.
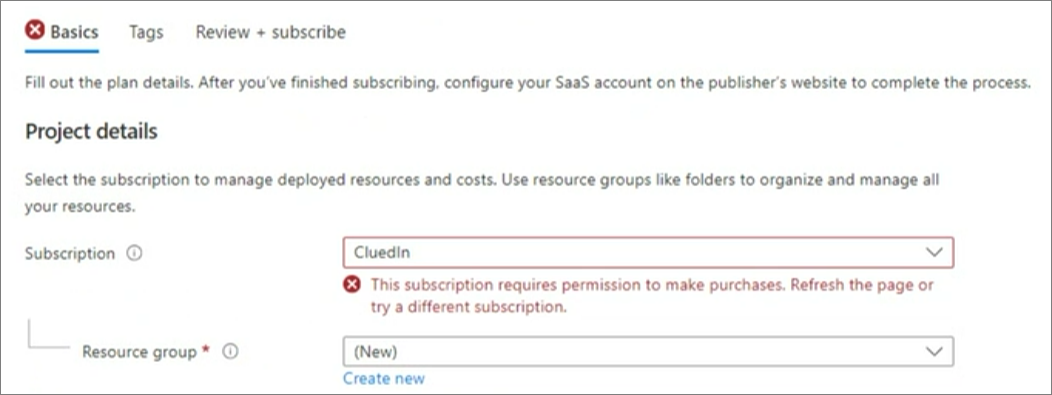
-
Select or create a Resource group where the SaaS subscription will be stored. If you create a new resource group, you need to choose the location for that resource group.
The location of the resource group is not the same as the Azure region where CluedIn will be installed, it is just the location where subscription will be stored. You’ll select the Azure region when configuring your CluedIn account as described in the next section.
-
-
In the SaaS details section, enter a Name for the Private SaaS application.
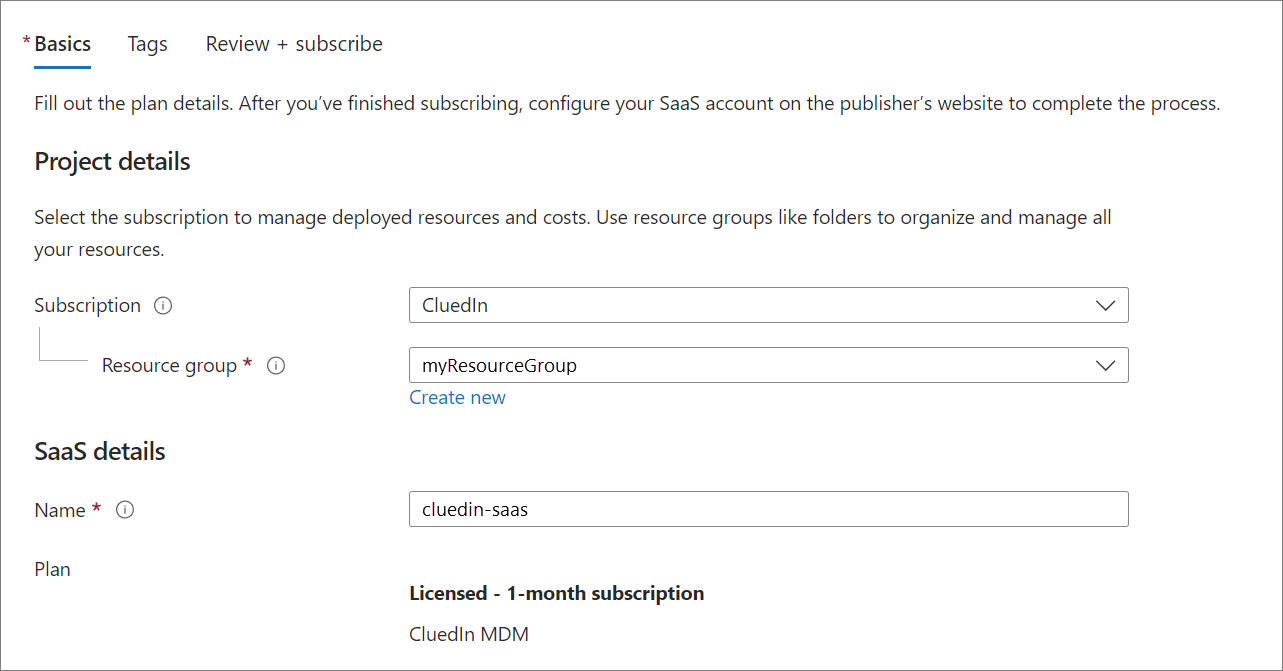
-
(Optional) Select Next: Tags On the Tags tab, you can define tags to help you find your Private SaaS resource later.
-
Select Review + subscribe.
-
On the Review + subscribe tab, review the terms of use, contact information, and billing details.
Billing is handled exclusively by Microsoft.
-
Select Subscribe.
You’ll see the following message: Your SaaS subscription is in progress. This process takes a few minutes. Don’t close the window until it’s finished.
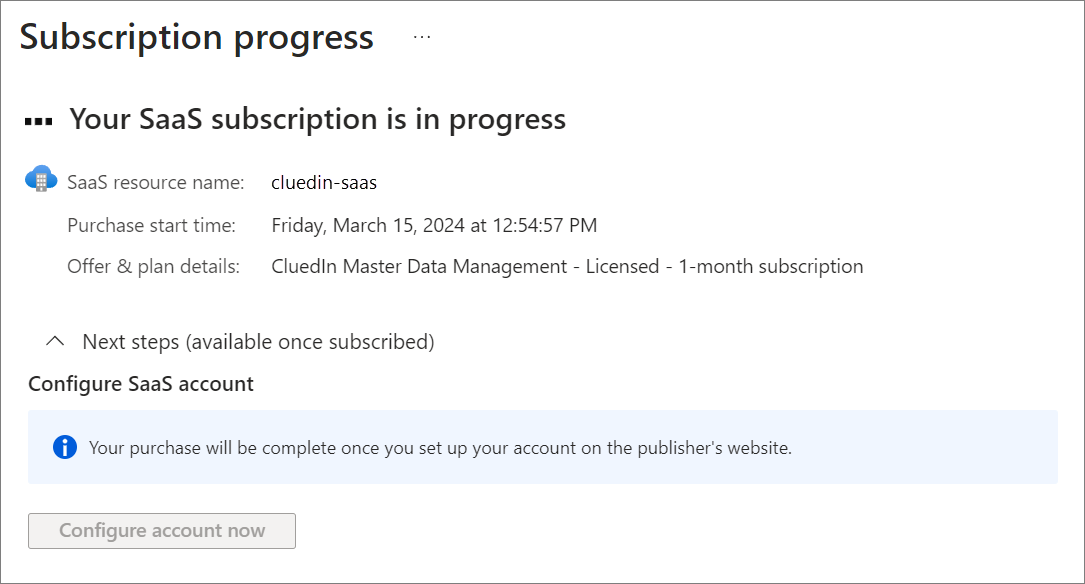
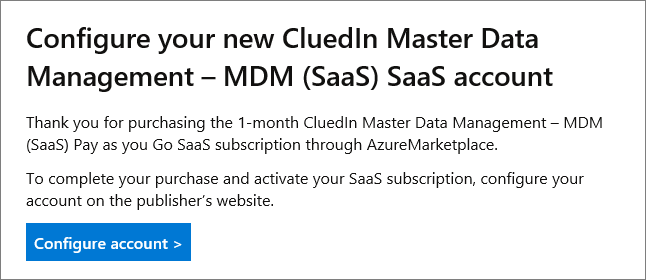
After the subscription is completed, the Configure account now button becomes active, and you’ll receive an email from Microsoft requesting you to activate the new subscription.
-
Either in the email or in the Azure Marketplace, select the corresponding button to configure the account. If you selected the button in the Azure Marketplace, you can ignore the email.
You’ll be redirected to the CluedIn account configuration page.
Configure an account with CluedIn
To configure an account with CluedIn, you need a valid license key. You can find a license key in an email from CluedIn if you have previously requested SaaS application. If you don’t have a license key, request it here.
To configure a CluedIn account
-
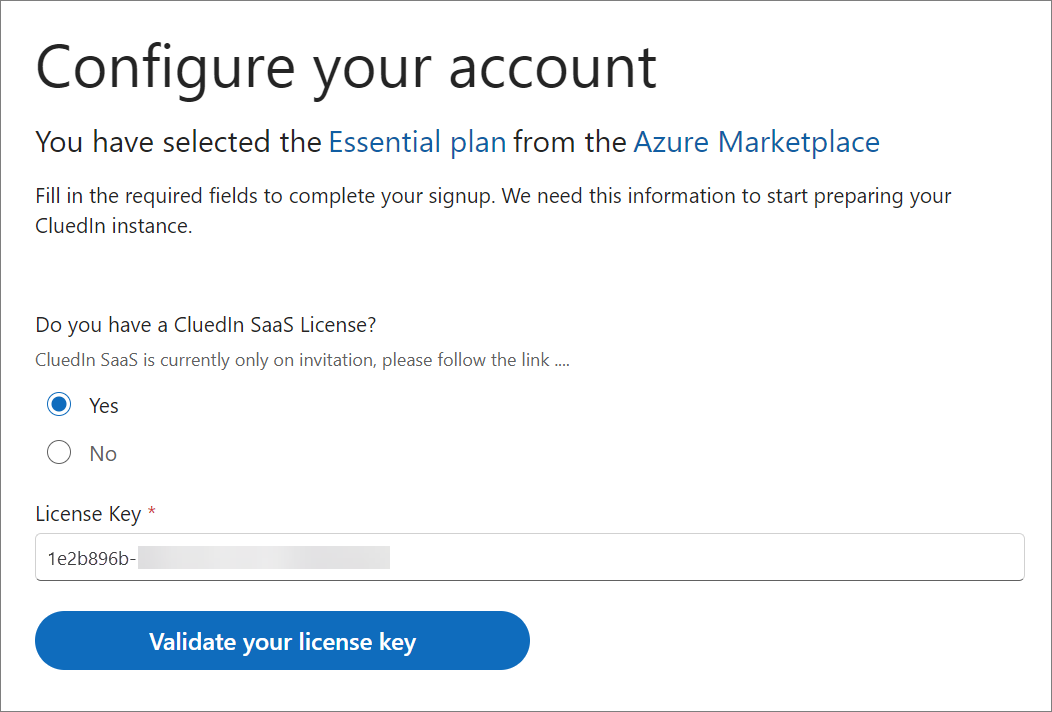
On the CluedIn account configuration page, enter a license key, and then select Validate your license key.
-
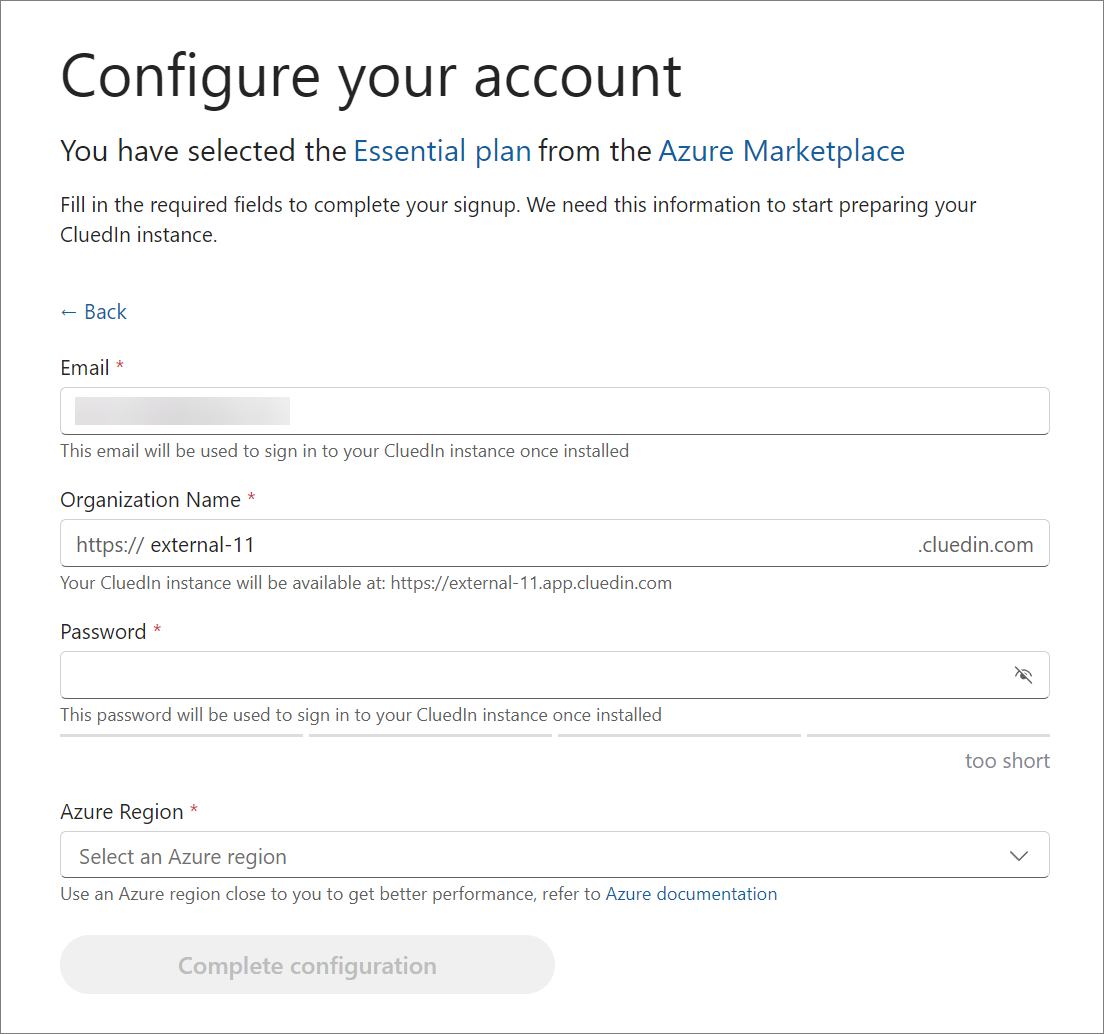
Provide basic information for setting up your CluedIn account:
-
Enter your Email.
-
Enter an Organization Name to create a link to your CluedIn instance.
-
Enter a Password for signing in to your CluedIn instance.
-
Select an Azure Region where you want CluedIn to be installed.
-
Select Complete configuration.
After the configuration is completed, you’ll receive an email from Microsoft notifying you that the configuration was successful.
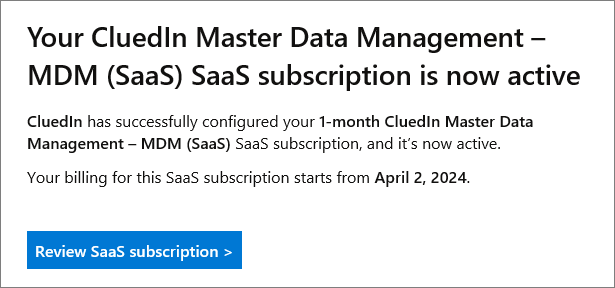
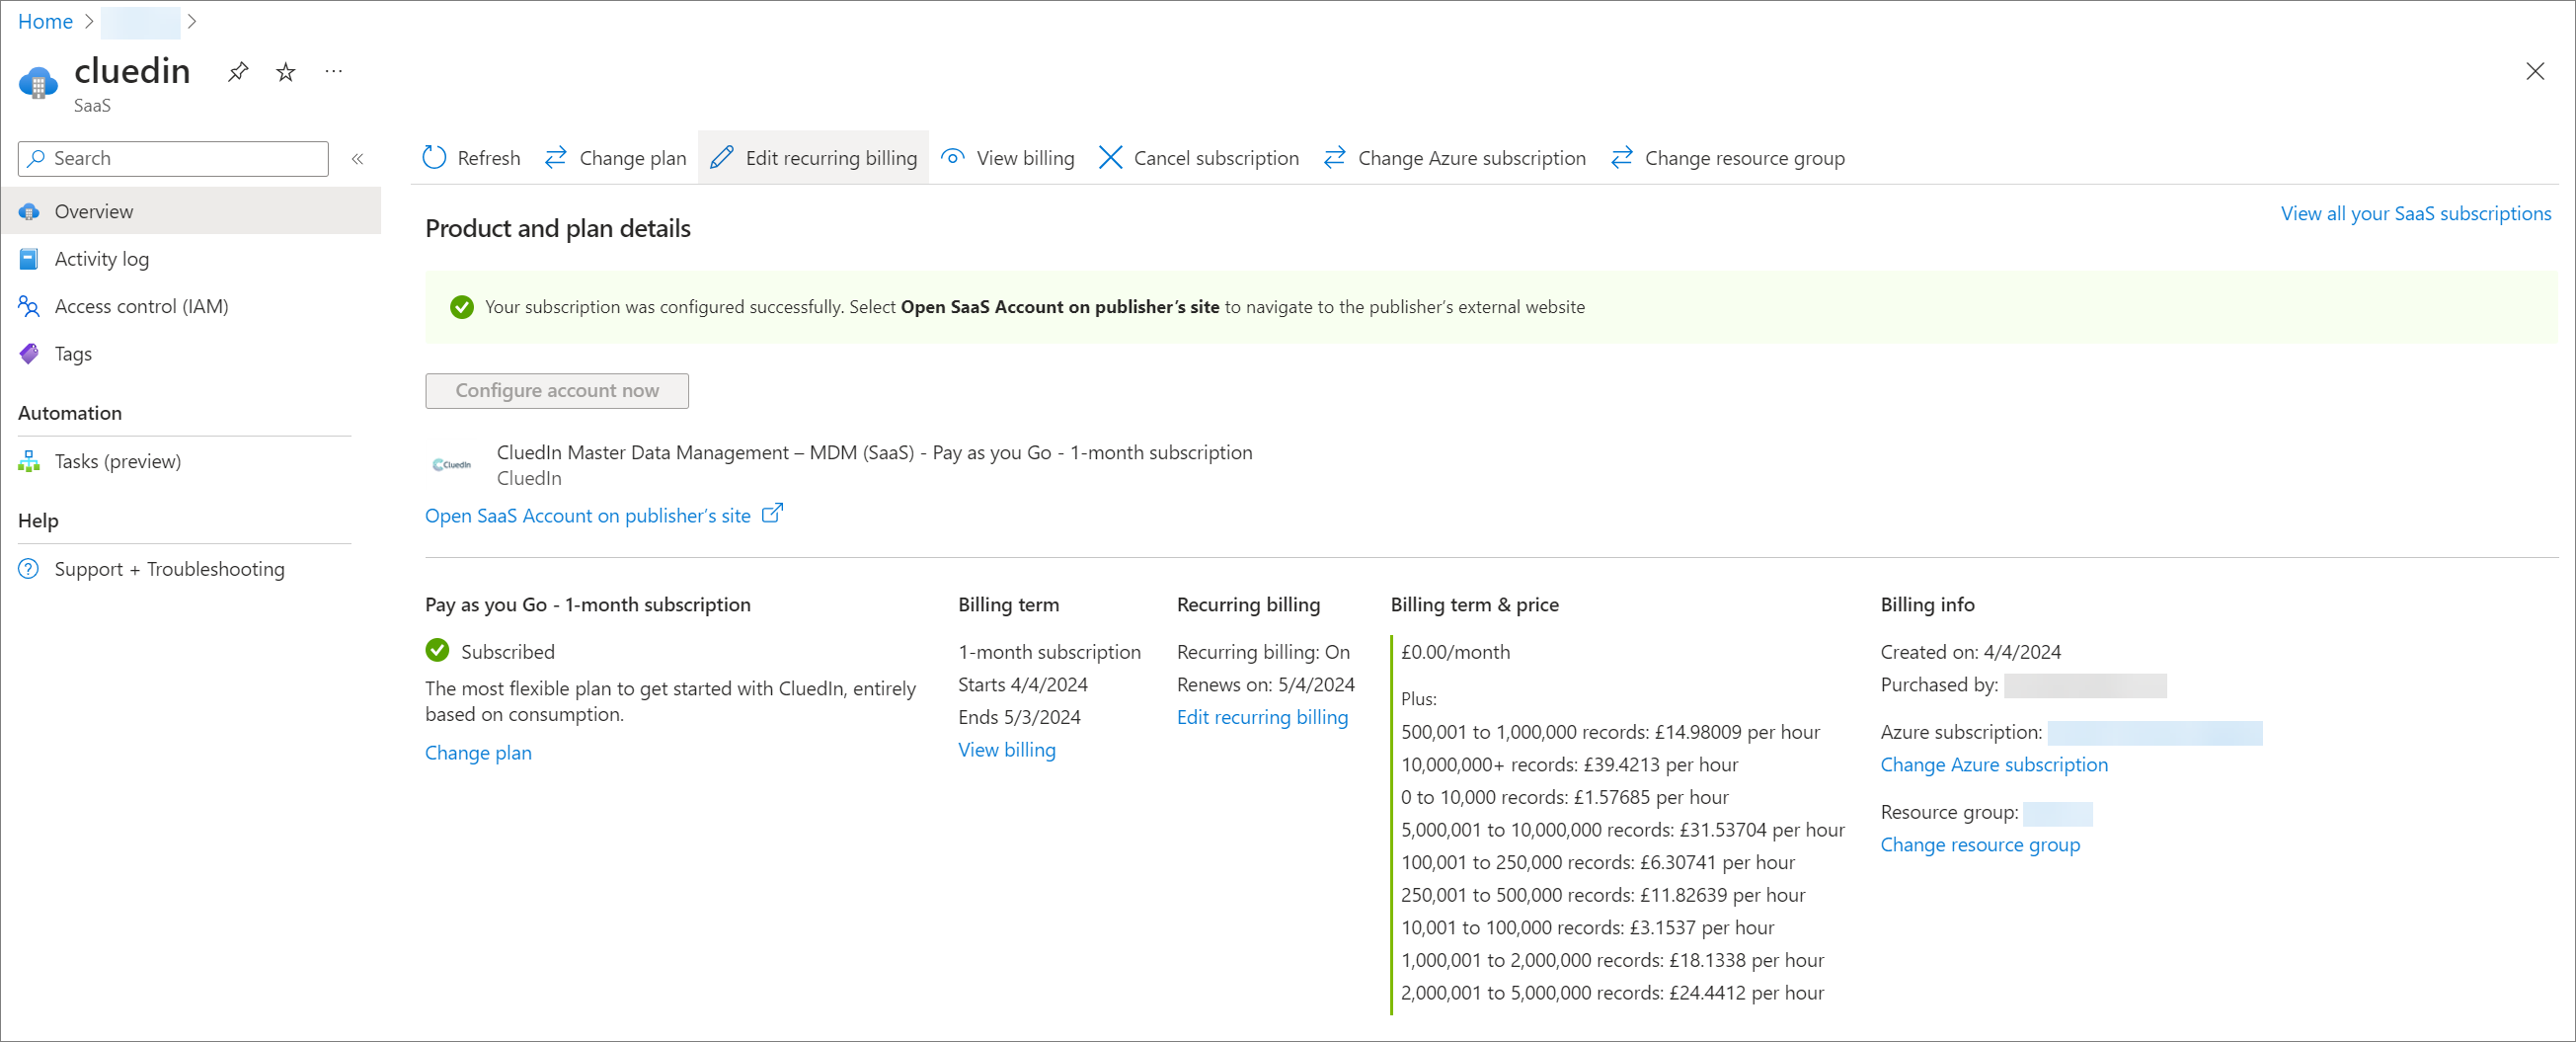
Also, you can view your SaaS subscription in the Azure portal.
-
Our automatic installer will start preparing your isolated environment. Once it is ready, you’ll receive an email from CluedIn with instructions on how to get started. It can take up to 30 minutes to receive an email.
Next steps
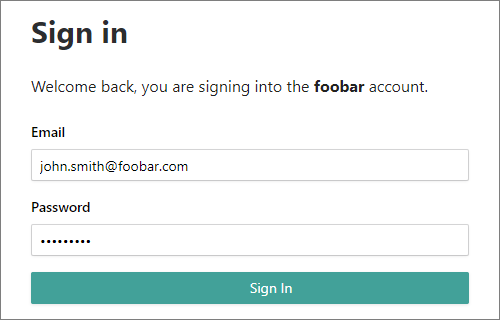
After configuring an account, you will receive an email with a link to your CluedIn instance. To sign in, enter the email and password that you provided when configuring your CluedIn account.
To enable SSO (Entra ID) in SaaS, please refer to our SSO configuration guide.
Useful links:
-
Getting access – learn how to sign in to CluedIn.
-
Getting started – get acquainted with the main CluedIn features.
-
Pricing – learn about our pricing options (pay-as-you-go and committed deal).