Prerequisites
On this page
To set up the workflows feature in CluedIn, you need to fulfill several prerequisites in both Azure and CluedIn.
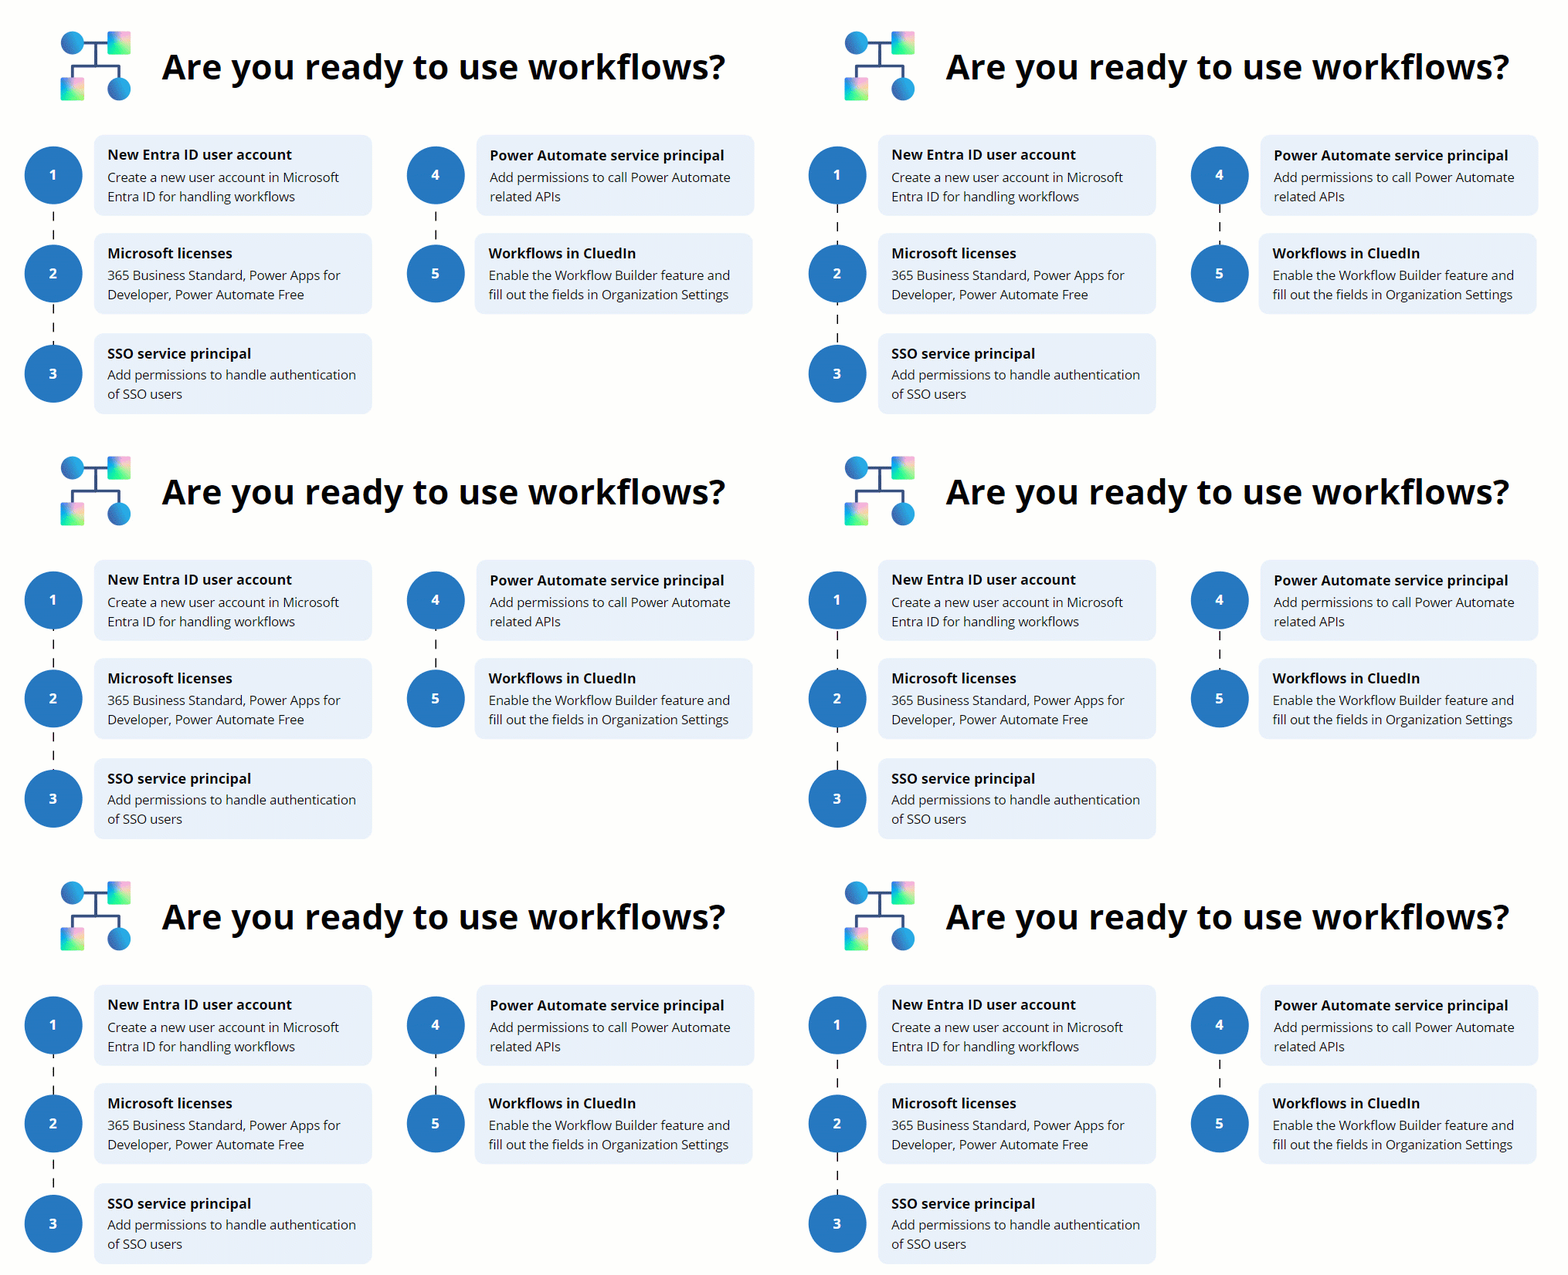
Azure prerequisites
You need to prepare the following user accounts:
-
A new user in Microsoft Entra ID for handling Power Automate workflows. For more information on how to create a new user, see Microsoft documentation.
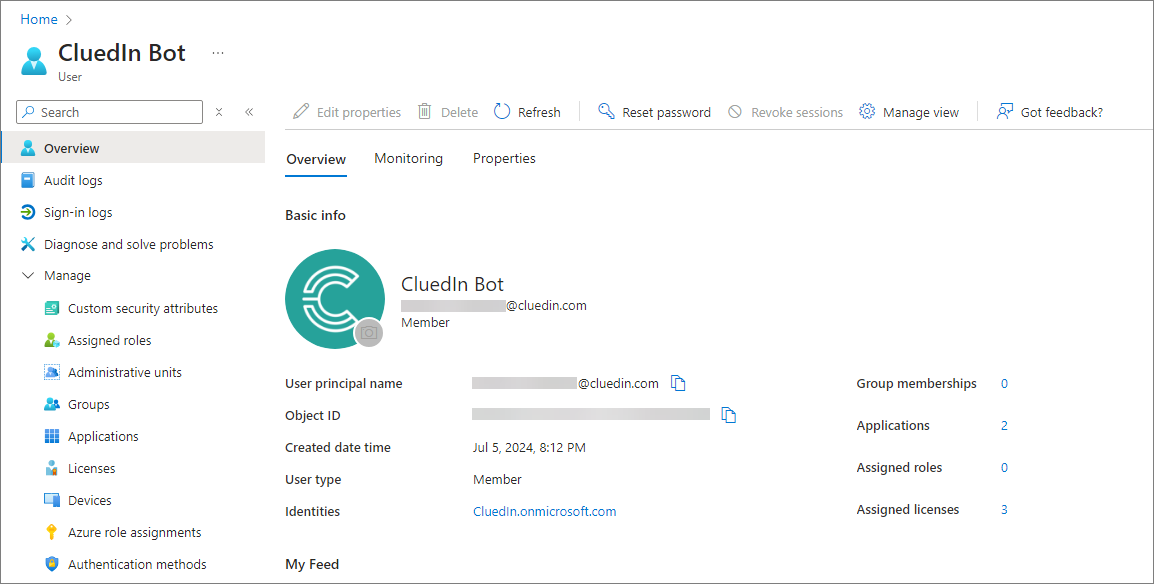
This user must have the following licenses:
-
Microsoft 365 Business Standard – having this license allows sending approval requests to Outlook and the Approval app in Teams.
-
Microsoft Power Apps for Developer
-
Microsoft Power Automate Free
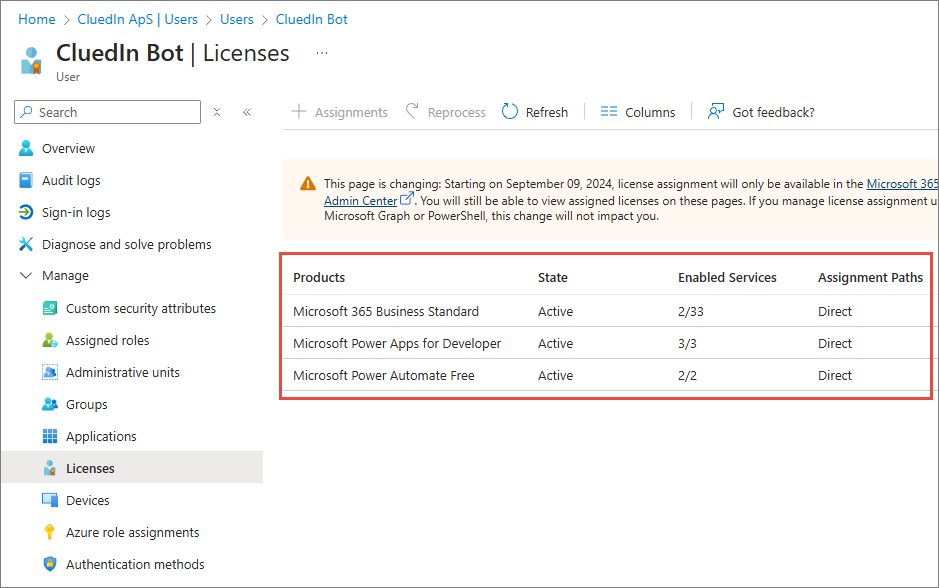
For more information on how to add a license, see Microsoft documentation.
The user account used in workflow credentials needs to be added to the Power Apps environment list of users.

Additionally, the user account needs to be given the System Administrator security role.

-
-
An SSO service principal for authenticating SSO users with permissions to accept requests from the following URIs:
-
https://{cluedin-domain}/admin/workflow/workflow-builder
-
https://{cluedin-domain}/admin/workflow/approvals
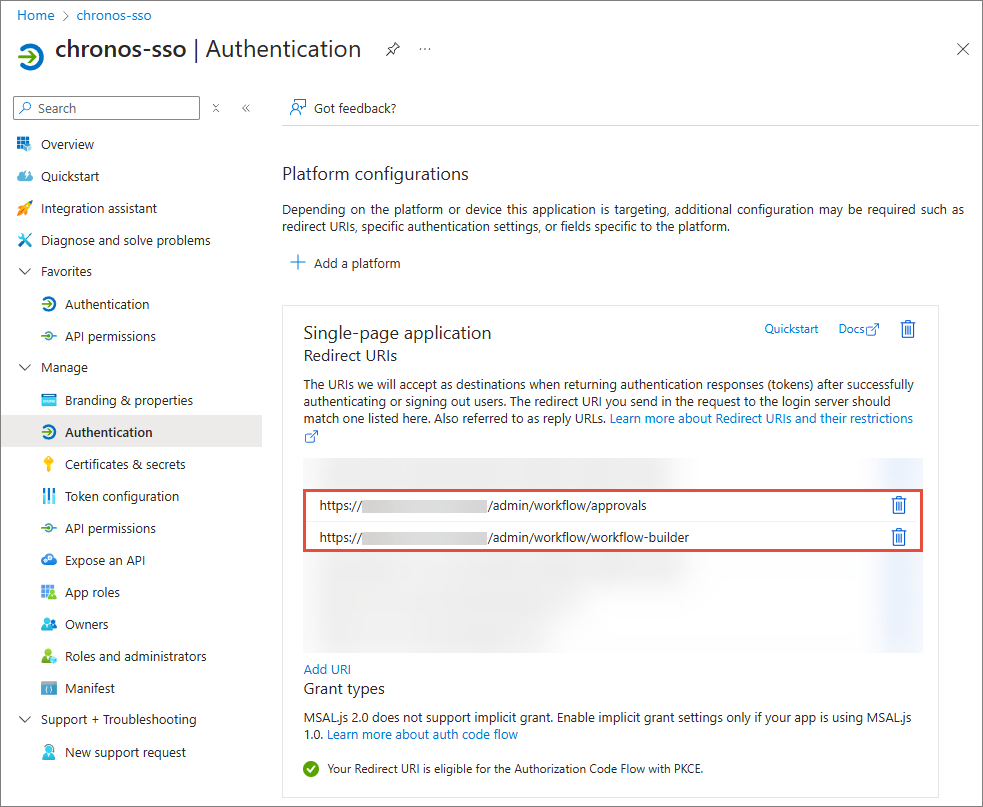
In the Implicit grant and hybrid flows section, select both Access tokens and ID tokens.

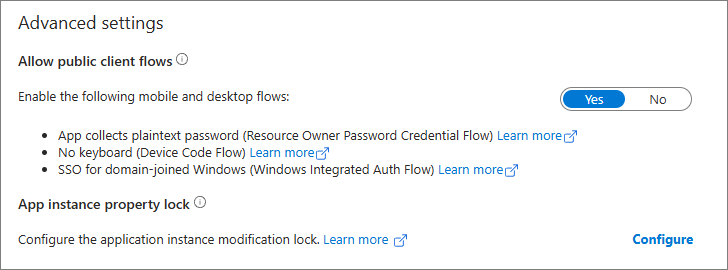
In the Advanced settings section, enable public client flows.
-
-
A Power Automate service principal with permissions for authenticating the Power Automate widget. You need to add the following permissions:
-
Azure Service Management: user_impersonation, Delegated.
-
Dynamics CRM / Dataverse: user_impersonation, Delegated.
-
Microsoft Graph: User.ReadBasic.All, Delegated and Application.
-
Power Automate: Flows.Manage.All and Flows.Read.All, User.
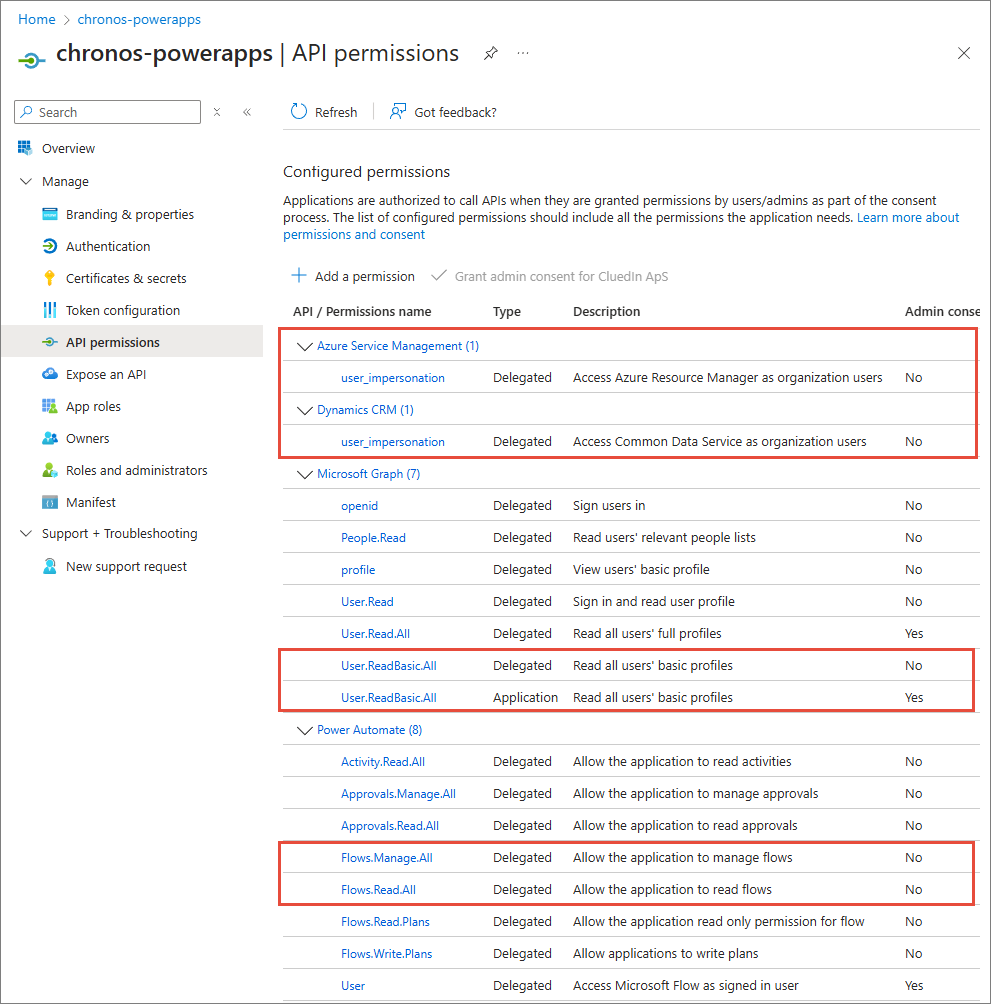
For more information about API permissions, see Microsoft documentation.
Instead of creating a Power Automate service principal, you can add the required API permissions to the SSO service principal.
-
Power Automate prerequisites
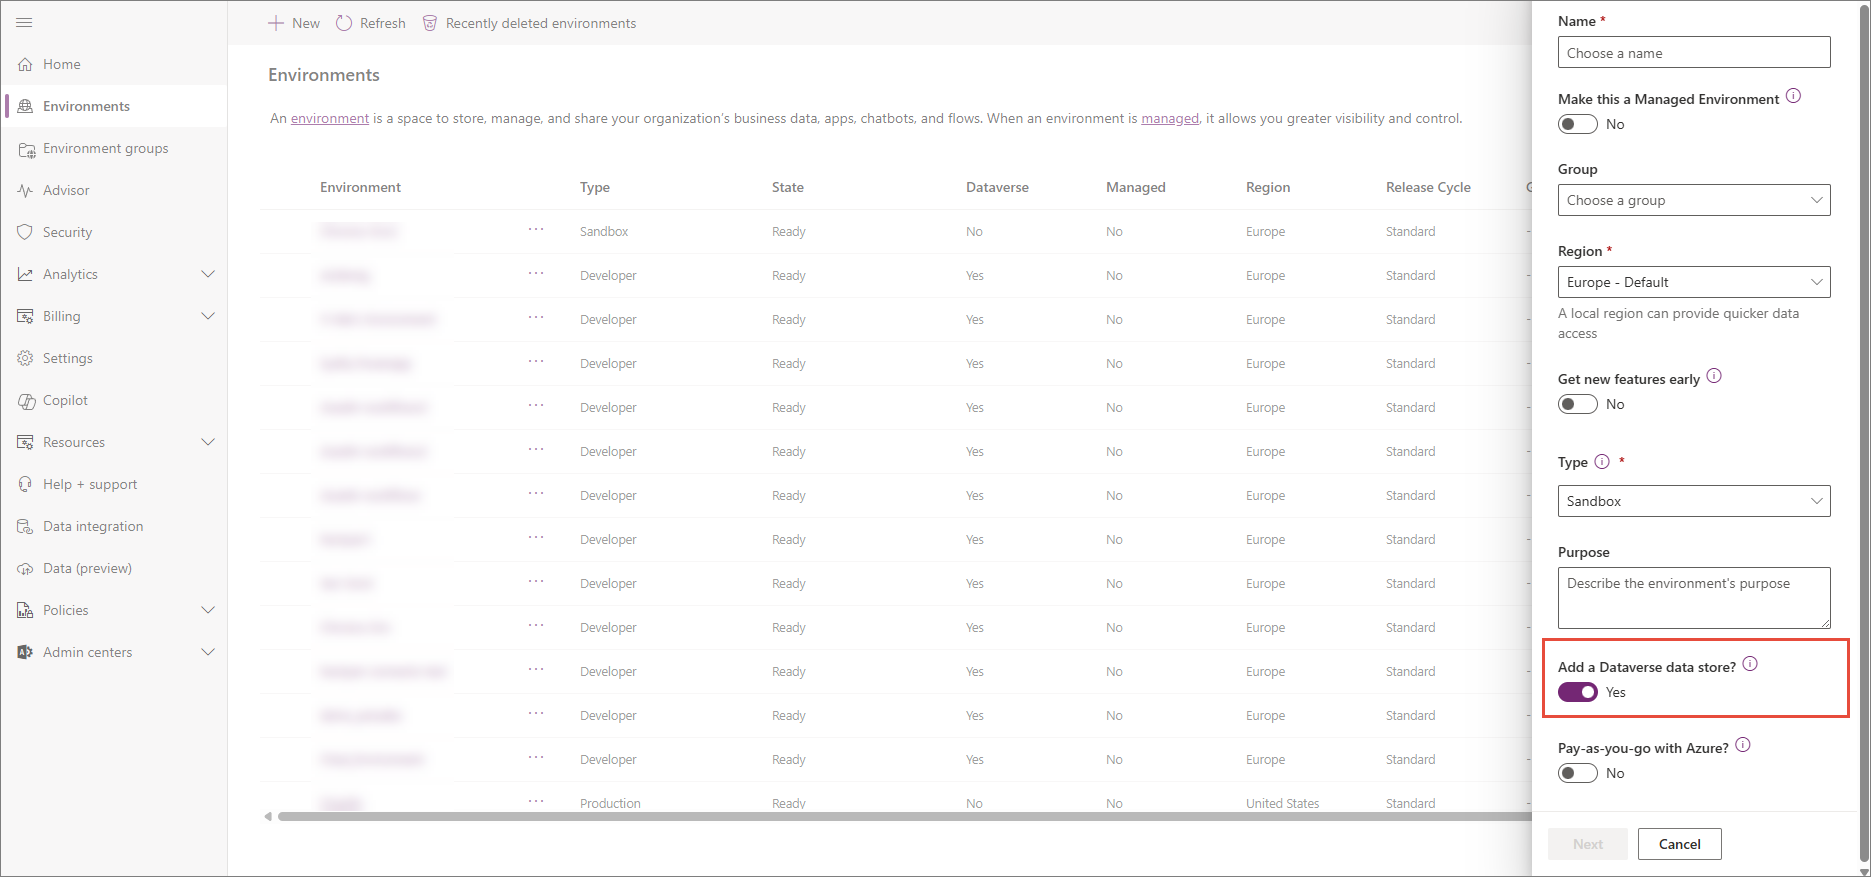
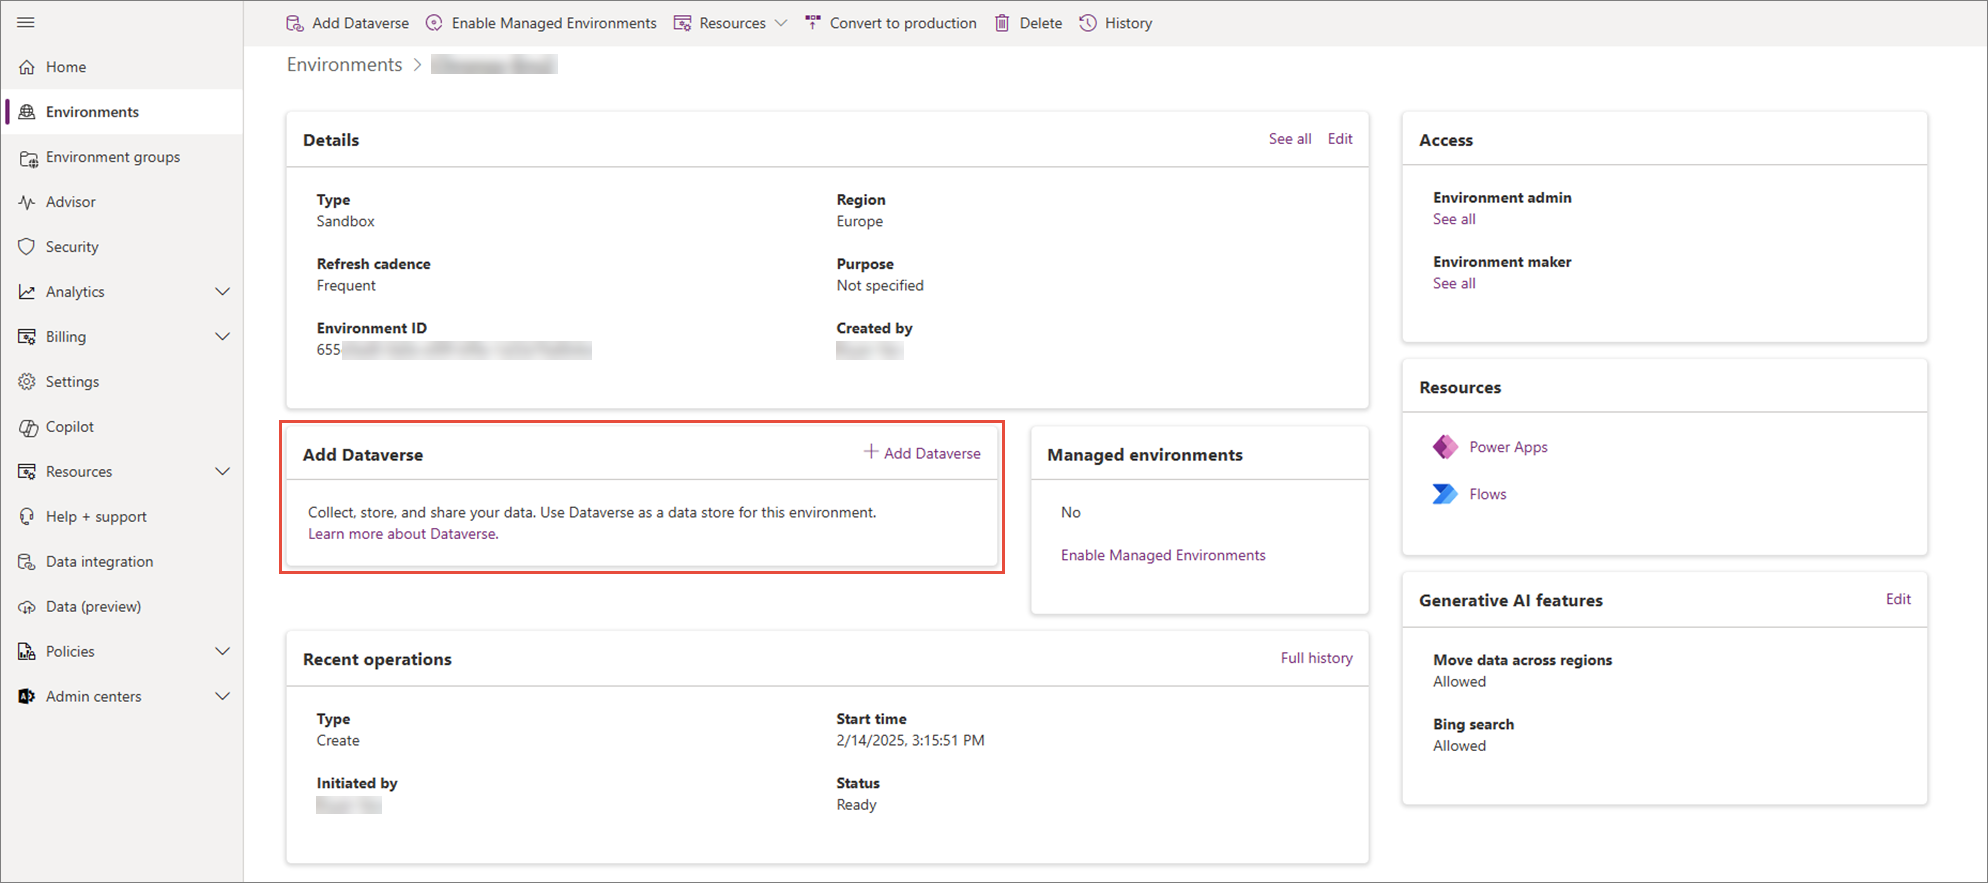
To use workflows, Dataverse must be installed in the Power Automate environment.
If a new environment is yet to be created, make sure the Dataverse option is selected.
If the environment is already created, you can install Dataverse from the environment details page.
CluedIn prerequisites
To make the workflows available in CluedIn, you need to fulfill several prerequisites:
-
Go to Administration > Feature Flags, and then enable the Workflow Builder feature.
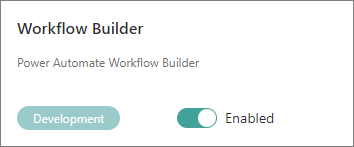
As a result, the Workflows module appears on the navigation pane.
-
Go to Administration > Settings. Scroll down to the Workflows section and complete the following fields:
-
Client Username – an email of a Microsoft Entra ID user for handling workflows. You can find this value in the User principal name field of a Microsoft Entra ID user.
-
Client Password – a password of a Microsoft Entra ID user account used to handle workflows on behalf of users.
-
Client ID – an ID of the service principal used for authenticating SSO users.
-
Azure Tenant ID – an ID of the Azure tenant that contains the service principal that handles the Power Automate widget.
-
Power Automate Environment ID – an ID of the Power Automate environment. You can find it on the home page of the target Power Automate environment.
-
Power Automate Widget Client ID – a client ID or a service principal ID of the Power Automate widget. This can be the same as Client ID above.
-
CluedIn Connector – name of the custom connector that allows communication between CluedIn and Power Automate. By default, it is CluedIn, and you don’t need to change it.
-
Approvals for creating items – enabling this control means that when a user creates an element in CluedIn (for example, a vocabulary, a vocabulary key, or a rule), an approval request is sent to other users with the same or higher claim access level to the feature. For example, if a Data Governance Administrator creates a vocabulary, the approval request is sent to other users with the same role. If you don’t enable this control, the approval requests will be sent only in case of modifications of the existing elements.
-
-
Select Register CluedIn Connector.
Now, you can create workflows to automate certain approval processes.