Database
On this page
In this article, you will learn how to ingest data from a database into CluedIn.
You can ingest the database tables to CluedIn if you have the read permission to these database tables. The process of ingesting data from the database involves two steps:
The maximum number of columns accepted for data ingestion is 490.
Before loading data into CluedIn, ensure that it does not contain unsupported characters. Refer to our knowledge base article for information about supported and unsupported characters.
Add connection to database
To be able to access the database tables in CluedIn, first establish a connection to the database.
To add a connection to the database
-
On CluedIn home page, in the Integrations section, select Import from database.
The Import from database pane opens, where you can provide the database connection details and choose the group for storing the data source.
-
On the Connection string tab, do the following:
-
Choose the SQL database technology to query the data (Microsoft SQL Server, MySQL, or Postgres).
-
Enter the database connection details such as Host, Database name, Username, and Password. Optionally, you may add Port number.
-
In the lower-right corner, select Test connection. After you receive a notification that the connection is successful, select Next.
-
-
On the Configure tab, do the following:
-
Enter the Name of the data source.
-
Specify the Group where the data source will be stored. You can choose the existing group or create a new group.
-
In the lower-right corner, select Add.
The database connection is added to CluedIn.

Now, you can add database tables to CluedIn.
-
Ingest database tables
With an established connection to the database, you can choose which database tables you want to ingest into CluedIn.
To ingest database tables
-
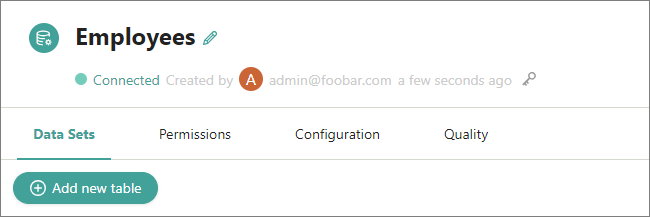
Open the data source, and then select Add new table.
The Add data table pane opens, where you can view all tables existing in the database.
-
Select the checkboxes next to the tables you want to ingest into CluedIn. Then, in the lower-right corner, select Add.
The tables are added to CluedIn. Each table is added as a separate data set. Next, create mapping and process data.