How to add an Integration
Introduction
An integration should not be specific to a user. When an integration is installed, it generally takes a number of parameters to be able to add it multiple times for different user.
Eg: Slack account of multiple organizations, multiple shared email inbox from the same Exchange server, multiple Office 365 accounts…
Please refer to the documentation on How to build an integration
When installing an integration, if you want CluedIn to only read, add the integration with a user that has read-only on ALL information if you want CluedIn to push-back to the integration, add it with an administrator account
Types of integration
Cloud integration
Cloud integration are generally integration for existing SaaS product such as HubSpot, Slack, Dropbox.
To authenticate to this integration, we have 3 authentication methods which variates based on the product.
Notice, if you are running CluedIn, on-prem, you will need to setup the Oauth process with the product you want to add. Refer to the provider’s documentation and follow the steps.
Oauth authentication
In this type of integration, you will be redirect to the Integration’s website where he will ask your permission for CluedIn to access the data.
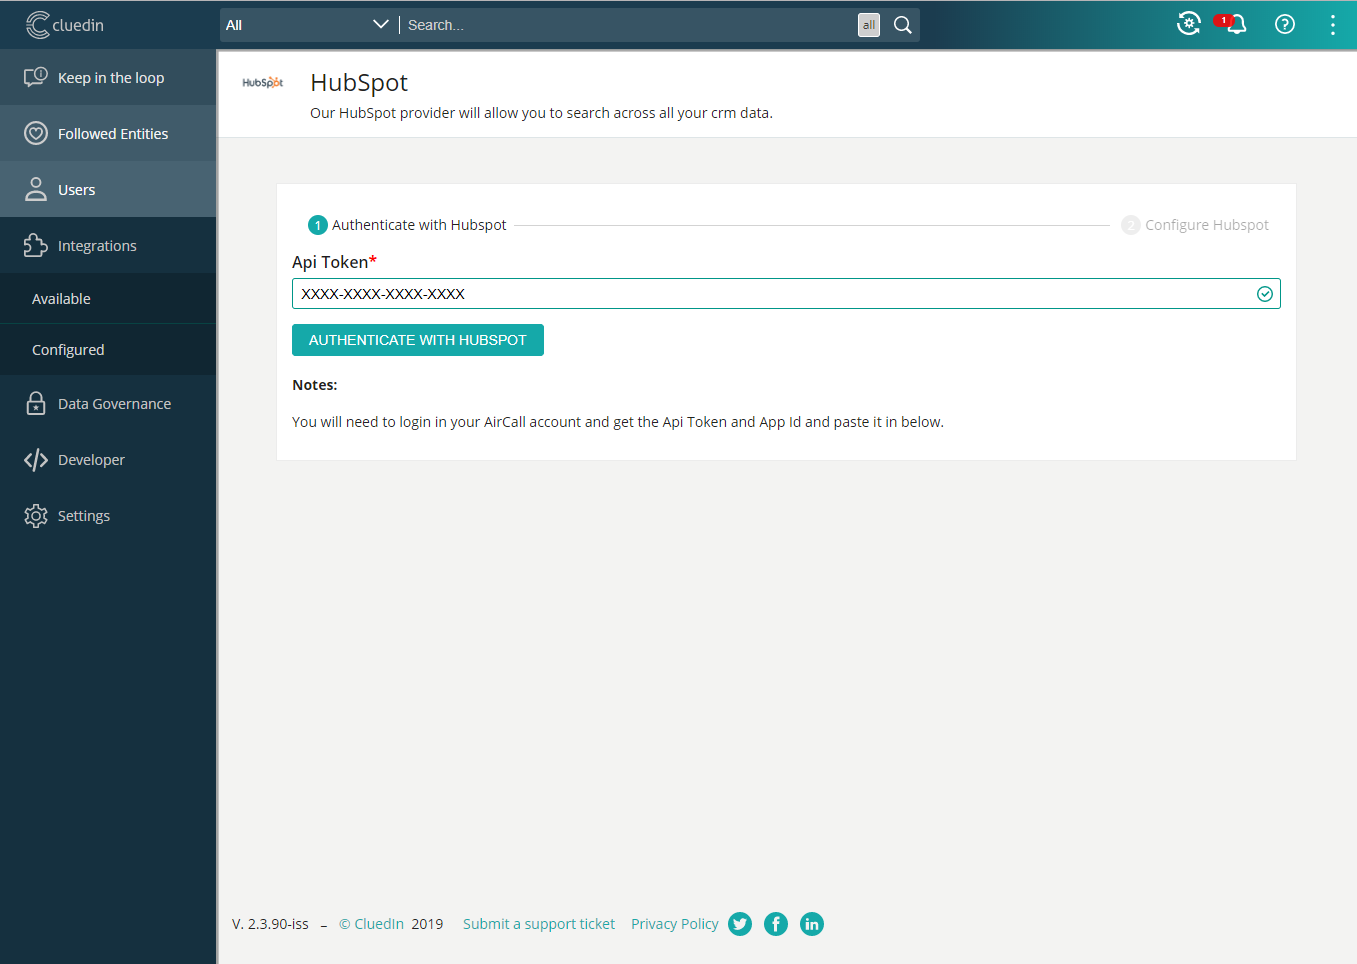
API Token
In this type of integration, you will need to provide a valid API token so CluedIn could access the data.
Form Fields
Sometimes, the integration required multiple fields such as a ‘URL’, a username… Be sure to have the correct information before adding them.
On-premise integration
Another type of integration are ‘on-prem’, they are integration that you need to install on your servers. A good example is a File system provider which will scan all the files located into a physical hard-drive.
Adding an Integration
- Login to CluedIn
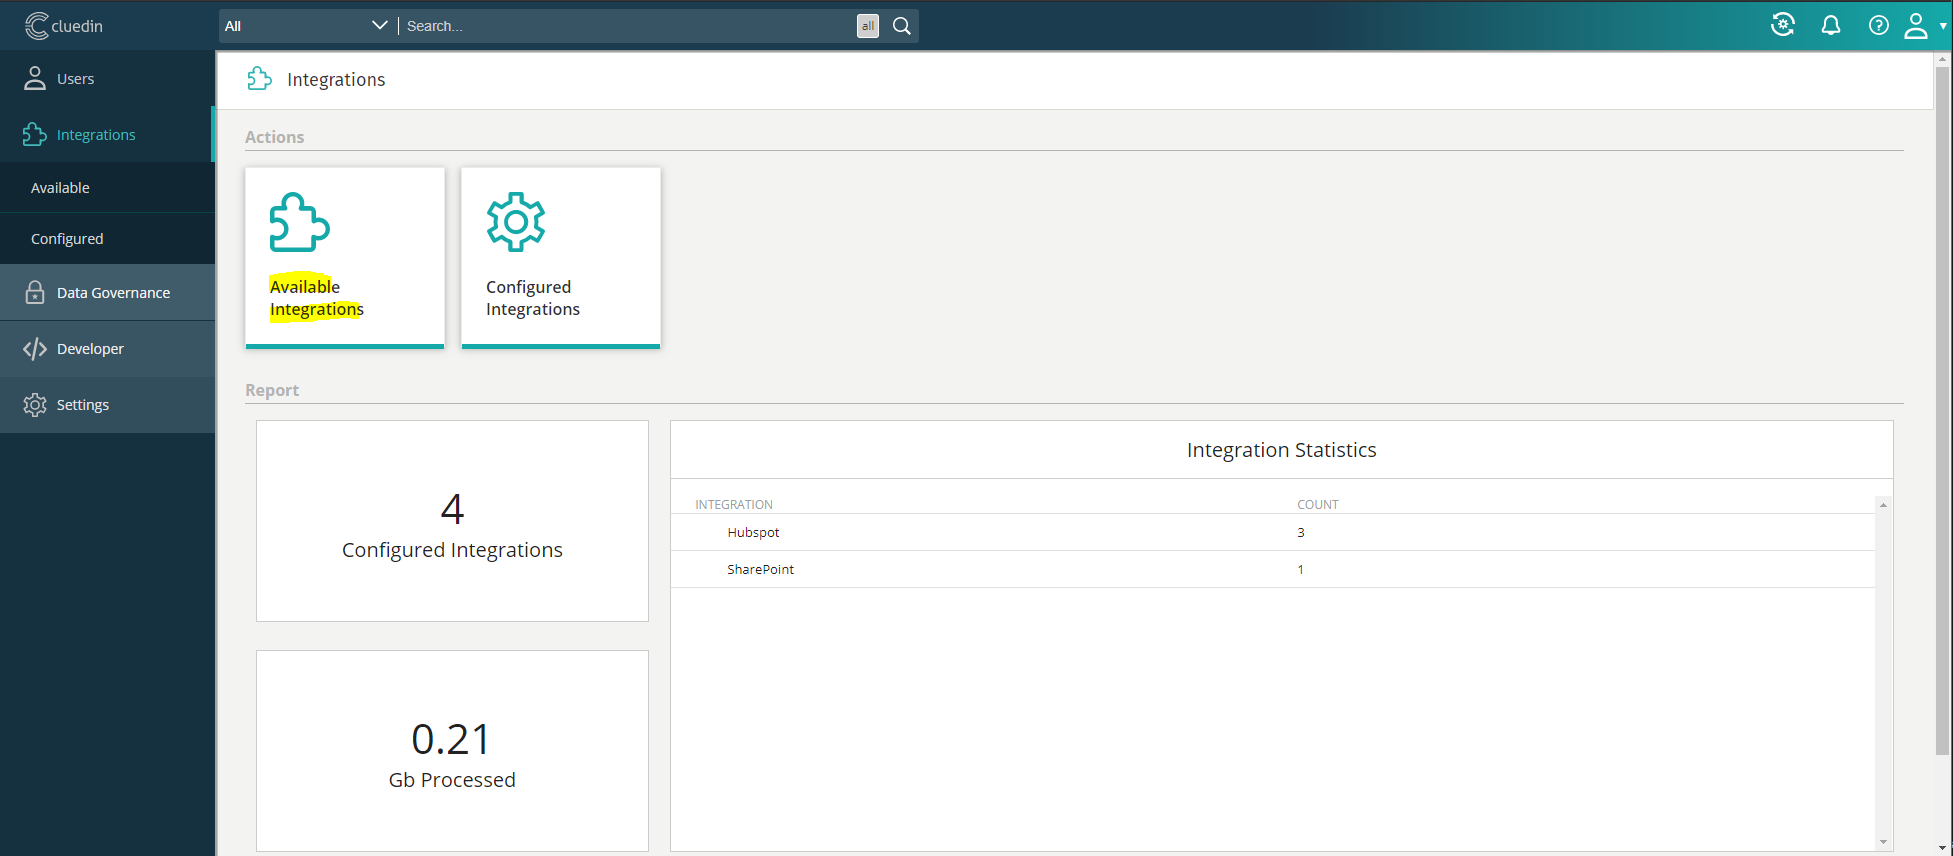
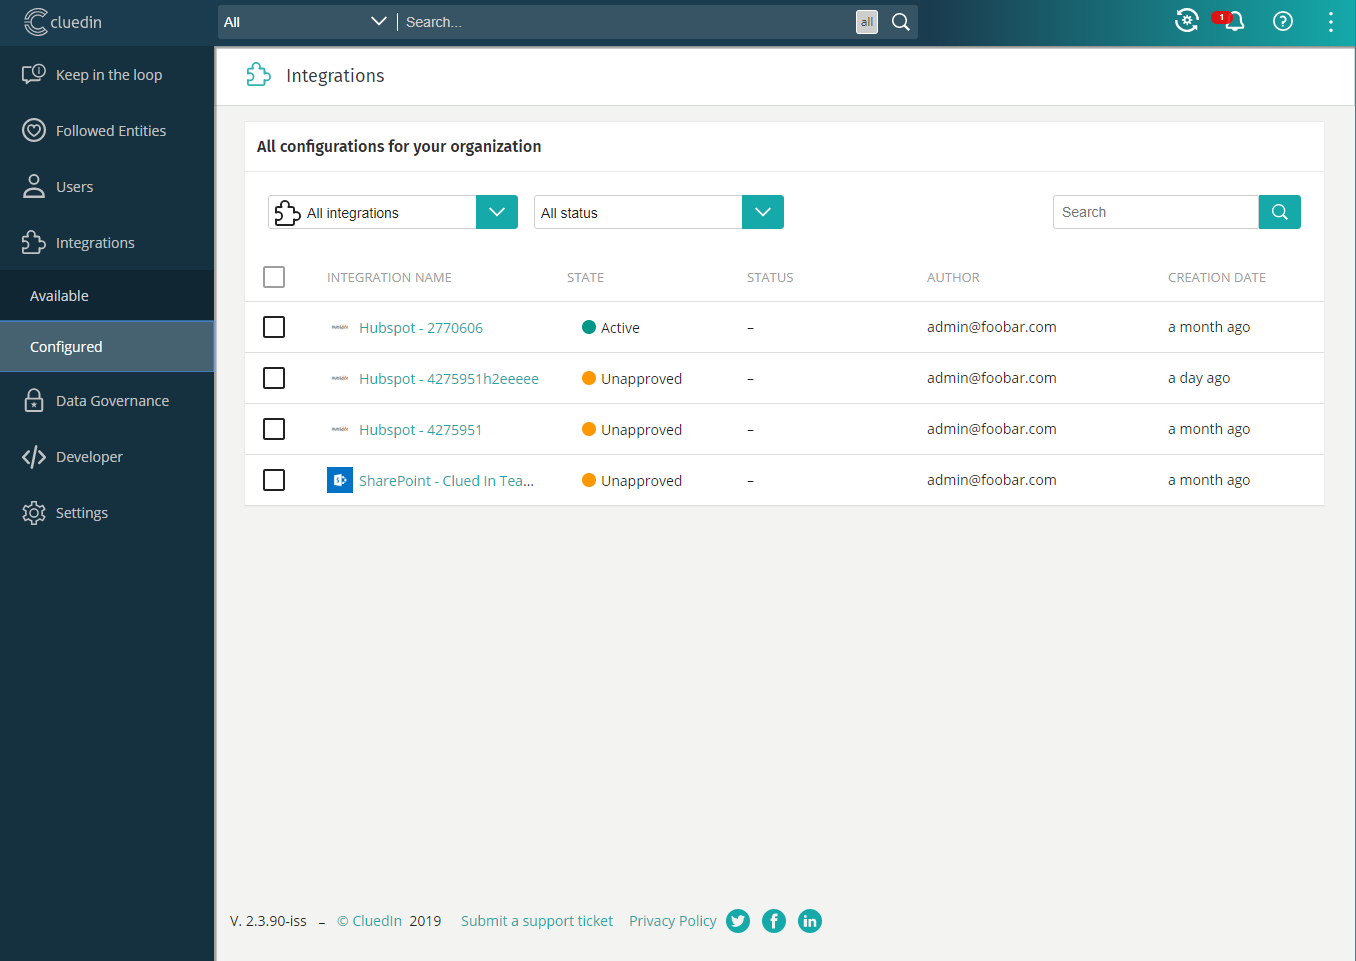
- Go to the integration section
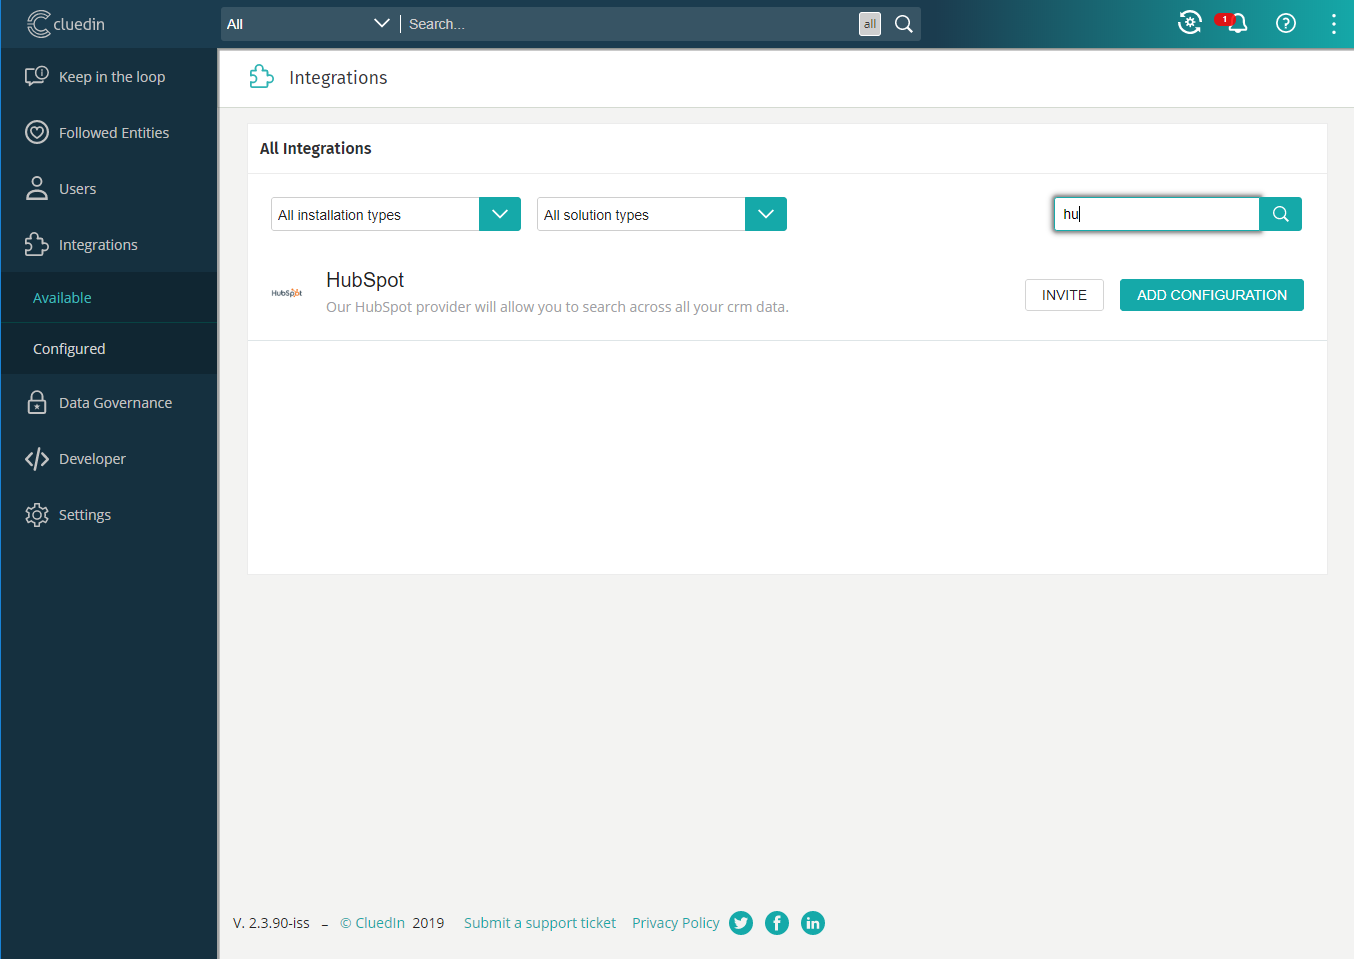
- Click on Available integrations.
- Click on ‘Add configuration’
- Follow the authentication process
-
Configure your integration and add it
-
Congratz, your configuration is now added
Data coming in
Once the integration added, CluedIn will ingest the date, once that is done, you will receive a notification.
Product Owner
You can set the Product Owner when you add an integration. You can have multiple Product Owners and it can change throughout the lifetime of the integration.
Setting the Product Owner will dictate certain actions and responsibilities. These responsibilities include:
- They are responsible for accepting or rejecting Mesh Commands.
- They will be notified when a Subject Request Access contains data for this integration point.
- They will be responsible for the CluedIn Clean projects that contain data from this integration point.
- They will be notified when their system is involved in a Data Breach.
- They will be responsible for accepting or rejecting the Data involved in a retention setup.
- They are responsible for setting the Consent for the properties in their integration.
- They are responsible for resolving duplicates in their integration point.
- They are responsible for the provider specific Vocabularies and the mappings to Core Vocabulary Keys.
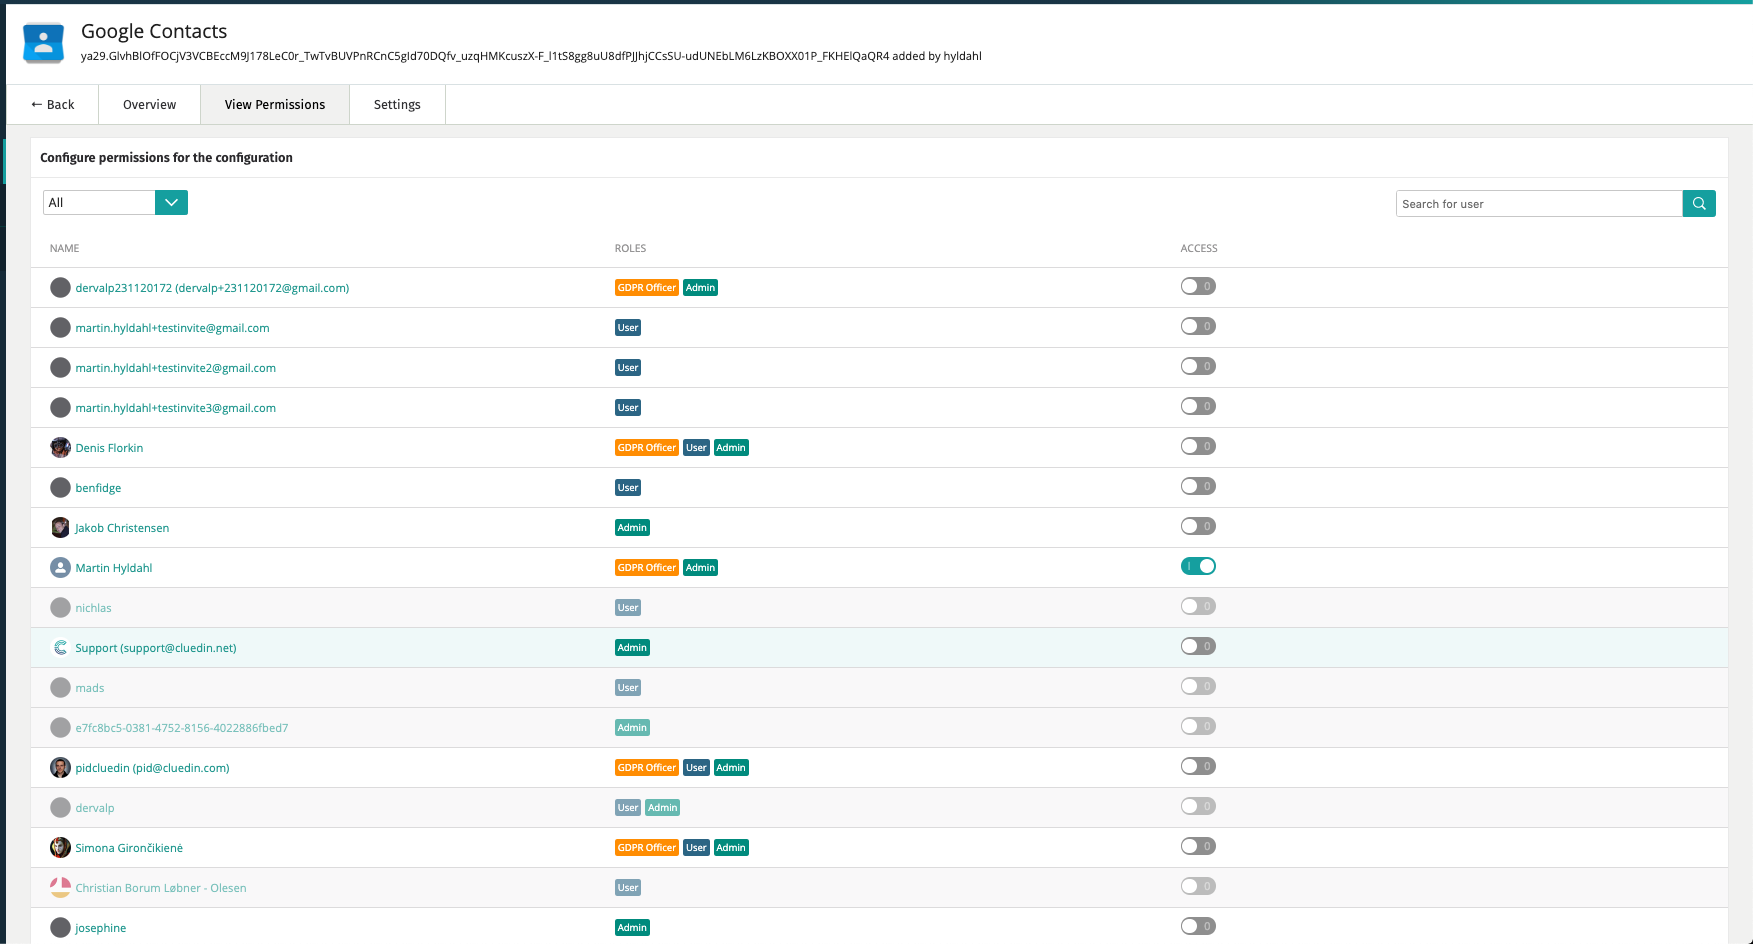
Integration Access