Add records in a manual data entry project
On this page
In this article, you will learn how to add the records manually directly in CluedIn.
Once you have created a manual data entry project and added all the form fields you need, you can start adding the records manually. There are two options for adding the records manually:
-
Adding single records – use this option if you want to add the records individually one by one. Right after you fill out all the required fields for a record, you can generate the record and publish it to CluedIn.
-
Adding multiple records – use this option if you want to add the records in one session in a tabular view. You can add as many records as you need in one session, and then generate all records and publish them to CluedIn simultaneously.
Add single record
The process of adding a single record consists of filling out all the required fields and then generating the record. You can add records one at a time. There are two ways to add a record:
Add a record in the manual data entry project
-
On the navigation pane, go to Ingestion > Manual Data Entry.
-
Find and open the project where you want to add a record.
-
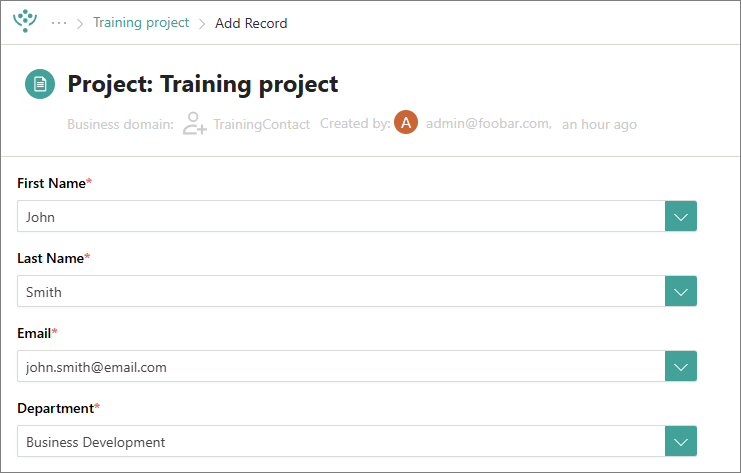
In the upper-right corner of the project page, select Add > Add single record.
-
Fill out the fields for a record.
-
In the upper-right corner of the page, select Generate.
After the record is processed, you can find it on the Data tab of the manual data entry project. To add more records, repeat steps 3–5.
Add a record from the action center
-
On the navigation pane, select Create.
-
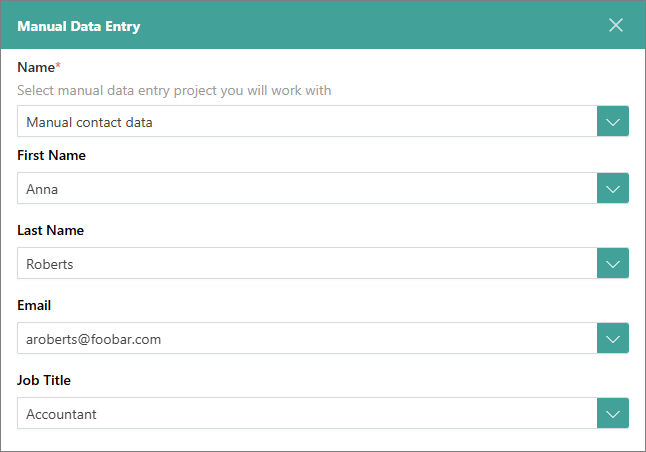
Select Enter data manually.
The Manual data entry pane opens to the right side of the page.
-
In the Name dropdown list, find and select the manual data entry project where you want to add a record.
After selecting a project, the relevant form fields will appear.
-
Fill out the fields for a record.
-
Select Add record.
After the record is processed, you can find it on the Data tab of the manual data entry project you selected in step 3. To add more records, repeat steps 2–4.
Add multiple records
The process of adding multiple records requires creating a session, which represents a workspace with a tabular view. There, you can fill out the fields for all records and then generate the records simultaneously. You can add multiple records in the tabular view.
Prerequisites
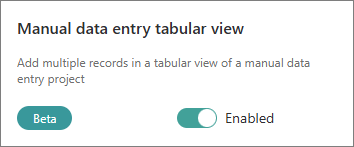
Go to Administration > Feature Flags, and then enable the Manual data entry tabular view feature.
To add multiple records
-
In the upper-right corner of the manual data entry project page, select Add > Add multiple records.
-
Enter the name of the session, and the select Create.
A manual data entry session opens, where you can enter the data manually in a tabular format. One row represents one record, and the columns represent the form fields. To add more rows, select Add row.
-
Enter the data in the fields.
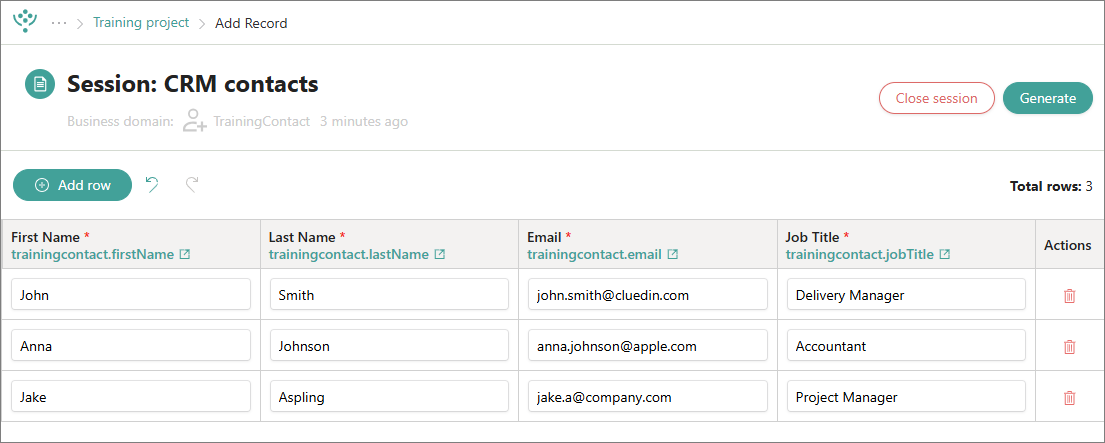
If you decide that you no longer need the record, you can delete it by selecting the delete icon in the Actions column.
If you want to take a break from entering records, you can close the session and return to it later. Any records you have entered will be saved.
-
After you have entered all records, send them for processing:
-
Select Generate.
-
If you want to remove the session once the records have been processed, select the Cleanup session checkbox. If you do not select this checkbox, the session will remain on the Sessions tab.
-
Select Confirm.
Once processed, the records appear on the Data tab of the manual data entry project.
-