Deduplicate data
On this page
Deduplication process helps you find and merge duplicate records based on a set of rules that you define. This process involves creating a deduplication project, configuring the matching rules for identifying duplicates, and fixing duplicates.
In this guide, you will learn how to deduplicate the data that you have ingested into CluedIn.
Before you start: Make sure you have completed all steps in the Ingest data guide.
Context: This guide focuses on identifying duplicates based on the same first name and last name.
Create deduplication project
As a first step, you need to create a deduplication project that allows you to check for duplicates that belong to a certain business domain.
To create a deduplication project
-
On the navigation pane, go to Management. Then, select Deduplication.
-
Select Create Deduplication Project.
-
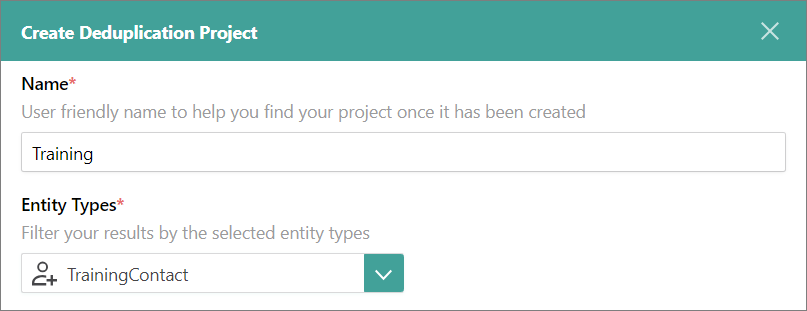
On the Create Deduplication Project pane, do the following:
-
Enter the name of the deduplication project.
-
Select the business domain that you want to use as a filter for all records.
-
In the lower-right corner, select Create.
You created the deduplication project. Now, you can proceed to define the rules for checking duplicates within the selected business domain.
-
Configure matching rule
When creating a matching rule, you need to specify certain criteria. CluedIn uses these criteria to check for matching values among records belonging to the selected business domain.
To configure a matching rule
-
Go to the Matching Rules tab and select Add Matching Rule.
The Add Matching Rule pane opens on the right side of the page.
-
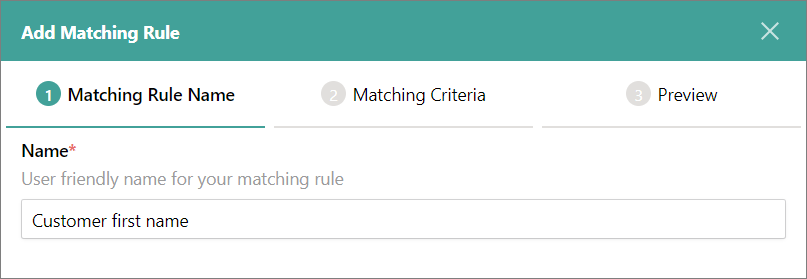
On the Matching Rule Name tab, enter the name of the matching rule, and then select Next.
-
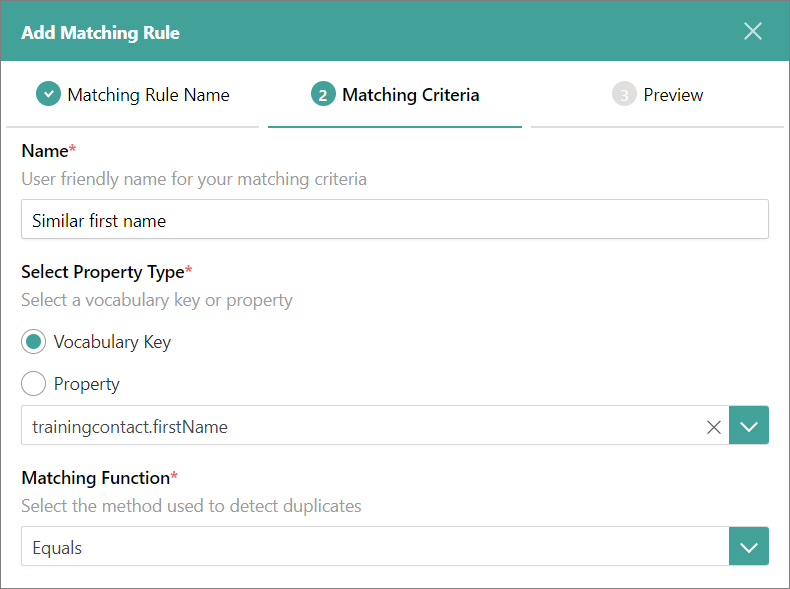
On the Matching Criteria tab, do the following:
-
Enter the name of the matching criteria.
-
Select the vocabulary key. All values associated with this vocabulary key will be checked for duplicates.
-
In the Matching Function dropdown list, select the method for detecting duplicates.
-
In the lower-right corner, select Next.
-
-
On the Preview tab, review the defined matching criteria.
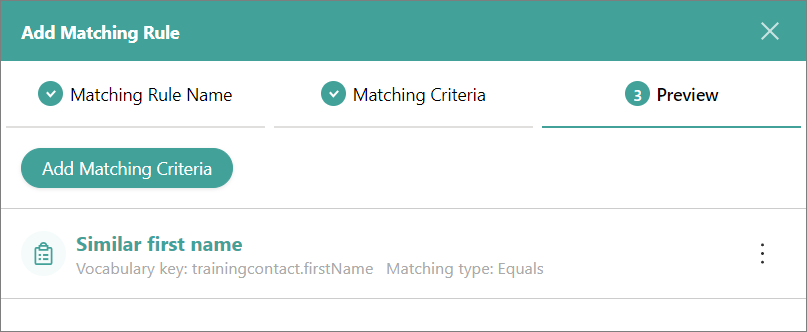
If you want to add more matching criteria to the rule, select Add Matching Criteria.
-
After you have added the needed matching criteria, in the lower-right corner of the Preview tab, select Add Rule.
The status of the deduplication project becomes Ready to generate.
-
In the upper-right corner, select Generate Results. Then, confirm that you want to generate the results for the deduplication project.
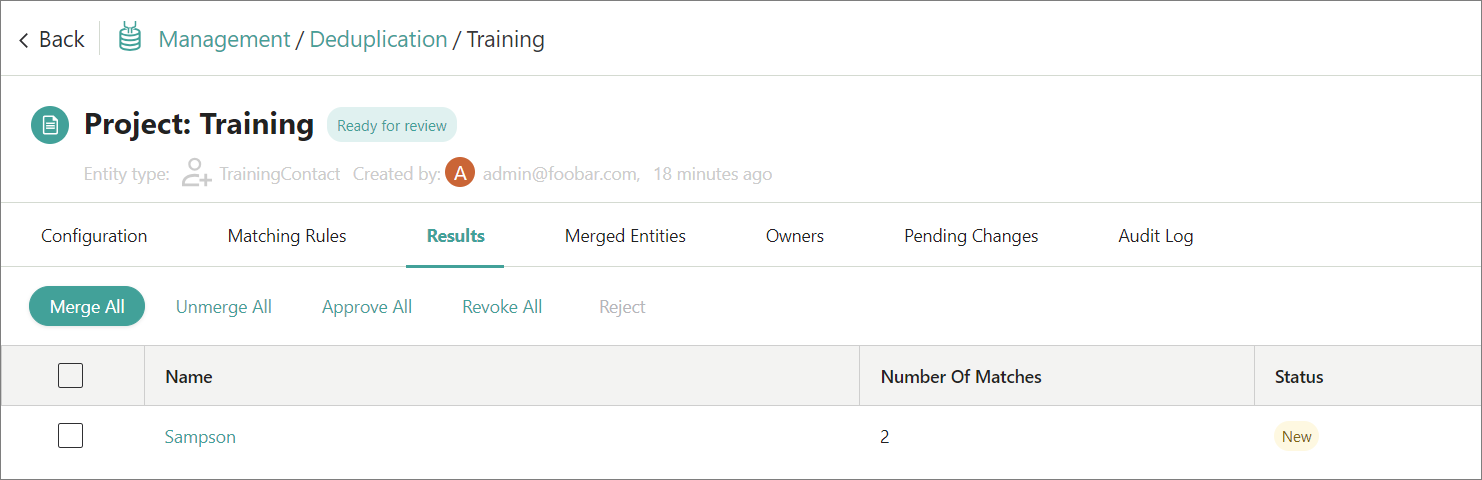
The process of generating results may take some time. After the process is completed, you will receive a notification. If duplicates are detected, the results will be displayed on the page. The results are organized into groups containing records that match your criteria. For example, on the following screenshot, the group consists of two duplicates. The name of the group corresponds to the value of the vocabulary key from the matching rule.
Now, you can proceed to fix the duplicates.
Fix duplicates
The process of fixing duplicates involves reviewing the values from duplicate records and selecting which values you want to merge into the deduplicated record.
To fix duplicates
-
Select the name of the group.
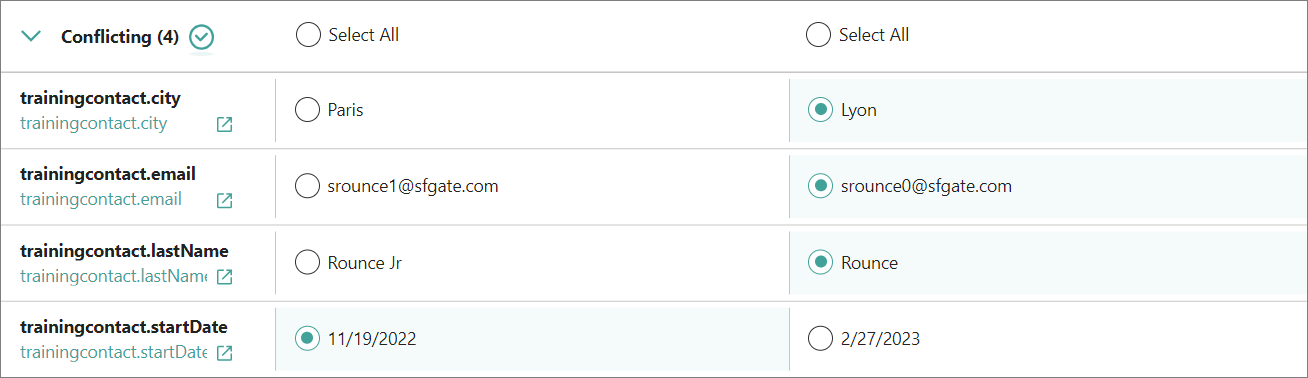
The Fix Conflicts tab opens. Here, you can view the details of the duplicate records. In the Conflicting section, you can find the properties that have different values in the duplicate records. In the Matching section, you can find the properties that have the same values in the duplicate records.
-
In the Conflicting section, select the values that you want to merge into the deduplicated record.
-
In the upper-right corner of the page, select Next.
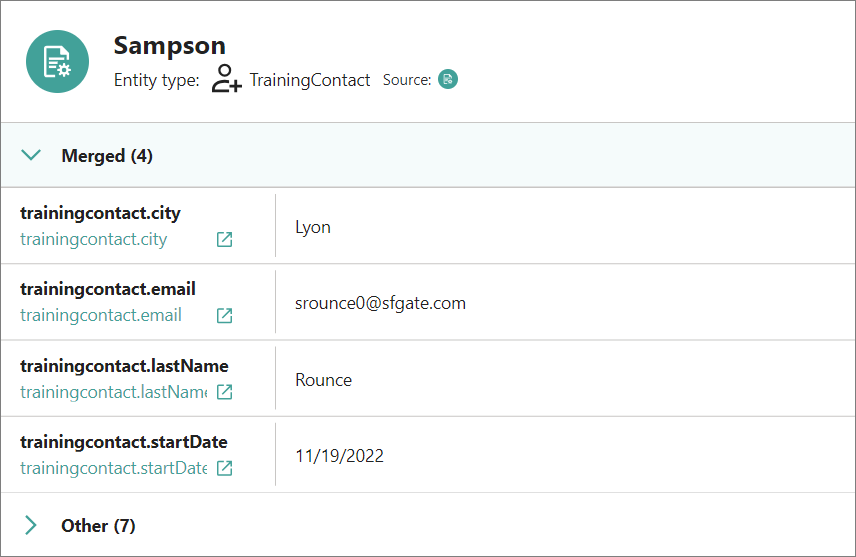
The Preview Merge tab opens. Here, you can view the values that will be merged into the deduplicated record.
-
In the upper-right corner of the page, select Approve. Then, confirm that you want to approve your selection of values for the group.
-
Select the checkbox next to the group name. Then, select Merge.

-
Confirm that you want to merge the records from the group:
-
Review the group that will be merged and select Next.
-
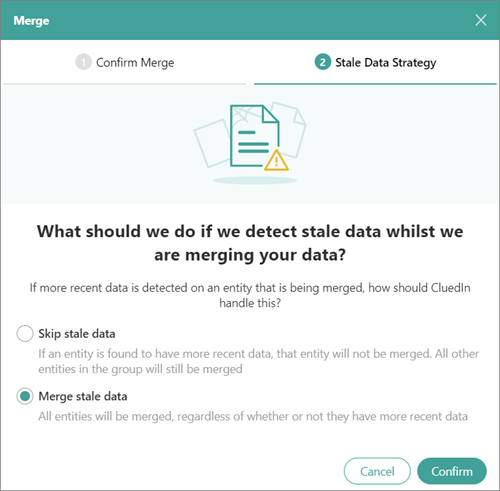
Select an option to handle the data merging process if more recent data becomes available for the golden record. Then, select Confirm.
The process of merging data may take some time. After the process is completed, you will receive a notification. As a result, the duplicate records have been merged into one record.
-
All changes to golden records in CluedIn are tracked. You can search for the needed golden record and on the Topology pane, you can view the visual representation of the records that were merged through the deduplication process.
Results & next steps
After you identified and merged duplicates, the count of golden records decreased. By following the steps outlined in this guide, you can conduct additional checks for duplicates in your data using various matching functions.
The next item on the list of common data management tasks is data streaming. Now that your data has been cleaned and deduplicated, you can send it to a Microsoft SQL Server database. Learn how to send data from CluedIn to external systems in the Stream data guide.