Power Automate post-configuration guide
On this page
In this guide, you will learn how to verify that the CluedIn custom connector has been created successfully.
This guide is applicable to both public and private CluedIn instances.
Make sure that you have completed all of the actions described in Power Automate configuration guide.
Prerequisites
- You need to have the System Administrator security role in the Power Automate environment.
Verify a custom connector
-
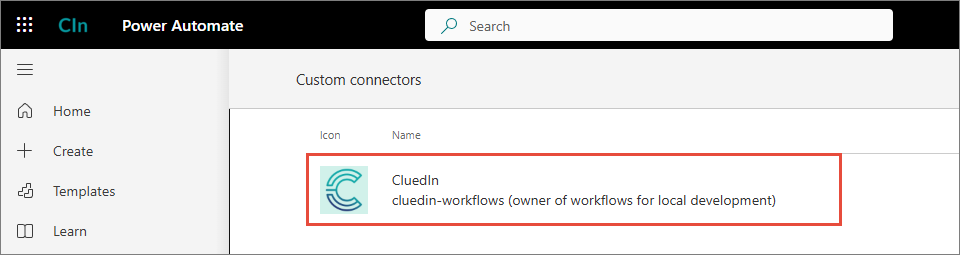
Open the Power Automate environment that you prepared during pre-configuration stage in Configure an environment, and then select Custom connectors.
Alternatively, you can use the following link, but make sure you provide your environment ID:
https://make.powerautomate.com/environments/<env-id>/connections/custom.You should see a custom connector with CluedIn logo.
-
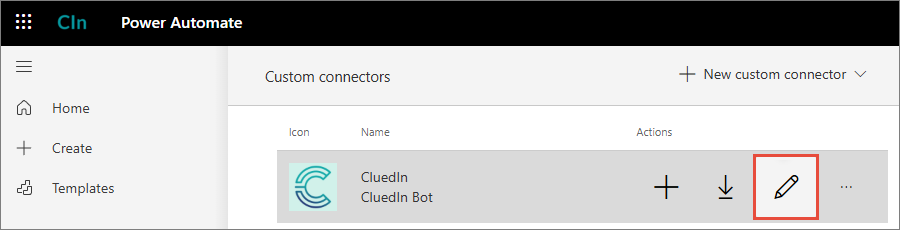
Open the custom connector and select Edit.
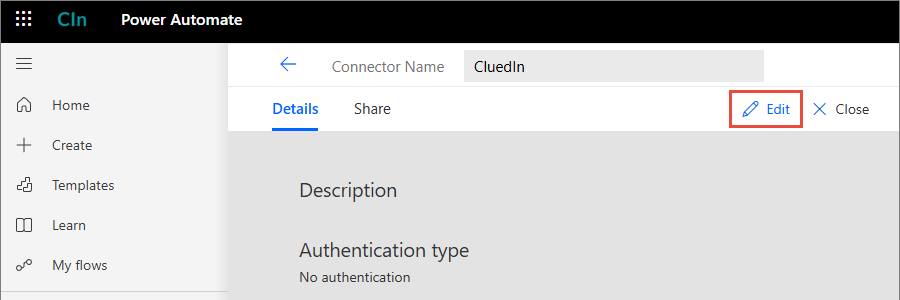
Alternatively, hover over the custom connector and select Edit.
-
Go to the Definition tab.
-
Check the Triggers section. All items there should be marked with green checkboxes.
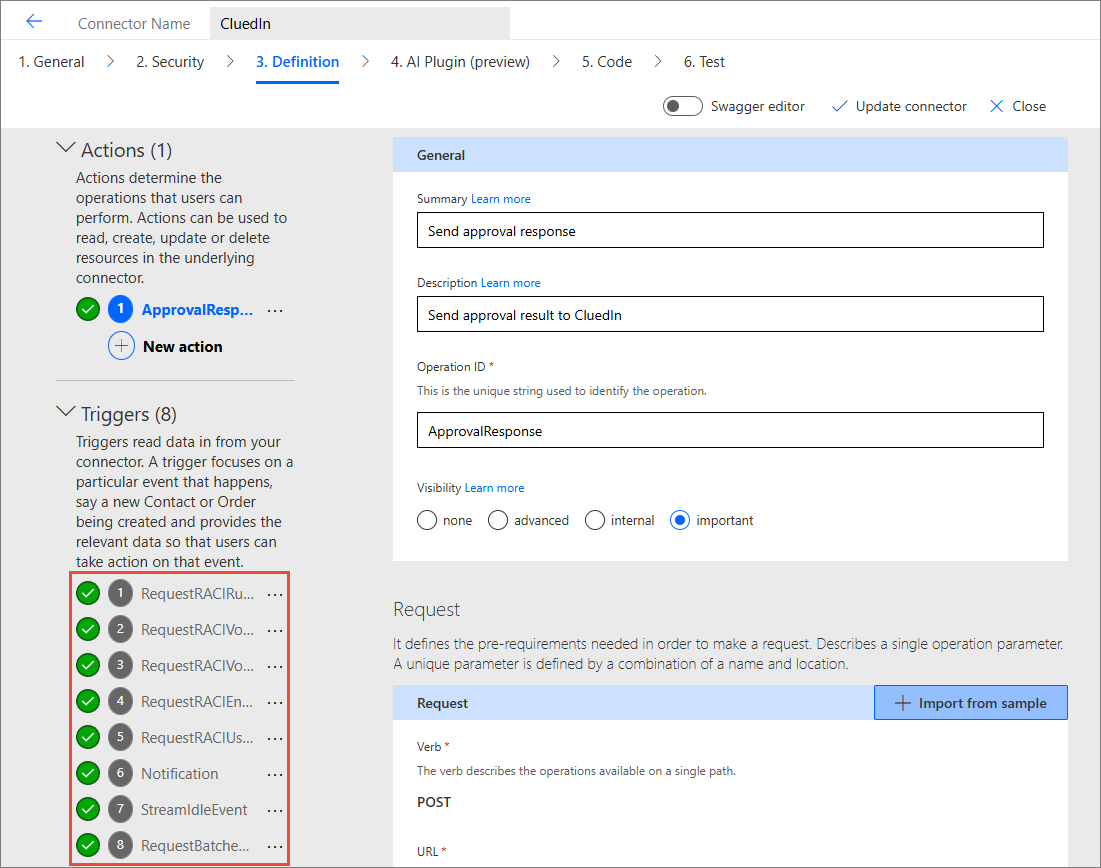
If you see green checkboxes for all items, it means that the custom connector has been configured successfully. Now, you can start creating workflows in the Workflow module in CluedIn.
Troubleshooting
This section includes the description of errors that might appear after configuring the custom connector as well as remediation steps.
No custom connector
Place of error: Power Automate
If you do not see a custom CluedIn connector in your Power Automate environment, make sure you have the System Administrator security role in the Power Automate environment. If you have the required role and still see a blank page, do the following:
-
In CluedIn, go to Administration > Settings, and then scroll down to the Workflows section.
-
Select Delete Custom Connector.
-
Select Register Custom Connector.
-
Repeat the steps from the section above to verify that the connector has been created successfully.
-
If the issue has not been resolved, reach out to CluedIn support at support@cluedin.com.
Failed triggers after registering a connector
Place of error: Power Automate
If some triggers on the Definitions tab do not have the green checkmark, register the connector again as described in the previous section.
Failed triggers after enabling a workflow
Place of error: CluedIn
After you create a workflow in CluedIn, you need to enable it, and then check its Properties tab. If you see the following error, it means that the workflow is not running.

To fix this error, register the connector again as described in the previous section.
Sign-in error: ID token not enabled
Place of error: CluedIn
In CluedIn, when you go to Workflow > Workflow Builder or Workflow > Approvals you may see an error similar to the following.
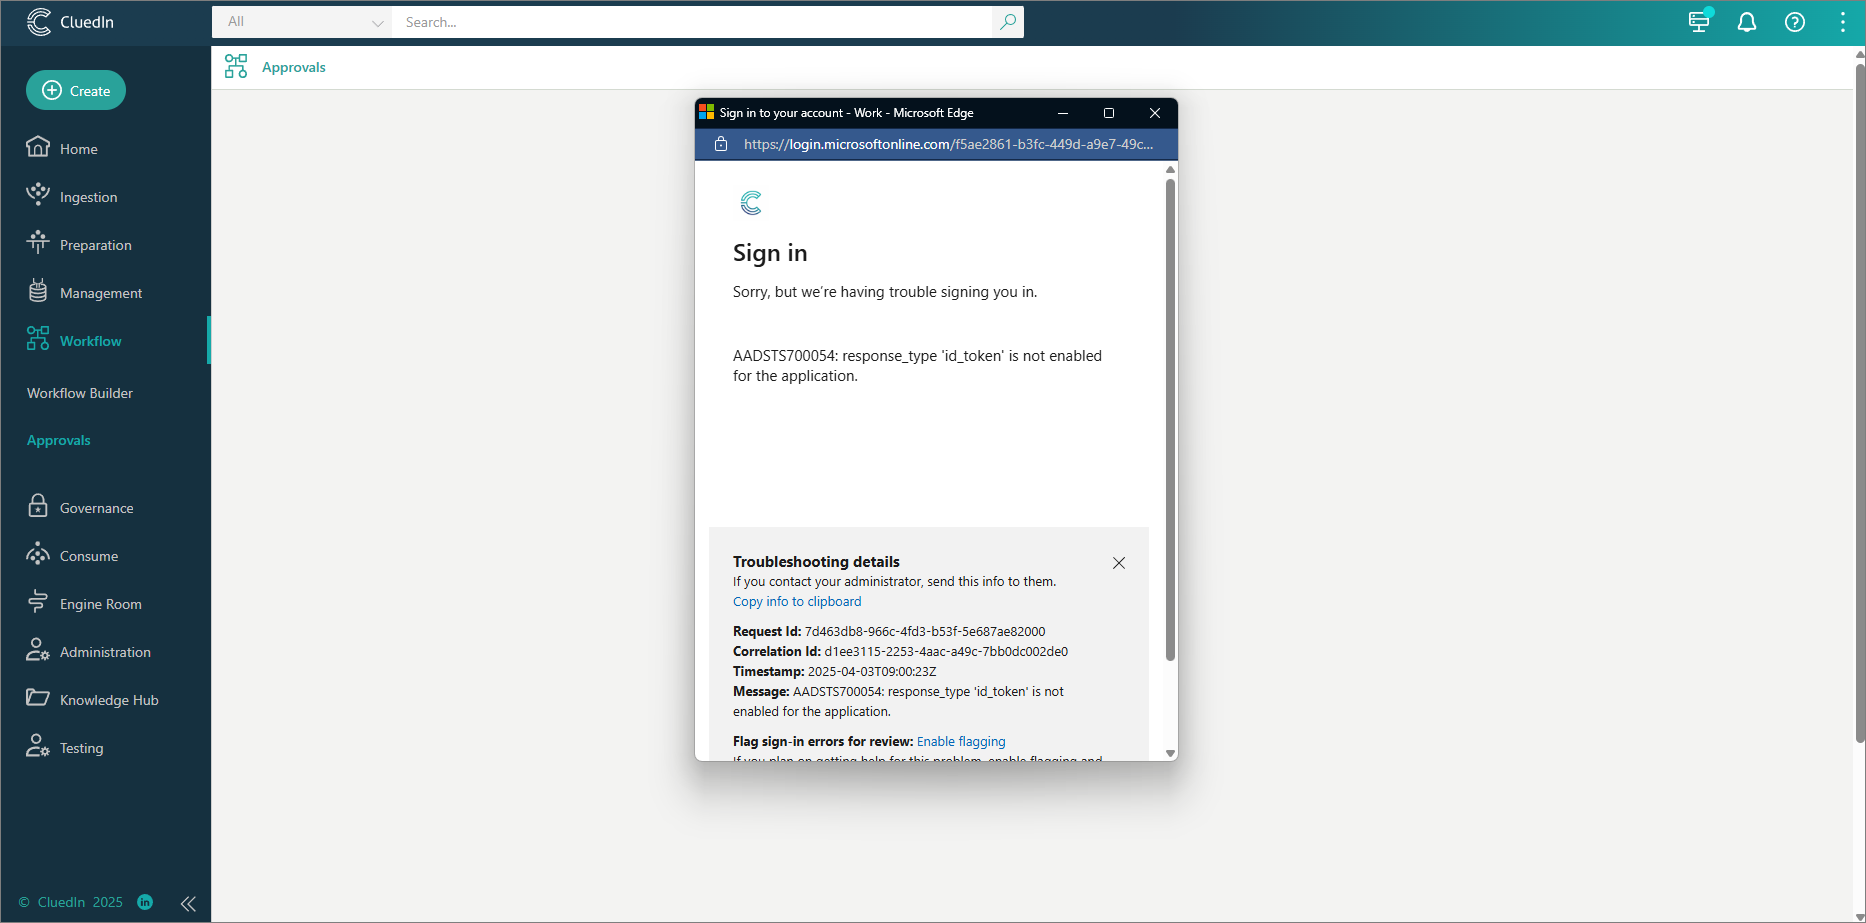
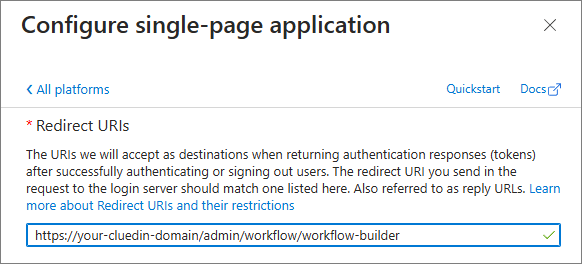
This error indicates that the service application that is used to authenticate the Power Automate widget in CluedIn does not have the platform configurated. To fix this, add a platform and a redirect URI as described in Create a service application.
Sign-in error: no reply address
Place of error: CluedIn
In CluedIn, when you go to Workflow > Workflow Builder or Workflow > Approvals you may see an error similar to the following.

This error indicates that the redirect URI in the service application that is used to authenticate the Power Automate widget in CluedIn is incorrect. To fix this, make sure the domain in the redirect URI matches your CluedIn application.
For more details, see Create a service application.
Next steps
Once you have verified that the CluedIn custom connector has been successfully configured, you can start creating workflows in the Workflow module in CluedIn.