SSO
On this page
- Overview of SSO for CluedIn
- Register an application in the Azure portal
- Create Kubernetes secret and enable SSO via Helm
In this article, you will learn how to configure single sign-on (SSO) for CluedIn using Microsoft Entra group-managed role membership. The steps described here apply to both PaaS and SaaS. However, for SaaS users, the final step must be completed by our support team.
Overview of SSO for CluedIn
SSO for CluedIn can be enabled in one of the following modes:
-
SSO with local CluedIn role membership management – all users from the directory can sign in to the CluedIn application. After the user signs in for the first time, CluedIn roles can be assigned in the usual way in the CluedIn UI.
-
SSO with Microsoft Entra group-managed role membership – Microsoft Entra application roles will need to be created within your Azure application registration so they can be mapped to your Microsoft Entra groups or users. This mode requires Automatic Role Synchronization to be enabled in the Administration Settings page in CluedIn.

Configuring SSO for CluedIn using Microsoft Entra involves two main steps:
Important! Before configuring SSO, make sure that you have configured DNS and TLS.
Register an application in the Azure portal
Registering your application establishes a trust relationship between your application and the Microsoft identity platform. The trust is unidirectional: your application trusts the Microsoft identity platform, and not the other way around. After you create the application, it cannot be moved between different tenants.
Throughout the documentation, we’ll be working with ficticious domain yourdomain.com and the two subdomains:
app– references the back-end application. By default, it is just app, but can be changed in the values file.cluedin– references the main CluedIn URL you would access on a daily basis.
To register an application in the Azure portal
-
In the Azure portal, go to the tenant in which you want to register the application.
-
Search for and select Microsoft Entra ID.
-
Under Manage, select App registrations > New registration.
-
Enter a display Name for your application.
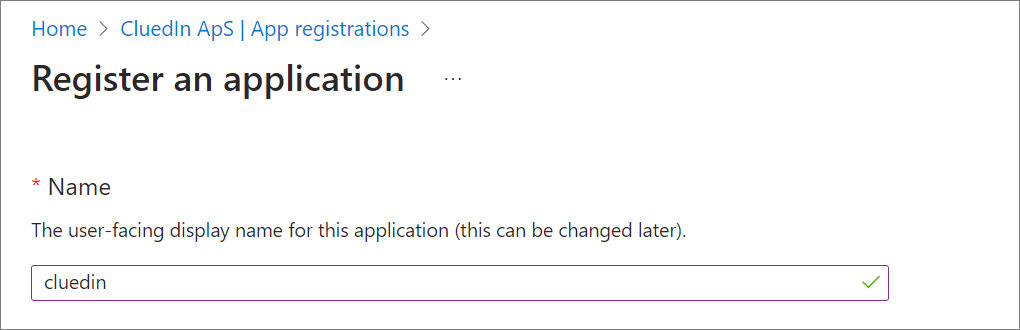
-
Select the Supported account types that can use the application.
-
Update Redirect URI to Web and set the URL to the app subdomain of your instance with the path of
/auth/signin-oidc.e.g. https://app.domain.com/auth/signin-oidc
-
Select Register.
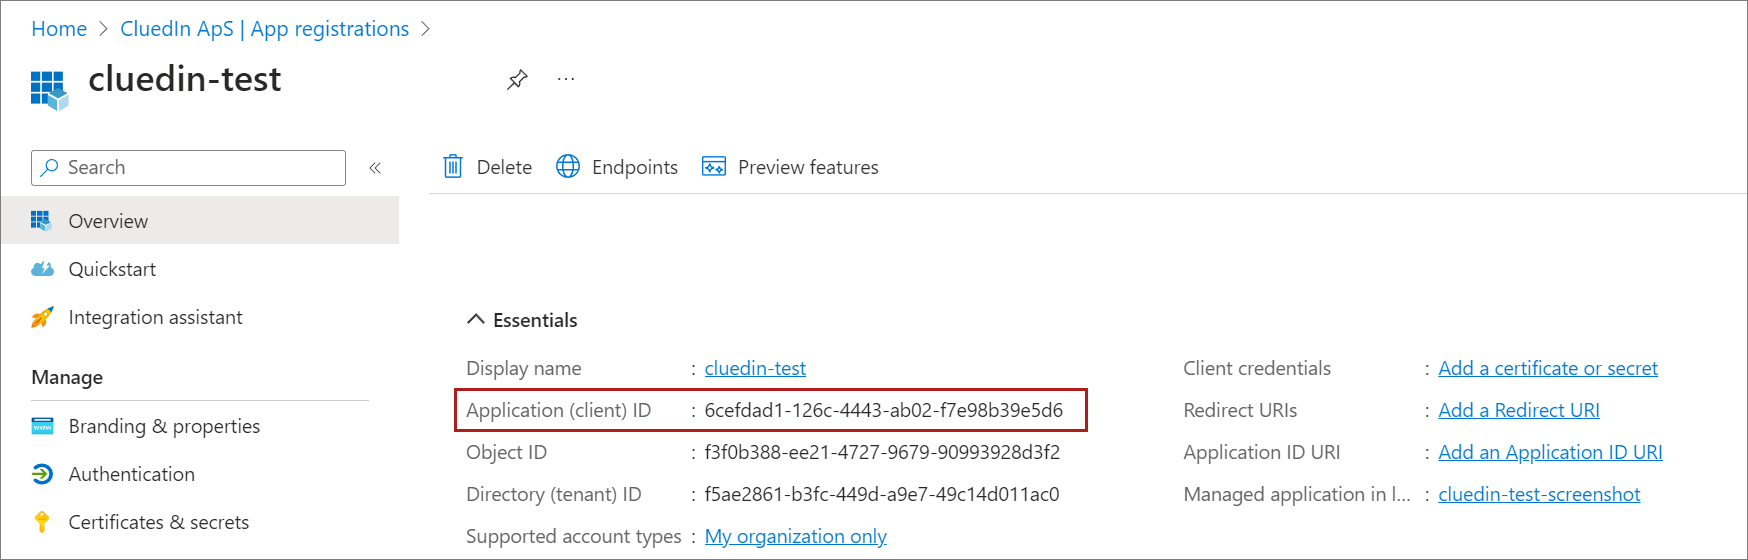
When the registration finishes, the Azure portal displays the Overview pane of the application registration. Here you can see the Application (client) ID. This value uniquely identifies your application. Make note of this ID as you’ll need it to enable SSO via Helm.
After you register the application, complete the following steps:
Create a client secret
A client secret is used to configure CluedIn to communicate with Microsoft Entra.
To create client secret
-
In the Azure portal, in App registrations, select your application.
-
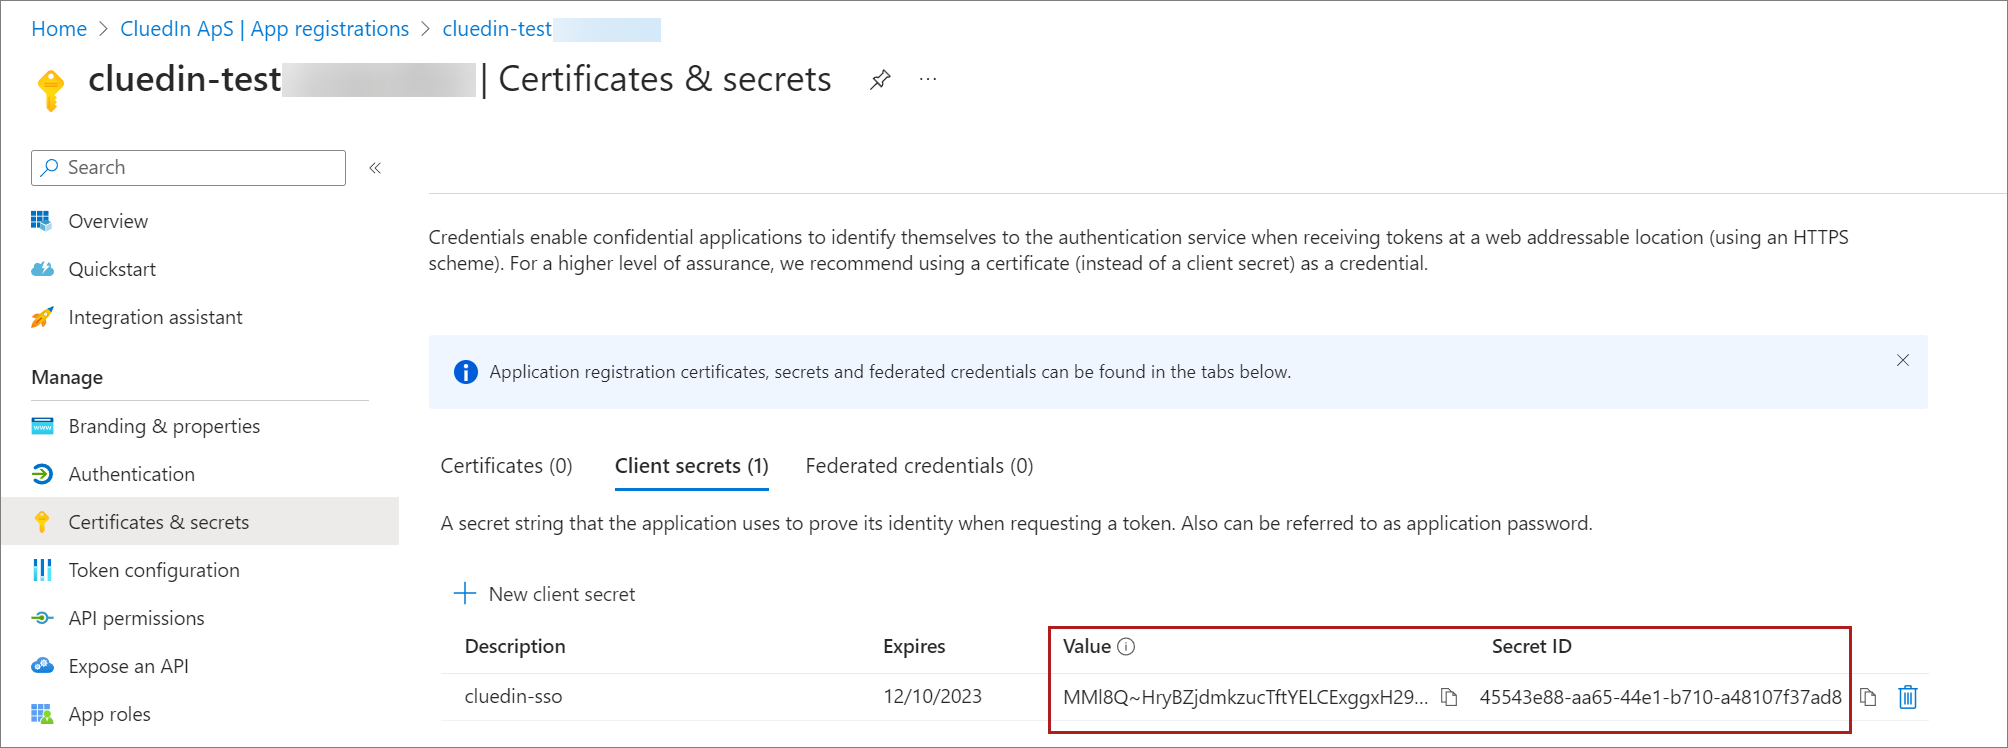
Select Certificates & secrets > Client secrets > New client secret.
-
Add a description for your client secret and an expiration date.
-
Select Add.
-
Copy and save the secret value because this will be used later in your CluedIn Helm configuration.
For more information about the client secret, see Microsoft documentation.
Update authentication
-
Under Manage select Authentication
-
Under Front-channel logout URL, add a logout URL for your application.
e.g.
https://app.yourdomain.com/logout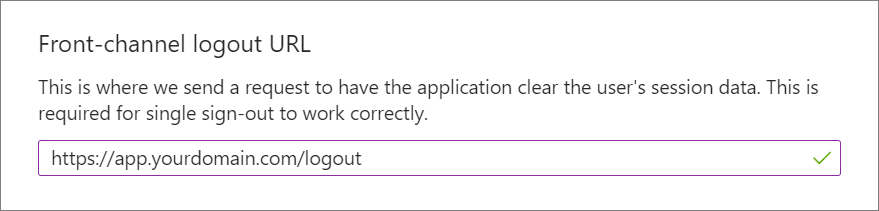
-
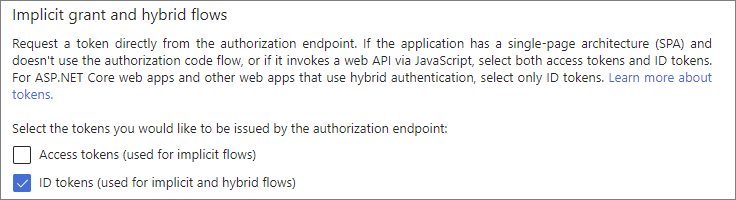
In the Implicit grant and hybrid flows section, select the ID tokens checkbox.
-
At the bottom of the page, select Save.
For more information about redirect URIs, see Microsoft documentation.
Granting external users access via single sign-on
When enabling single sign-on to your CluedIn application, it is possible to also allow external guests (domains) to sign in and be granted access to the application. This will also be dependant on your network setup.
To grant SSO access to external users
-
Select Authentication.
-
Scroll down to Supported account types and change the mode to
Accounts in any organizational directory (Any Microsoft Entra ID tenant - Multitenant). -
Select Save.
This will allow guests invited to your Microsoft Entra ID to be able to use this application for single sign-on. The process remains the same whereby the user signs in like you normally would.
Add API permissions for Microsoft Graph
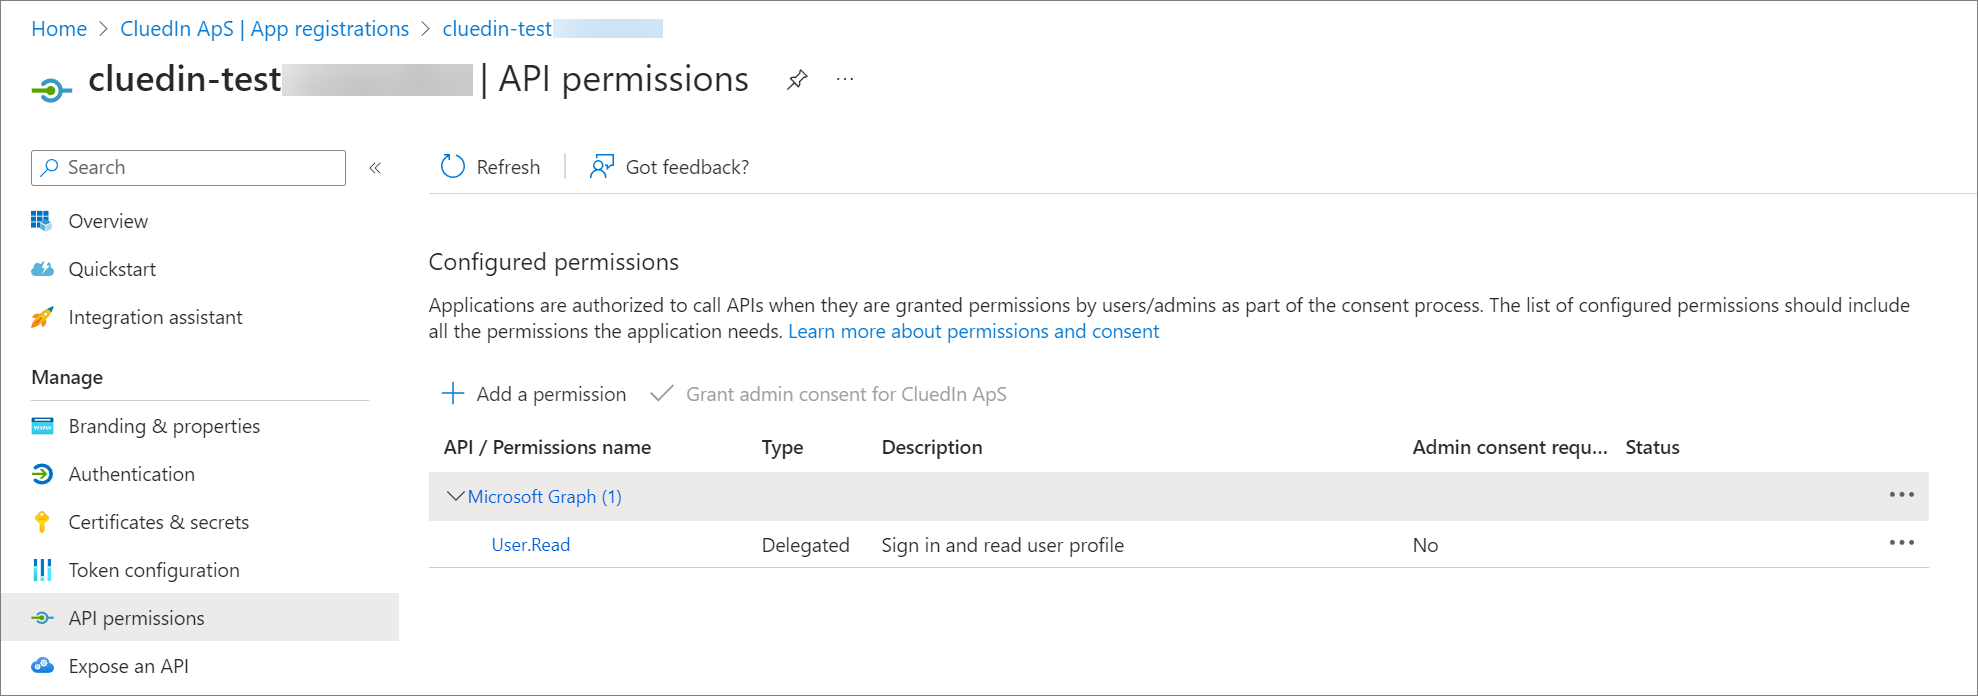
When you register an application in the Azure portal, the Microsoft Graph API with the User.Read permission is added automatically. You need to add additional permissions for Microsoft Graph.
To add API permissions for Microsoft Graph
-
Select API permissions.
-
In the Configured permissions section, click on the existing Microsoft Graph entry.
-
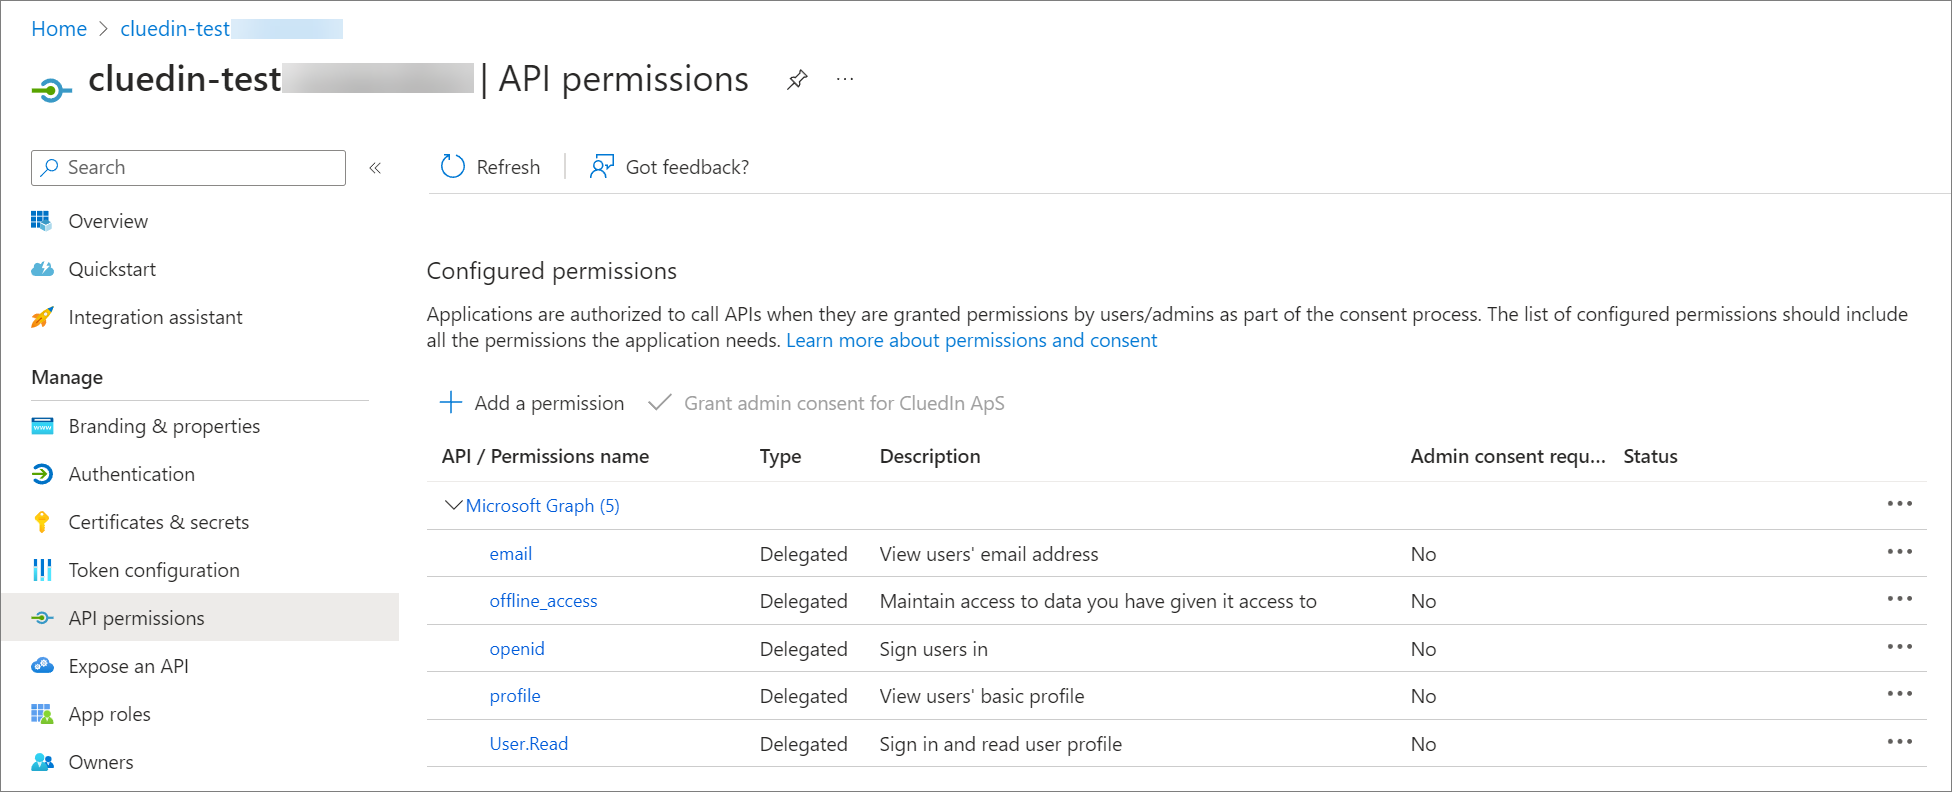
In the right pane, select the following permissions: email, offline_access, openid, and profile. At the bottom of the pane, select Update permissions.
The API permissions for Microsoft Graph are updated.
For more information about API permissions, see Microsoft documentation.
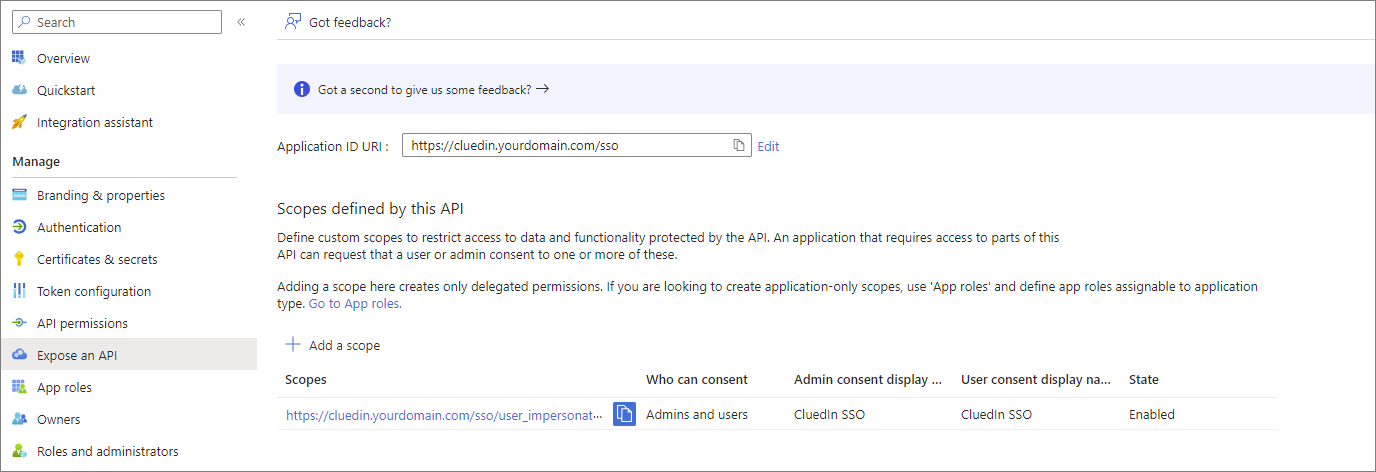
Expose an API
You need to register a web API with the Microsoft identity platform and expose it to the client app by adding a scope. By registering your web API and exposing it through scope, you can provide permissions-based access to authorized users that access your API.
To expose the API
-
Select Expose an API.
-
In the Scopes defined by this API section, select Add a scope.
-
For the first-time setup, you will need to specify the
Application ID URI. For this, leave it as the default selection which will be a randomly generated GUID.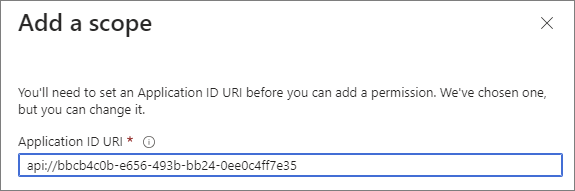
-
Select Save and continue.
-
Specify the following scope attributes:
-
Scope name:
user_impersonation -
Who can consent:
Admins and Users -
Admin consent display name:
CluedIn SSO -
Admin consent description:
CluedIn SSO
For detailed instructions on how to configure an app to expose web API, see Microsoft documentation.
-
-
Select Add scope when done.
Map Microsoft Entra application roles to CluedIn roles
After you have created your application registration and attached it to your CluedIn instance, you can create the application roles on the Microsoft Entra side. These roles will be translated into the CluedIn platform roles and assigned to the users as they sign in to the application when the Automatic Role Synchronization option is enabled in the CluedIn settings.
If you change the role of the user after they sign in, they will need to sign out and sign back in for the new role to take affect.
To map Microsoft Entra application roles to CluedIn roles
-
Select App roles.
-
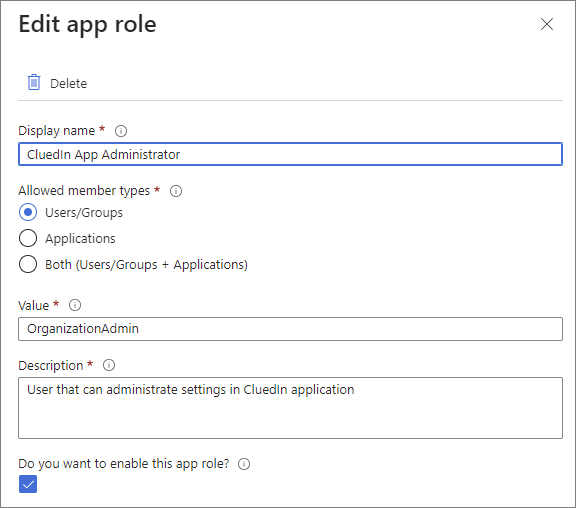
On the menu, select Create app role.
-
Enter the details of the role. See CluedIn roles for recommended values.
-
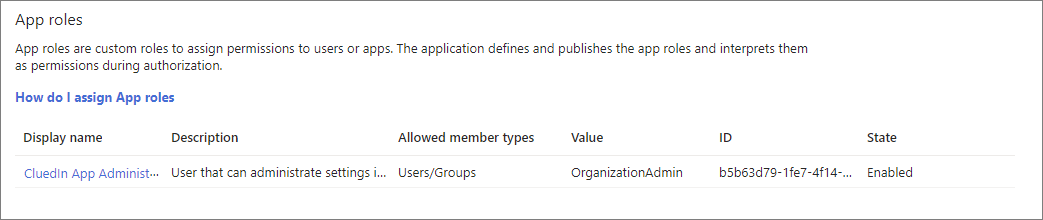
Select Apply to save your changes. The role is added to the App roles list.
-
Repeat steps 3-5 to add all roles listed below.
In the CluedIn application, you can find all CluedIn roles by navigating to Administration > Roles.
Any changes made in the application registration will be saved in your Azure subscription. We do not impose strict requirements on how app roles are set up, so you can follow your organization’s internal requirements.
By default, any user will be able to sign into CluedIn but won’t have a role assigned. If you would prefer to reject the user from signing in, you can set this under the Enterprise application of the same name of the app registration. Within properties is a toggle switch called Assignment required? which can be used for this purpose.
You can then add groups and role assignments on the left-hand blade labelled Users and groups.
CluedIn roles
The following table provides a list of the CluedIn application roles and recommended values to use when creating your Microsoft Entra application roles with your application registration.
| Display name | Value | Description |
|---|---|---|
| Data Governance Administrator | DataGovernanceAdministrator | Role responsible for approving changes made by Data Governance users |
| Data Compliance | DataCompliance | Role responsible for daily operations around data compliance |
| Data Steward | DataSteward | Role dedicated to cleaning data using Clean and Prepare modules |
| Data Compliance Administrator | DataComplianceAdministrator | Role responsible for approving changes made by Data Compliance users |
| Guest | Guest | Guest User with minimal, read-only permissions |
| User | User | User who can view all modules as read-only |
| Data Architect | DataArchitect | Role responsible for designing an Organizations enterprise data strategy |
| Deduplication Reviewer | DeduplicationReviewer | Role responsible for reviewing Deduplication Project results and approving the groupings |
| Organization User | OrganizationUser | User within an Organization who can view all modules as read-only |
| Data Governance | DataGovernance | Role responsible for monitoring and maintaining data quality |
| Report Manager | ReportManager | User who can generate reports for compliance matters such as breach, subject request, and retention |
| Organization Admin | OrganizationAdmin | Administrator within the Organization |
| Deduplication Administrator | DeduplicationAdministrator | Role responsible for creating and maintaining Deduplication Projects and merging the results back into the system |
| Data Steward Administrator | DataStewardAdministrator | Role responsible for approving changes made by Data Stewards |
Create Kubernetes secret and enable SSO via Helm
(For SaaS users) Once you have completed all the previous steps, please reach out to CluedIn support at support@cluedin.com to complete the final step.
After you complete the Azure application registration and app roles configuration, this will then need to be enabled on the CluedIn platform. As this touches the inner workings of Kubernetes, if you prefer, a member of CluedIn will be able to facilitate these steps for you.
Prerequisites
-
You should be comfortable working in either PowerShell or bash terminal via Azure Cloud Shell.
-
You should be connected to your AKS cluster. See Connect to CluedIn cluster for detailed instructions.
-
Your Helm repository is set up.
If you have any questions, you can request CluedIn support by sending an email to support@cluedin.com (or reach out to your delivery manager if you have a committed deal).
Once you have connected to your cluster and you are able to issue commands using kubectl and Helm, complete the following procedure to enable SSO for CluedIn.
To create Kubernetes secret and enable SSO via Helm
-
Create a new Kubernetes secret with your Azure app registration secret by running the following command:
kubectl create secret generic "myorg-sso-cs" -n cluedin --from-literal=clientSecret="Xcy8Q~....."In the command, replace Xcy8Q~….. with your Azure app registration secret value.
-
In Azure Cloud Shell, run the following command to create a new empty file:
nano Cluedin-SSO-Config.yaml -
In the file, paste the following configuration:
apiVersion: api.cluedin.com/v1 kind: Feature metadata: name: myorg-sso spec: enableSso: clientId: "0cXXXX-XXXX-XXXX-XXX-XXXXXX575" organizationName: "myorg" clientSecretName: "myorg-sso-cs" clientSecretKey: "clientSecret" -
Change the name and organizationName values to match your CluedIn organization/tenant name.
-
Change the clientId value to the client ID from your Azure app registration.
-
Save the file and apply your SSO configuration by running the following command in Azure Cloud Shell:
kubectl apply -n cluedin -f Cluedin-SSO-Config.yaml -
Verify that the SSO feature has been enabled successfully by running the following command in Azure Cloud Shell:
kubectl get features -n cluedin
If your SSO feature has been successfully applied, you should see something similar to the screenshot below.

If the Phase is not in the Active state, wait for 5 minutes and run the command again. If nothing changes, reach out to CluedIn support at support@cluedin.com for help in enabling your SSO.