Purview pre-configuration guide
On this page
In this guide, you will learn how to prepare for configuring Purview integration in CluedIn. Generally, you need to prepare the following:
-
Purview account
-
App registration
-
Data sources, such as a storage account, Fabric, SQL Server, Snowflake.
-
Key vault
-
Purview environment: collections, scanned data sources, role assignments
Prerequisites
Make sure you have a Microsoft Purview account. For information on how to create it, see Create a Microsoft Purview account.
Create resources in Azure
In this section, you will find instructions for creating and preparing Azure resources needed for Purview integration configuration.
Register an application and create a service principal
When you register a new application in Microsoft Entra ID, a service principal is automatically created for the app registration. The service principal is the app’s identity in the Microsoft Entra tenant. For more information, see Register a Microsoft Entra app and create a service principal.
To register an application
-
Sign in to the Azure portal.
-
On the Home page of the portal under Azure services, select Microsoft Entra ID.
-
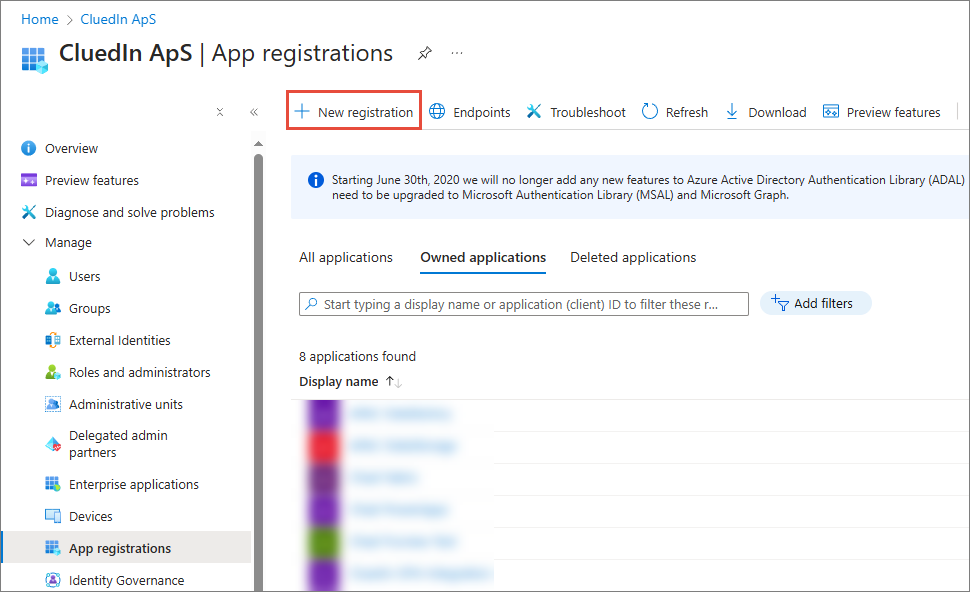
In the left navigation pane, select App registrations. Then, on the App registrations page, select + New registration.
-
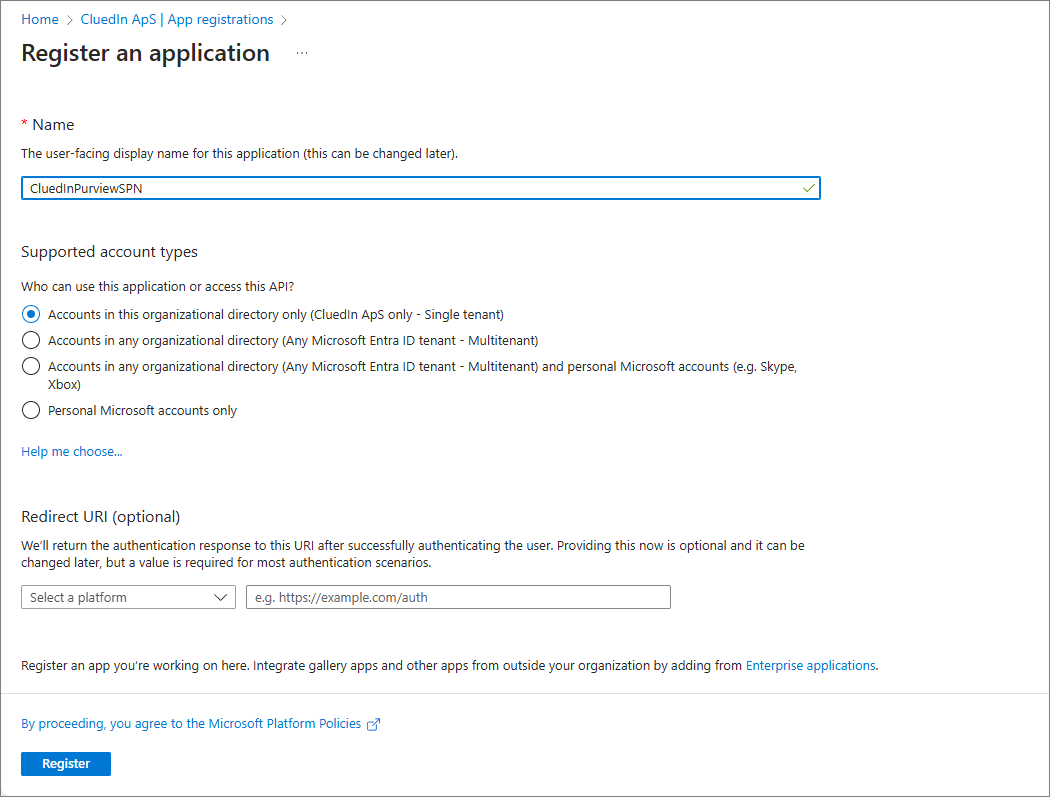
Provide your application’s registration information: Name and Supported account types.
-
Select Register.
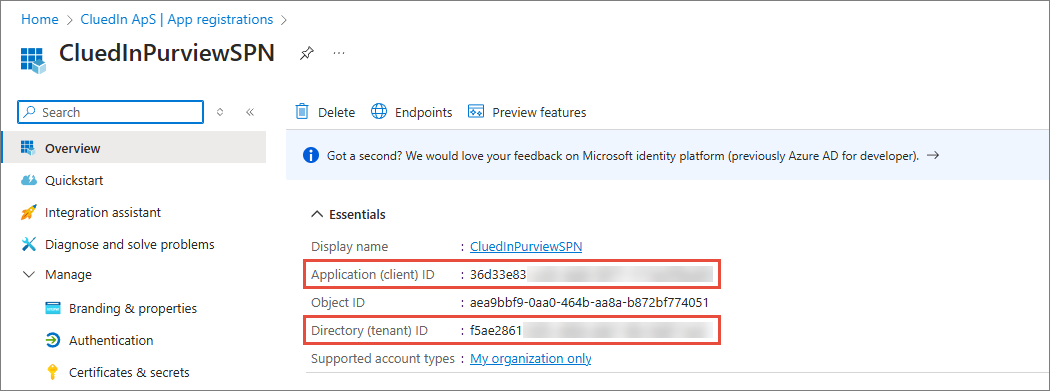
You will need the Application (client) ID and Directory (tenant) ID to configure Purview integration in CluedIn as described in Purview configuration guide.
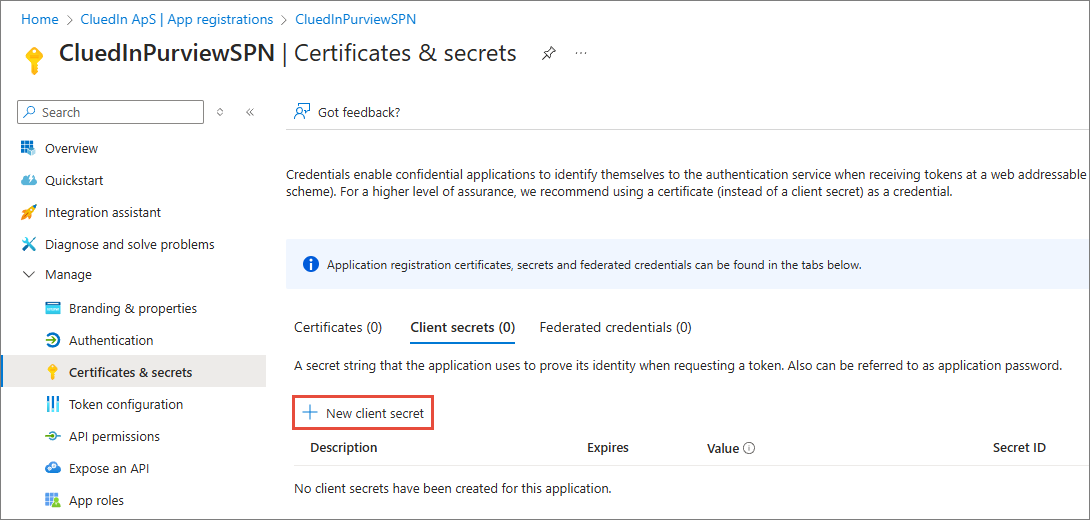
Once the application is registered, create a client secret.
To create a client secret
-
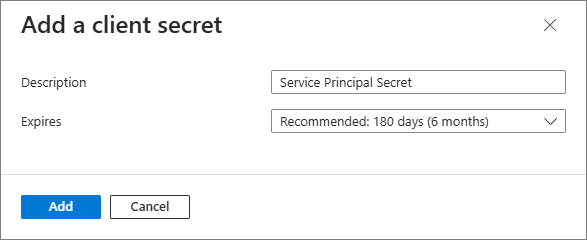
Go to Certificates & secrets > Client secrets > New client secret.
-
Add a description for your client secret. Select an expiration for the secret or specify a custom lifetime. Finally, select Add.
-
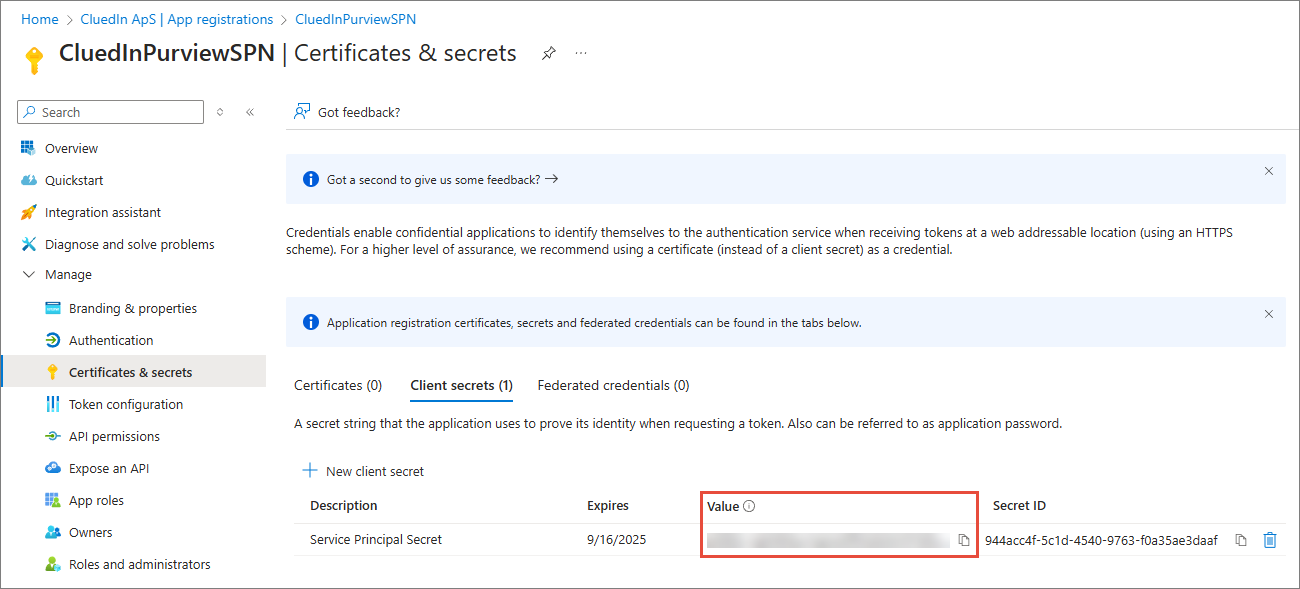
Record the Value of the client secret. You will need it to configure Purview integration in CluedIn as described in Purview configuration guide. This secret value is never displayed again after you leave this page.
Create a storage account
-
Sign in to the Azure portal.
-
From the left portal menu, select Storage accounts.
-
On the Storage accounts page, select Create.
-
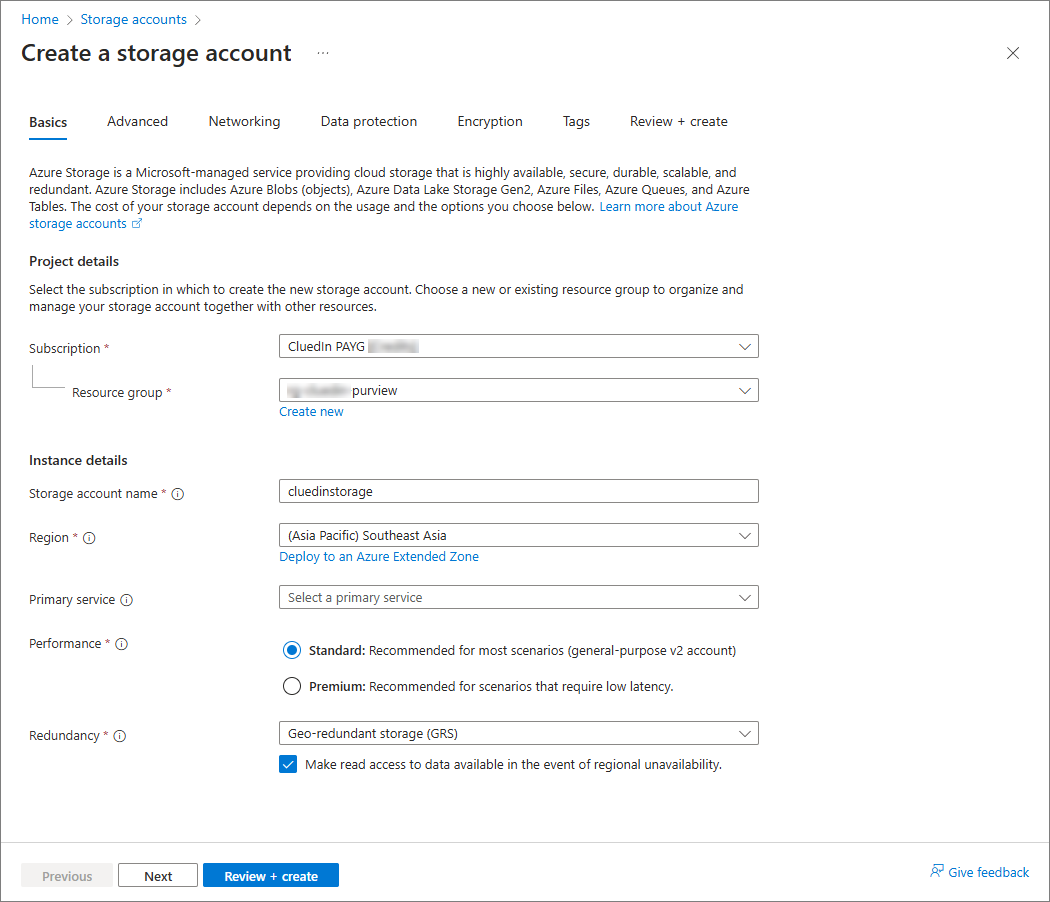
On the Basics tab, provide the essential information for your storage account:
-
In the Project details section:
-
Select the Subscription for the new storage account.
-
Create a new Resource group for this storage account or select an existing one.
-
-
In the Instance details section:
-
Enter a unique Storage account name.
-
Select the appropriate Region for your storage account.
-
Select the Primary service that provides a unique namespace for your Azure Storage data (Azure Blob Storage or Azure Data Lake Storage Gen 2).
-
In Performance, leave the default Standard option selected. This type of account is recommended by Microsoft for most scenarios.
-
In Redundancy, leave the default Geo-redundant storage (GRS) option selected. This way, your data is replicated to a data center in a different region. For read access to data in the secondary region, select Make read access to data available in the event of regional unavailability.
-
-
Select **Review + create**.
-
-
When you navigate to the Review + create tab, Azure runs validation on your storage account settings. After the validation is passed, select Create.
Create a key vault and register Purview
To store encryption keys, secrets, and certificates for communication between Purview, Azure Data Factory, and data stores, create and configure a key vault.
To create and configure a key vault
-
Sign in to the Azure portal and create a key vault following the instructions from Microsoft.
After you create a key vault, you need to grant the Microsoft Purview managed identity access to your Azure Key Vault.
-
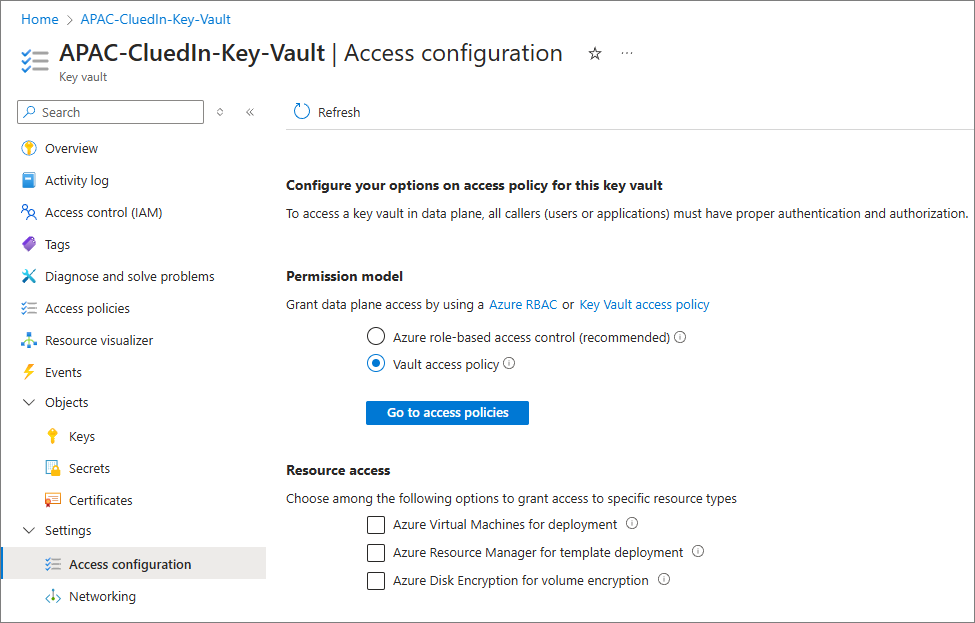
In the navigation pane, go to Settings > Access configuration.
-
In the Permission model section, select Vault access policy.
-
Select Apply.
-
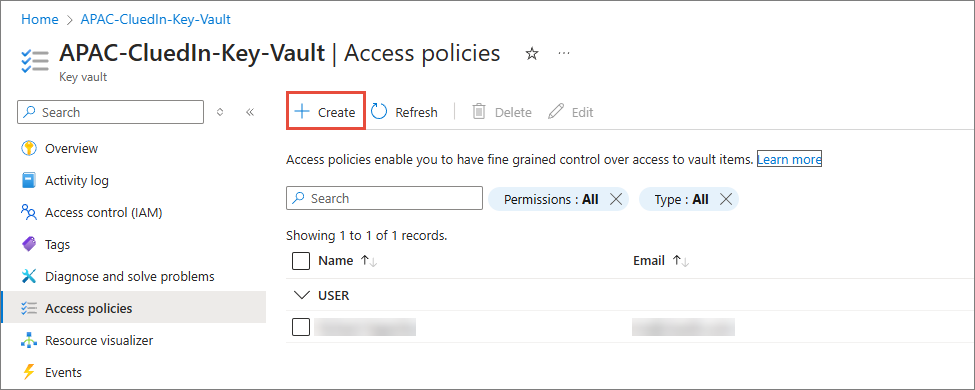
In the navigation pane, go to Access policies.
-
On the Access policies page, select Create.
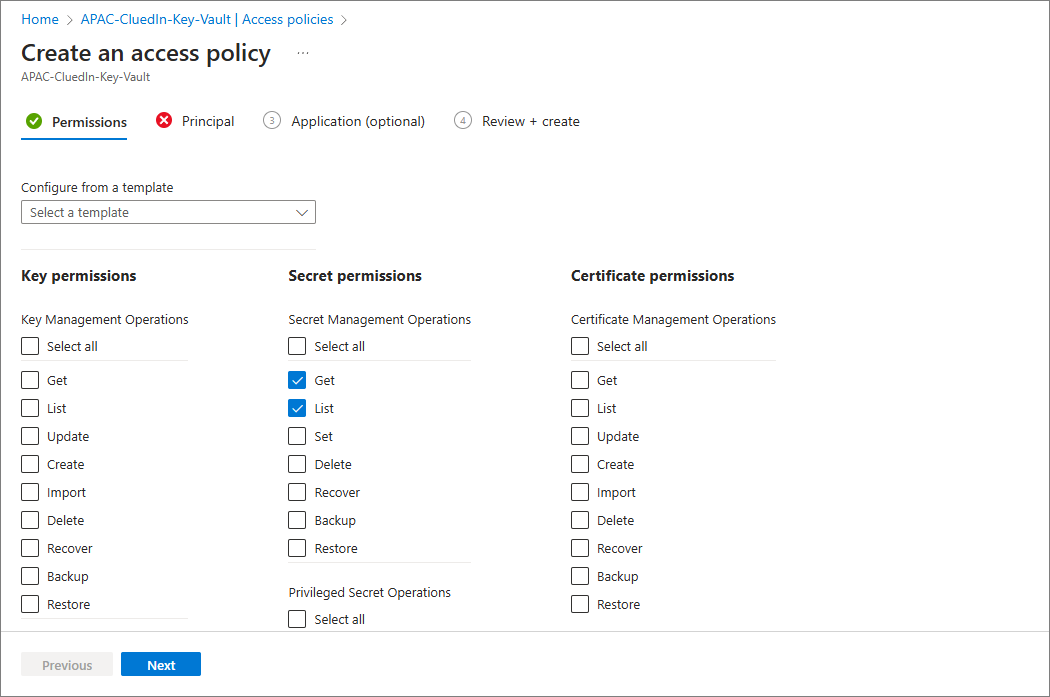
-
On the Permissions tab, in the Secret permissions column, select the checkboxes for Get and List, and then select Next.
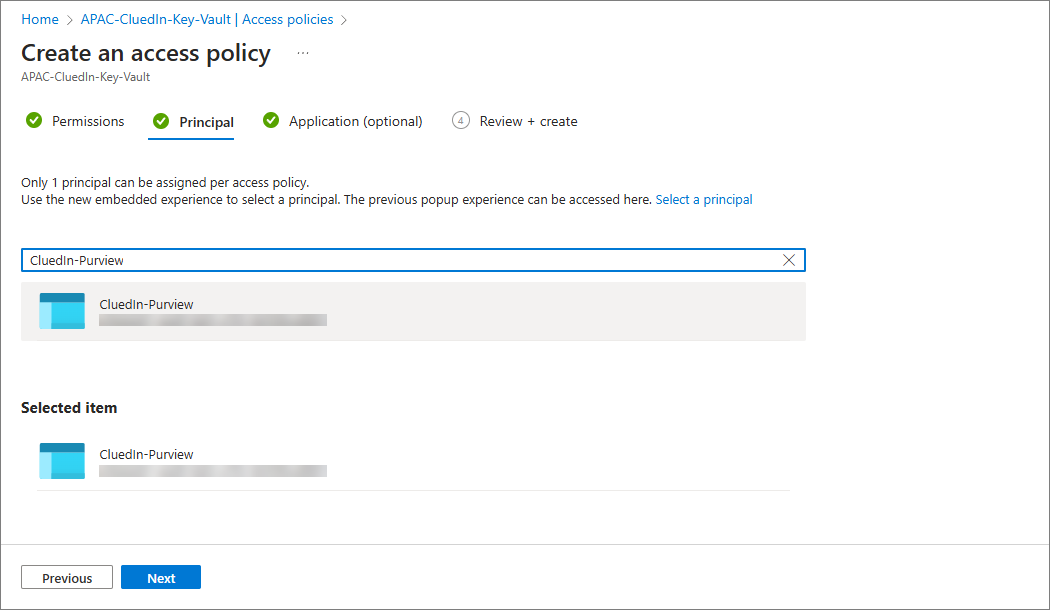
-
On the Principal tab, find and select the Purview account, and then select Next.
-
On the Application (optional) tab, select Next.
-
On the Review + create tab, select Create.
Create a key vault secret
-
In the Azure portal, open the key vault that you created before.
-
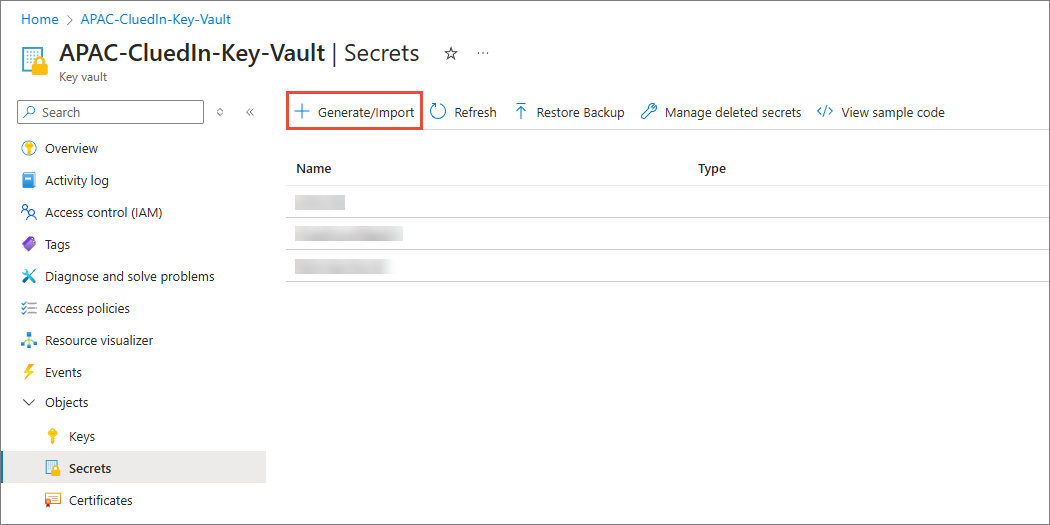
In the navigation pane, go to Objects > Secrets.
-
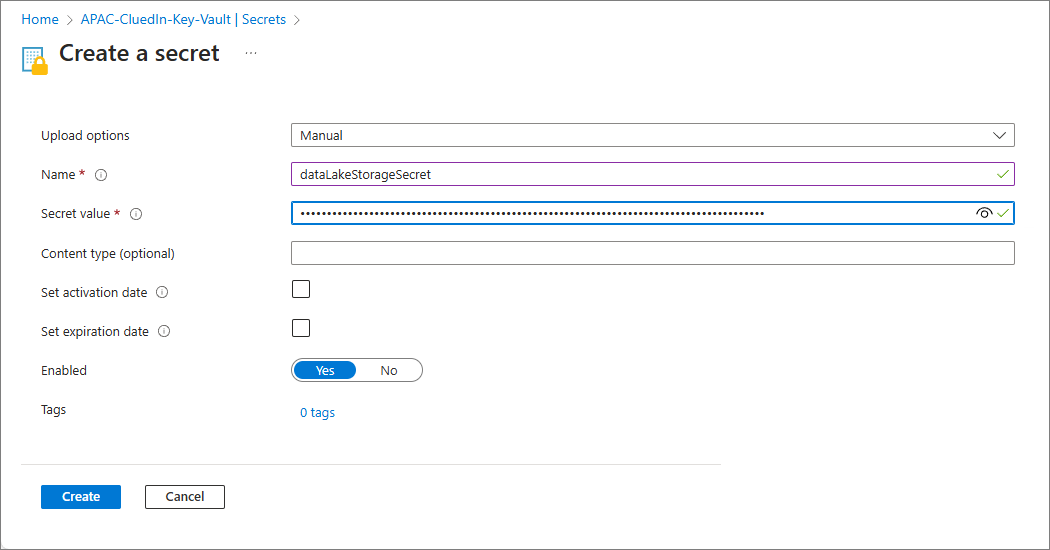
On the Secrets page, select Generate/Import.
-
Enter the Name of the secret.
-
To get the Secret value, do the following:
-
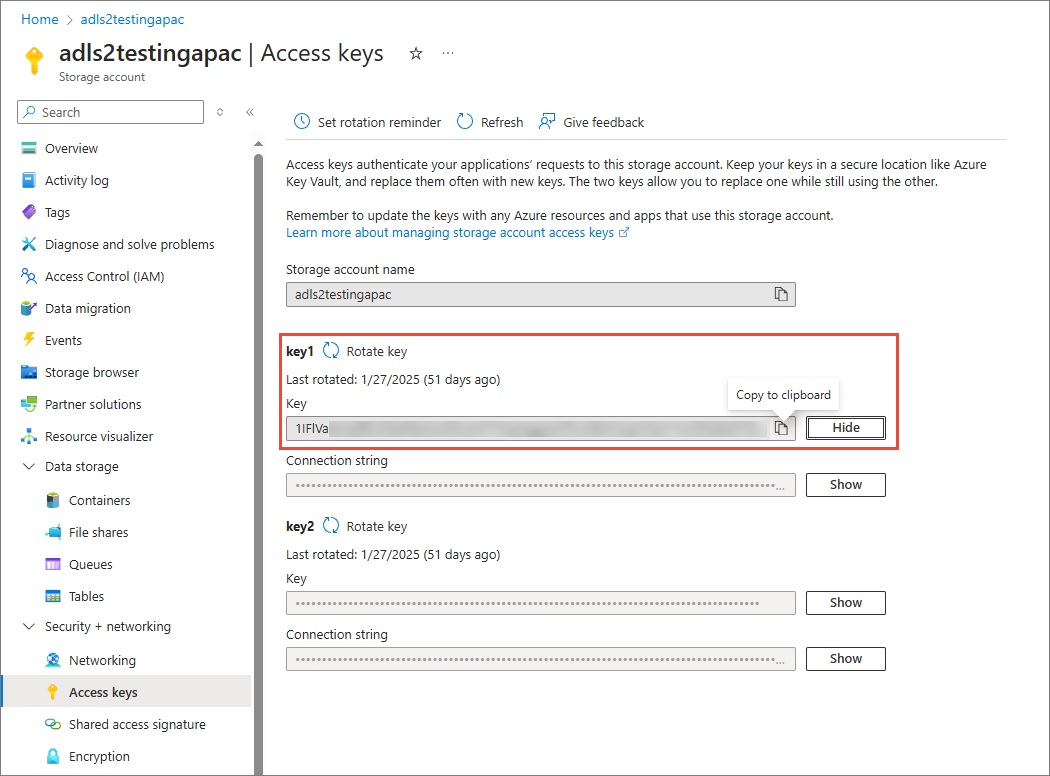
Go to the storage account that you created before in Create a storage account.
-
On the navigation pane, go to Data storage > Access keys.
-
Copy the value of key1.
-
Paste the copied value to the Secret value field.
-
Select Create.
-
Prepare Microsoft Purview environment
In this section, you will find instructions for preparing your Purview environment for integration with CluedIn.
Create a new collection
You need to create 2 collections: one to store the assess from Azure Data Lake Storage and the other one to store the assess from CluedIn.
To create a new collection
-
In the Microsoft Purview portal, navigate to Data Map > Domains, and then select your default domain.
-
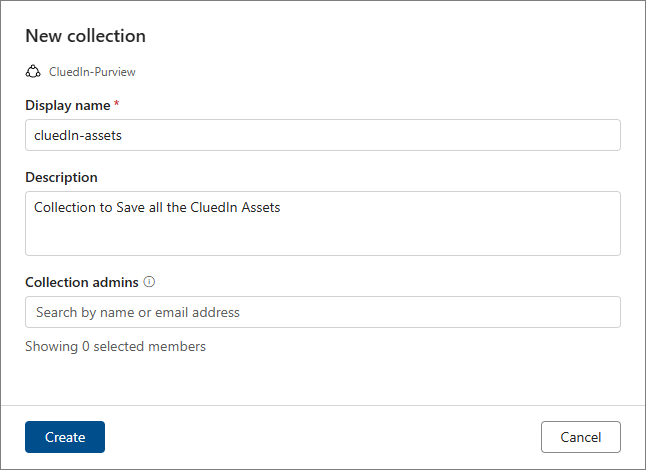
On the default domain page, select + New collection.
-
Provide the details for the collection that will be used to store the assets from CluedIn:
-
Enter the Display name and Description of the collection.
-
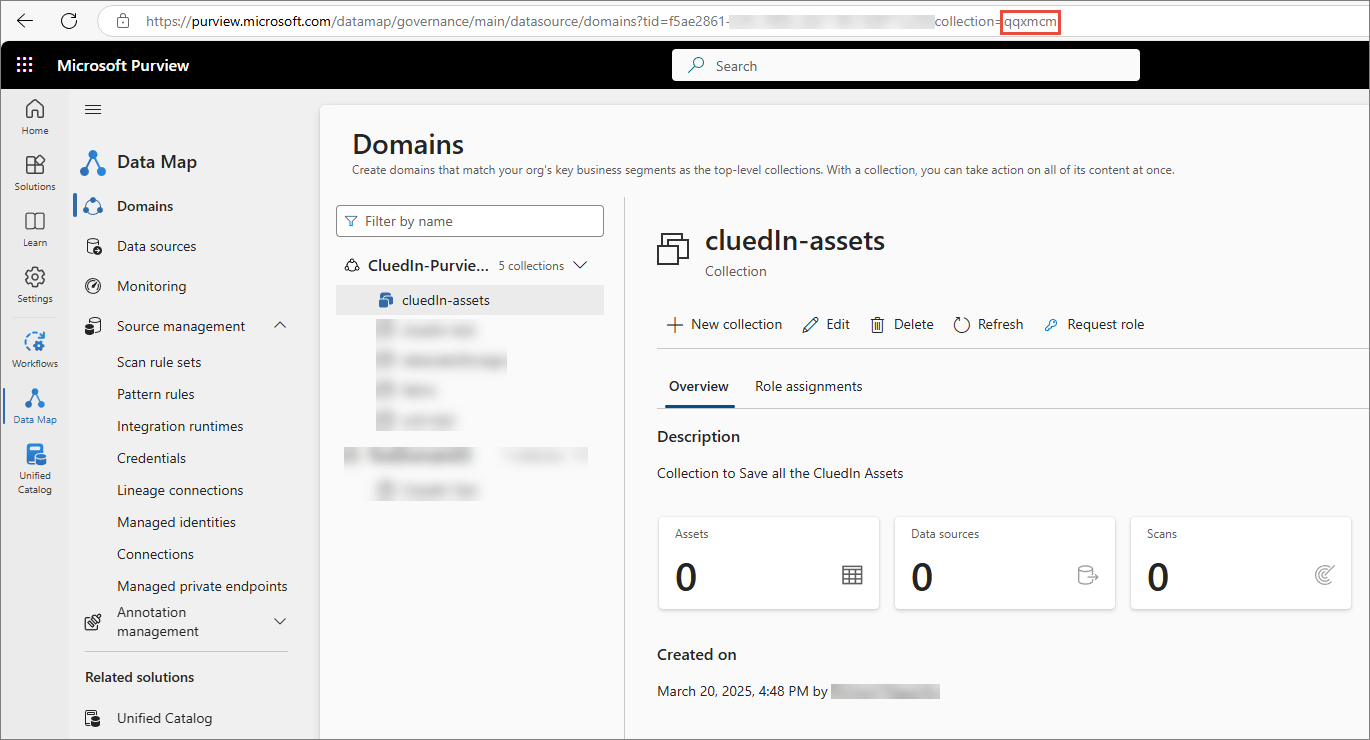
Select Create.
The new collection is added to the default domain. Pay attention to the collection ID, which can be found in the URL. You will need this collection ID to configure Purview integration in CluedIn as described in in Purview configuration guide.
-
-
To create a collection that will be used to store the assets from Azure Data Lake Storage, repeat steps 1–3.
Register a new data source
To enable Purview to discover and catalog metadata from your data sources, register a new data source.
To register a new data source
-
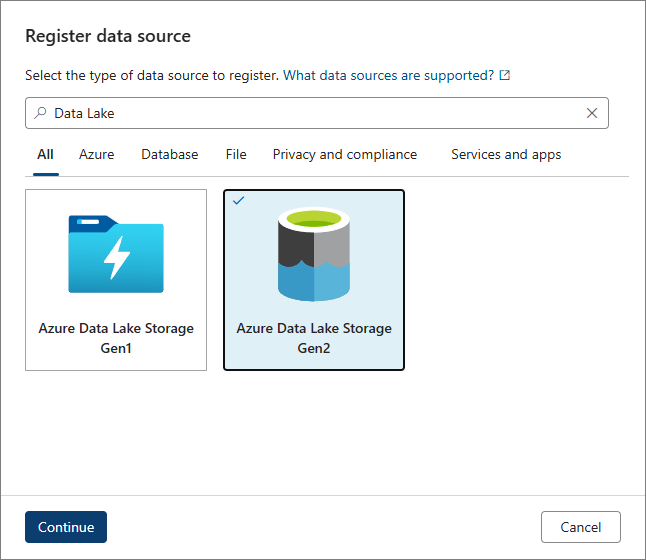
In the Microsoft Purview portal, navigate to Data Map > Data sources, and then select Register.
-
Find and select a data source type. This example uses Azure Data Lake Storage Gen2. Select Continue.
-
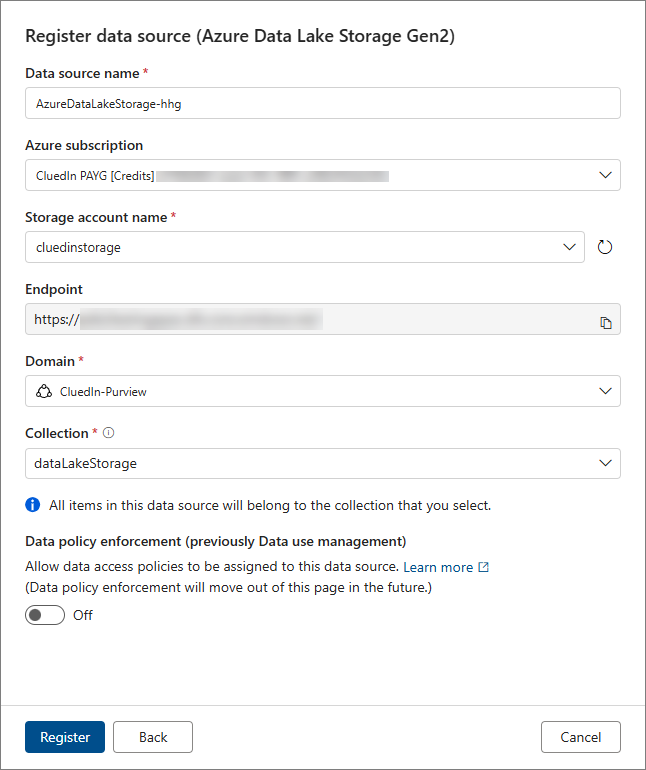
Enter the Data source name.
-
Select the Storage account name. This is the storage account that you created before in Create a storage account. After you select the storage account name, the Azure subscription will be filled out automatically.
-
Make sure the default Domain is selected.
-
Select the Collection for storing the assets from Azure Data Lake Storage that you created before in Create a new collection.
-
Select Register.
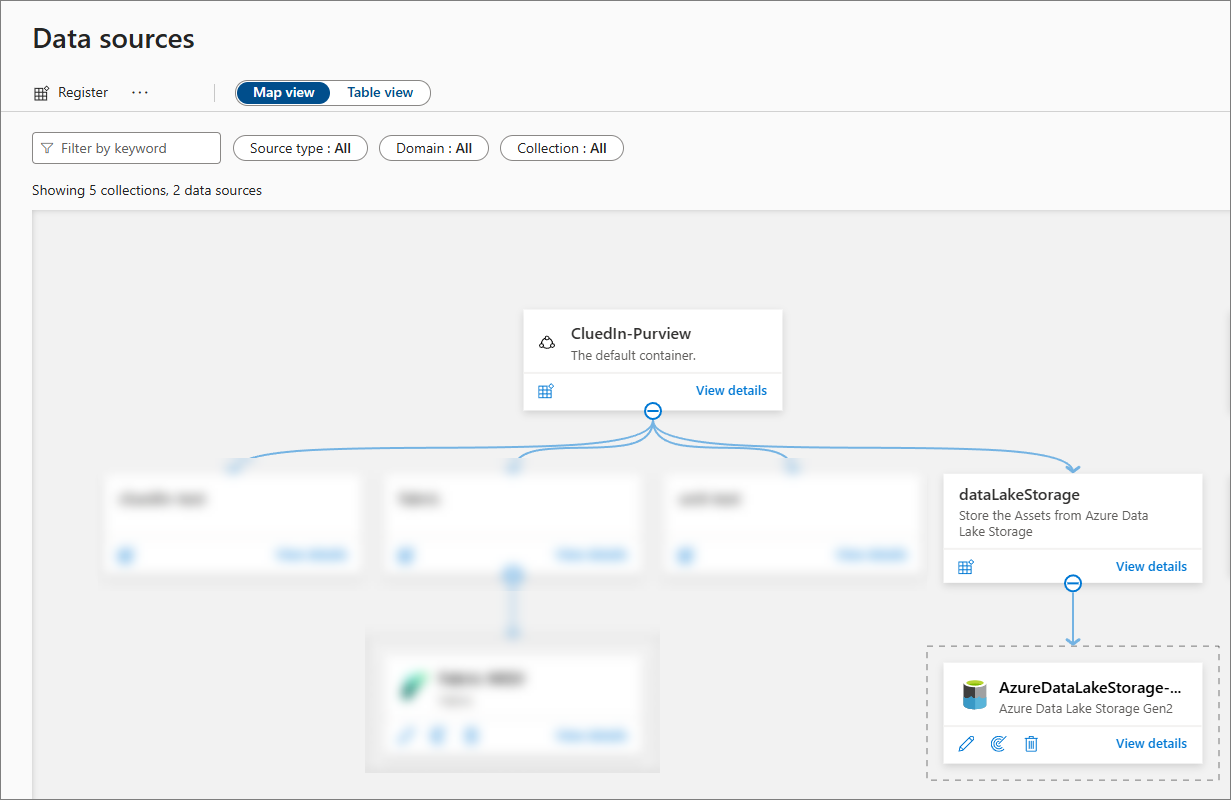
The new data source is added.
Scan a data source
To capture technical metadata from your data source in Purview, scan a data source.
To create a scan
-
In the Microsoft Purview portal, navigate to Data Map > Data sources.
-
Find the data source that you created in Register a new data source, and then select View details.
-
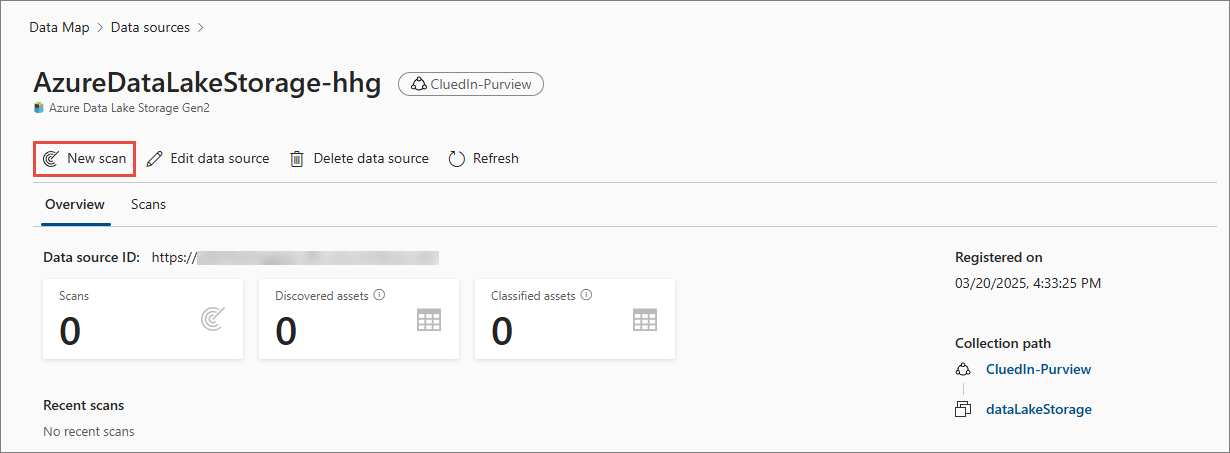
On the data source page, select New scan.
-
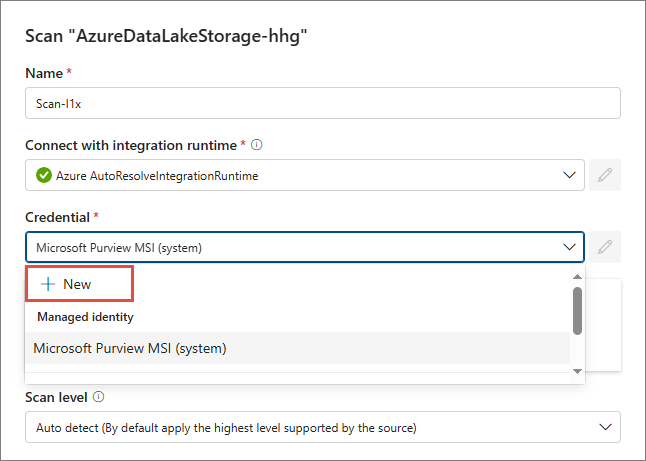
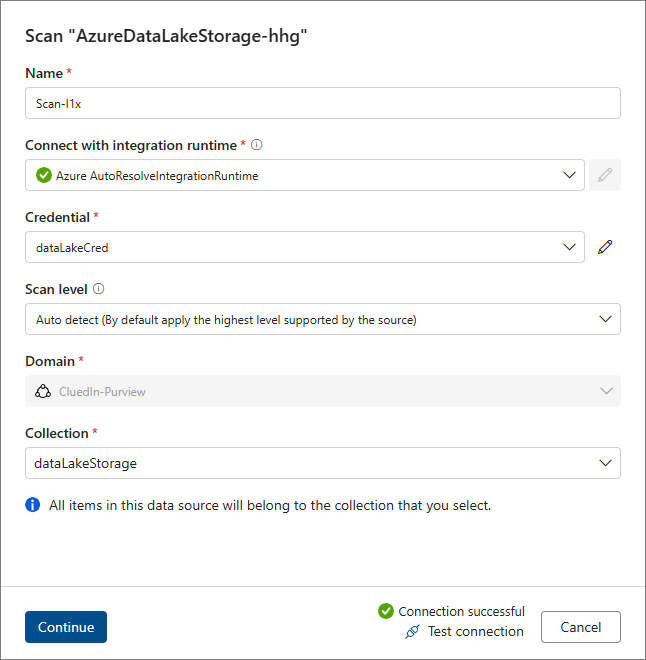
Enter the Name for the scan.
-
Expand the Credential dropdown list, and then select + New.
-
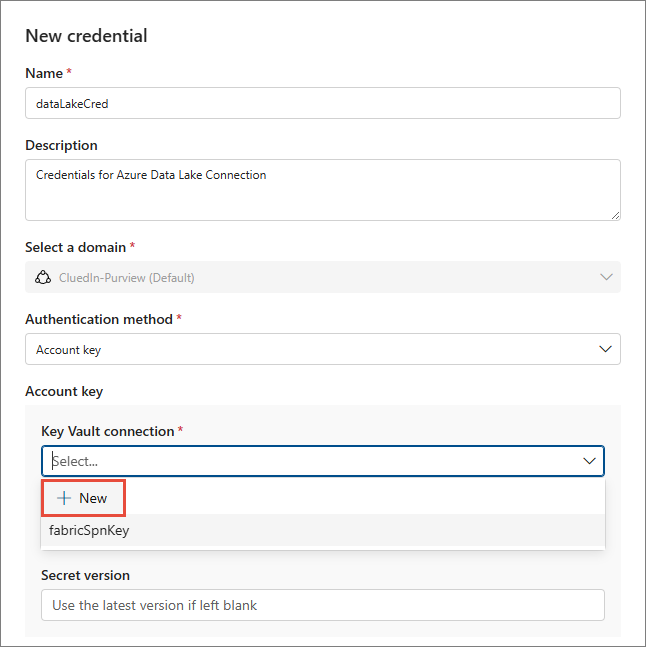
Enter the Name and Description of the credential.
-
In Authentication method, leave the default Account key option selected.
-
In the Account key section, expand the Key Vault connection dropdown, and then select + New.
-
Enter the Name and Description of the new key vault.
-
In Key Vault name, select the key vault that you created before in Create a key vault and register Purview.
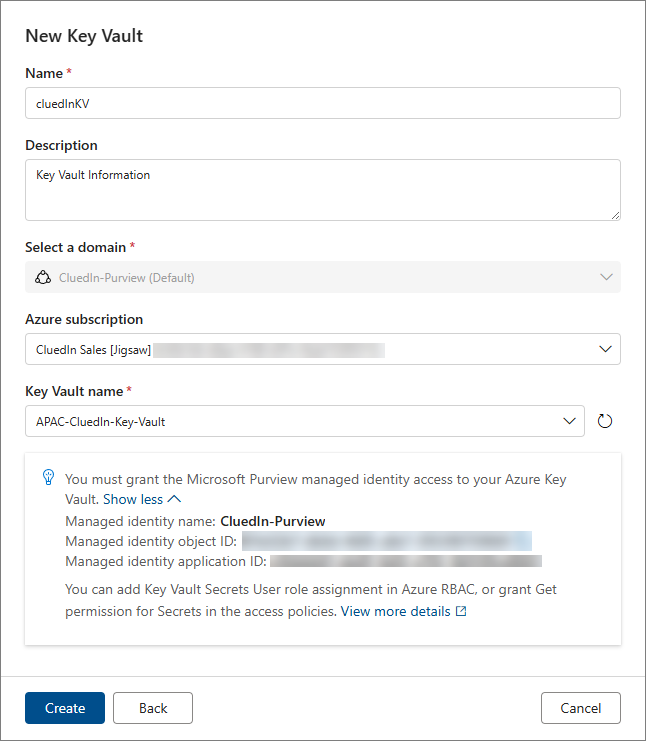
-
Select Create.
-
Expand the Key Vault connection dropdown, and then select the newly created key vault connection.
-
In Secret name, enter the name of the secret that you created before in Create a key vault secret.
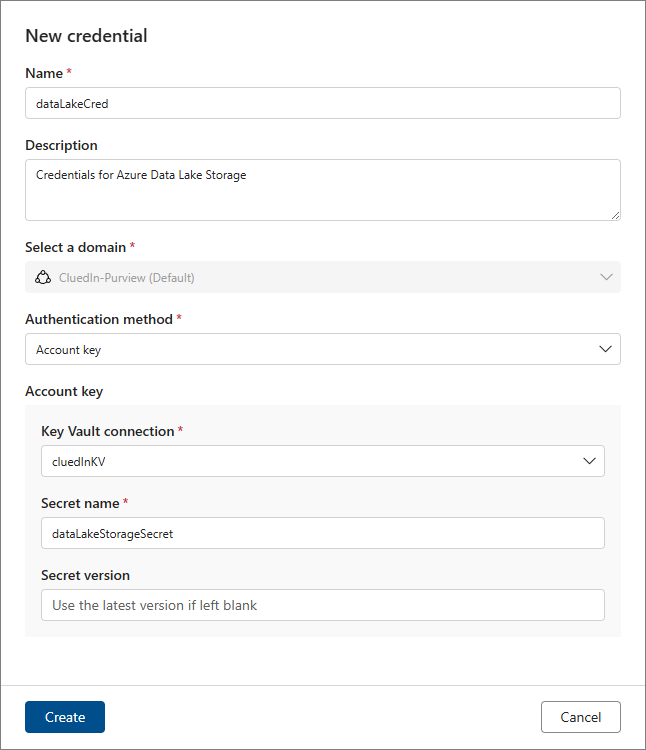
-
Select Create.
-
Select Test connection.
-
Once the connection is successful, select Continue.
-
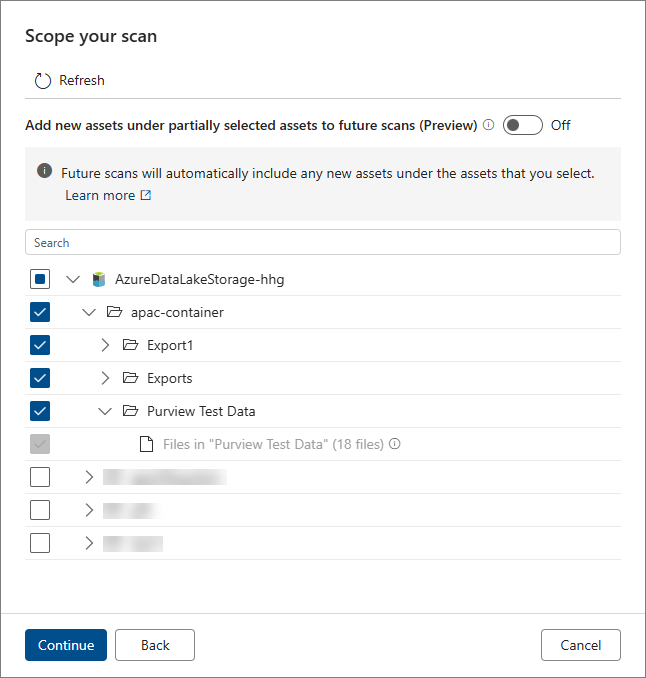
Scope your scan to a specific subset of data, and then select Continue.
-
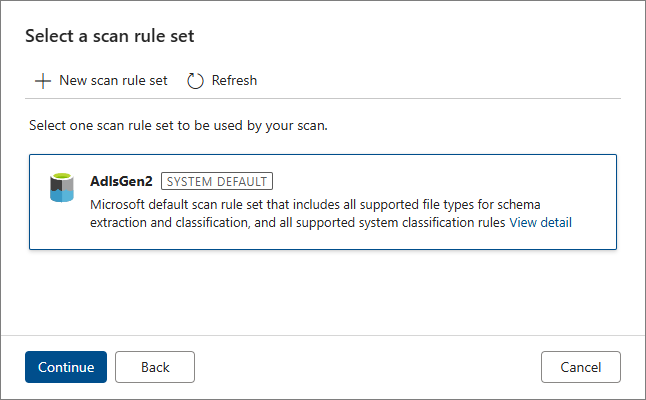
Keep the default scan rule set, and then select Continue.
-
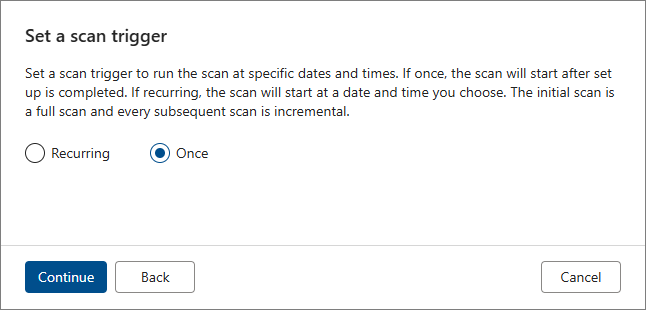
Choose your scan trigger. You can set up a schedule or run the scan once. In this example, we run the scan once. Select Continue.
-
Review your scan, and then select Scan and run.
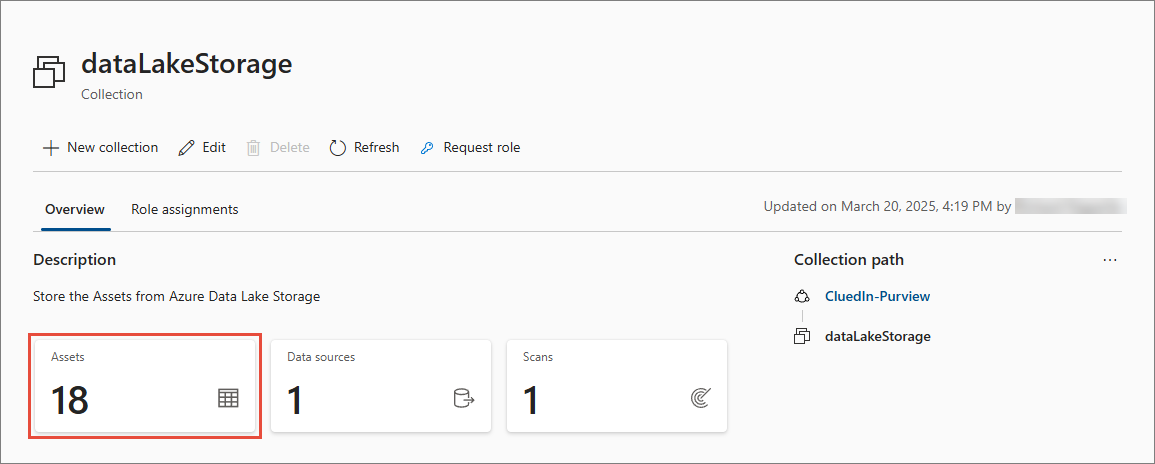
Once the scan is completed, it establishes a connection to the data source and captures technical metadata like names, file size, columns, and so on. As a result of the scan, the collection for storing assets from Azure Data Lake Storage contains a certain number of assets. On the following screenshot, our collection contains 18 assets.
Assign roles to Purview service principal
To enable Purview to communicate with CluedIn, assign the Data readers and Data source admins roles to the Purview service principal.
To assign roles to Purview service principal
-
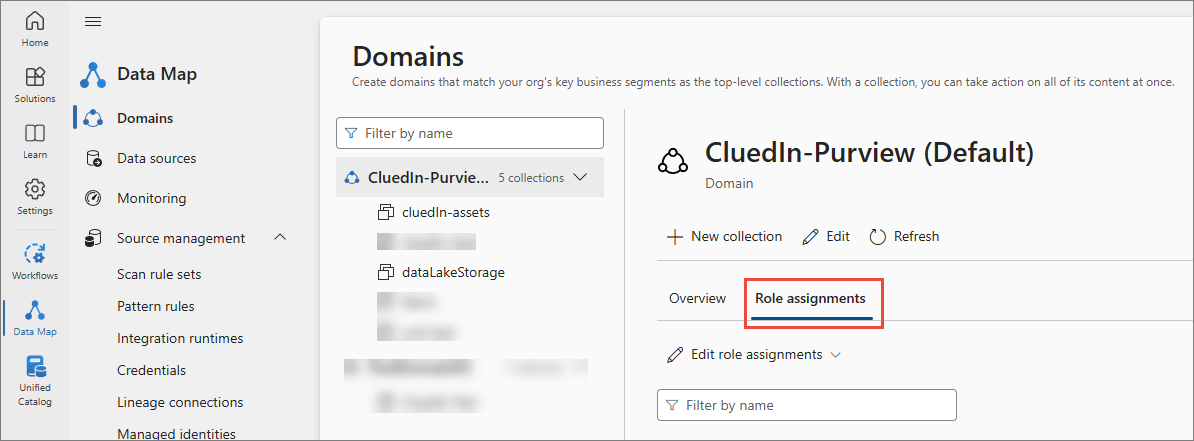
In the Microsoft Purview portal, navigate to Data Map > Domains, and then select your default domain.
-
On the default domain page, go to the Role assignments tab.
-
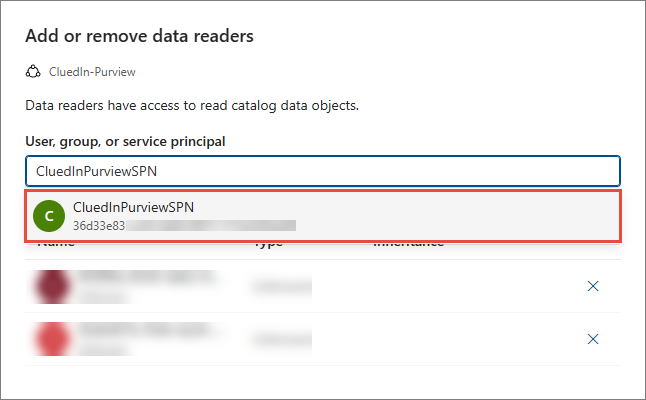
Expand the Edit role assignments dropdown list, and then select Data readers.
-
Find and select the Purview service principal that you created in Register an application and create a service principal.
-
Select OK.
-
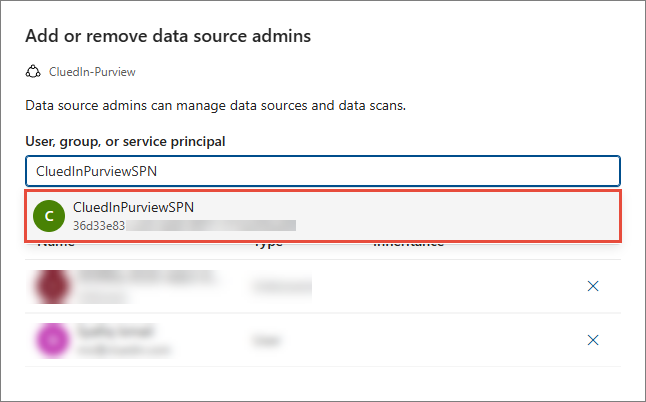
Expand the Edit role assignments dropdown list, and then select Data source admins.
-
Find and select the Purview service principal that you created in Register an application and create a service principal.
-
Select OK.
Next steps
Now that you have completed all pre-configuration steps, start the configuration of Purview integration in CluedIn using our Purview configuration guide.