Power Automate configuration guide
In this guide, you will learn how to configure and register a custom connector in CluedIn.
This guide is applicable to both public and private CluedIn instances.
Make sure that you have completed all of the actions described in Power Automate pre-configuration guide.
To configure workflows in CluedIn
-
Go to Administration > Feature Flags, and then enable the Workflow Builder feature.
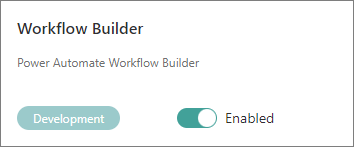
As a result, the Workflows module appears on the navigation pane.
-
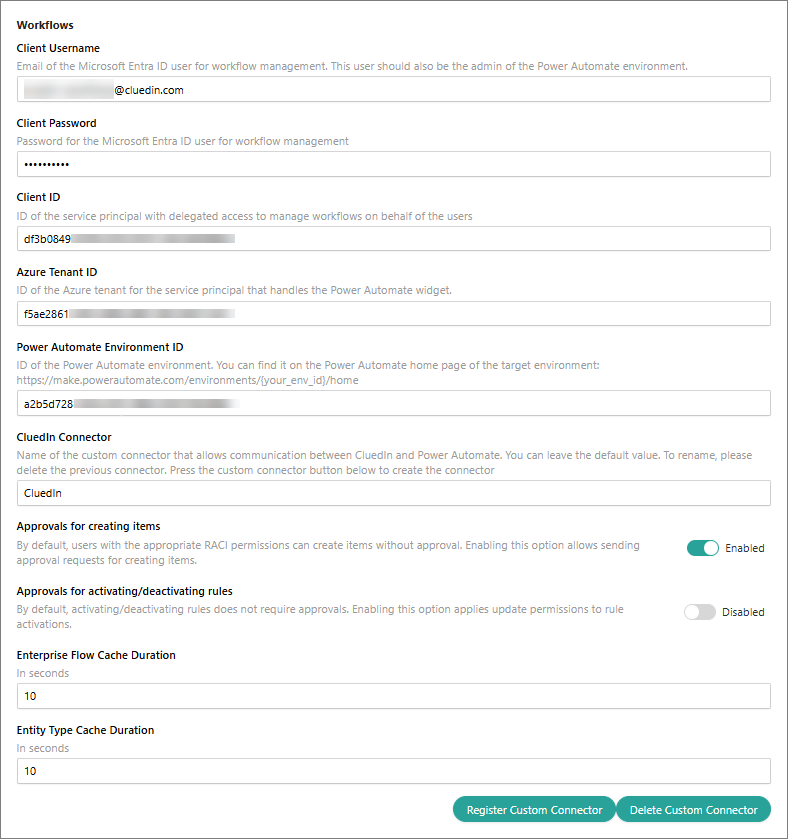
Go to Administration > Azure Integration > Workflow. Then, complete the following fields:
-
Client Username – an email of a Microsoft Entra ID user for handling workflows. This is the user that you created during the pre-configuration stage in Create a user account. You can find the needed value in the User principal name field.
-
Client Password – a password of a Microsoft Entra ID user for handling workflows. This is the user that you created during the pre-configuration stage in Create a user account.
-
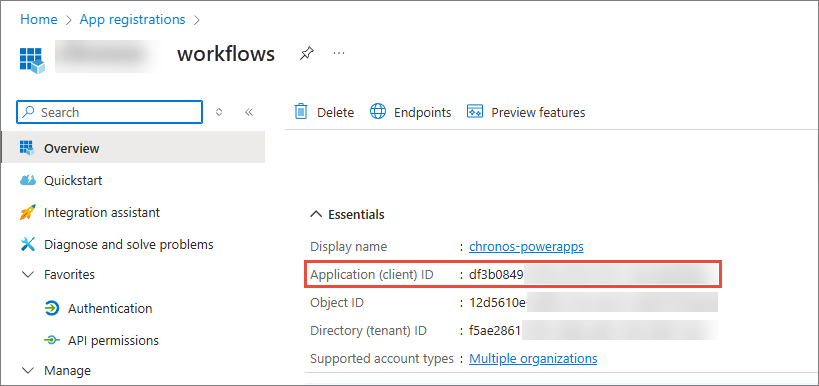
Client ID – a unique identifier assigned to an application when you registered it in Microsoft Entra ID. This is the application that you created during the pre-configuration stage in Create a service application. You can find this value in Application (client) ID.
-
Azure Tenant ID – an ID of the Azure tenant that contains the service principal that handles the Power Automate widget. This is the service principal that was created automatically when you registered a new application in Create a service application. For guidance on how to find the ID, see Find your Microsoft Entra tenant.
-
Power Automate Environment ID – an ID of the Power Automate environment. This is the environment that you prepared during the pre-configuration stage in Configure an environment. You can find the ID on the home page of the environment.

-
CluedIn Connector – a name of the custom connector that allows communication between CluedIn and Power Automate. By default, it is CluedIn, and you do not need to change it.
-
Approvals for creating items – enabling this control means that when a user creates an element in CluedIn (for example, a vocabulary, a vocabulary key, or a rule), an approval request is sent to other users with the same or higher claim access level to the feature. For example, if a Data Governance Administrator creates a vocabulary, the approval request is sent to other users with the same role. If you don’t enable this control, the approval requests will be sent only in case of modifications of the existing elements.
-
Approvals for activating/deactivating rules – enabling this control means that when a user activates or deactivates a rule, an approval request is sent to all rule owners.
-
Enterprise Flow Cache Duration – a time period for which data is stored in the cache for enterprise flows. This duration can impact the performance and efficiency of your workflows. In the context of Power Automate, the cache duration helps manage the flow’s performance by temporarily storing data to reduce the need for repeated data retrievals.
-
Business Domain Cache Duration – a time period for which the records that belong to the business domains with the Batch approval workflow option enabled are stored in the cache.
-
-
Select Register Custom Connector.
A custom connector is going to be created in Power Automate. Next, proceed to Power Automate post-configuration guide to verify that the connector has been created successfully.