Connect Microsoft Fabric to CluedIn
On this page
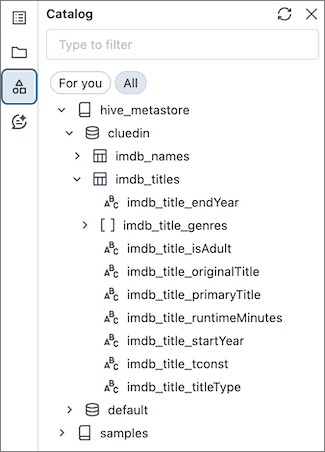
In this article, you will learn how to load the data from Microsoft Fabric to CluedIn. As an example, we’ll use a table named imdb_titles in Microsoft Fabric with 601_222 rows.

Prerequisites
To connect Microsoft Fabric to CluedIn, you need to have the following:
-
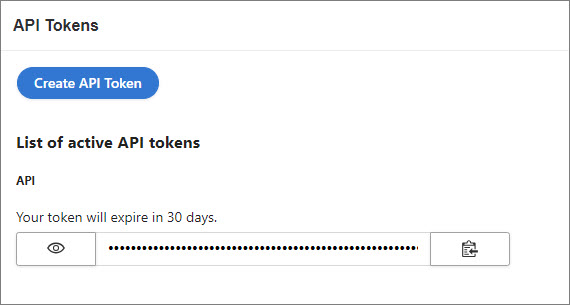
An active API token. You can create an API token in CluedIn in Administration > API tokens.

-
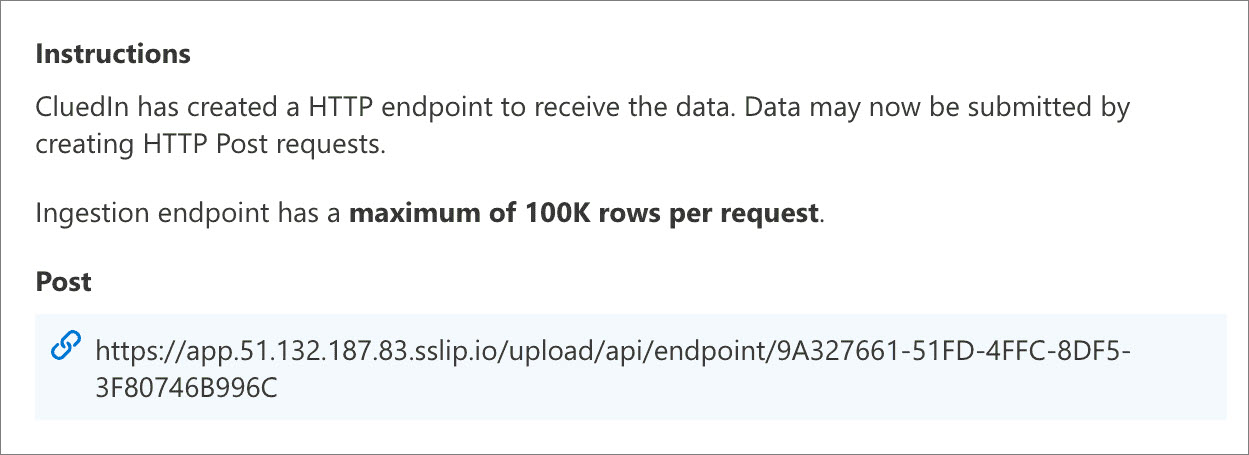
An endpoint in CluedIn. You can find instructions on how to create an endpoint here. After you create an endpoint, you’ll find the POST URL.

Set up Microsoft Fabric
Prepare Microsoft Fabric for sending data to CluedIn.
To set up Microsoft Fabric
-
In Microsoft Fabric, create a Jupyter notebook and install the
cluedinlibrary.%pip install cluedin -
Import the
cluedinlibrary and create a CluedIn context object.import requests import cluedin ctx = cluedin.Context.from_dict( { "domain": "51.132.187.83.sslip.io", "org_name": "foobar", "access_token": "(your token)", } ) ENDPOINT_URL = "https://app.51.132.187.83.sslip.io/upload/api/endpoint/9A327661-51FD-4FFC-8DF5-3F80746B996C" DELAY_SECONDS = 5 BATCH_SIZE = 100_000In this example, the URL of the CluedIn instance is
https://foobar.51.132.187.83.sslip.io/, so the domain is51.132.187.83.sslip.io, and the organization name isfoobar. Theaccess tokenis the one specified in prerequisites.
Send data to CluedIn
After you set up Microsoft Fabric, send the data to CluedIn. This process involves pulling the data from Microsoft Fabric and posting it to CluedIn.
To send data to CluedIn
-
Select all rows from a table and yield them one by one using the following method.
from pyspark.sql import SparkSession def get_rows(): spark = SparkSession.builder.getOrCreate() imdb_names_df = spark.sql("SELECT * FROM hive_metastore.cluedin.imdb_titles") for row in imdb_names_df.collect(): yield row.asDict() -
Create a method that posts a batch of rows to CluedIn.
import time from datetime import timedelta def post_batch(ctx, batch): response = requests.post( url=ENDPOINT_URL, json=batch, headers={"Authorization": f"Bearer {ctx.access_token}"}, timeout=60, ) time.sleep(DELAY_SECONDS) return response def print_response(start, iteration_start, response) -> None: time_from_start = timedelta(seconds=time.time() - start) time_from_iteration_start = timedelta( seconds=time.time() - iteration_start) time_stamp = f'{time_from_start} {time_from_iteration_start}' print(f'{time_stamp}: {response.status_code} {response.json()}\n')print_responseis a helper method that prints the response status code and the response body. -
Iterate over the rows and post them to CluedIn. Note that we are posting the rows in batches of
BATCH_SIZErows.DELAY_SECONDSis the number of seconds to wait between batches. -
Post a small batch of rows first to set up mapping on the CluedIn side. We will post ten rows. To do that, add the following lines in the code below.
 if i >= 10:
         break
Code that posts the rows to CluedIn.
 batch = []
 batch_count = 0

 start = time.time()
 iteration_start = start

 for i, row in enumerate(get_rows()):

     if i >= 10:
         break

     batch.append(row)

     if len(batch) >= BATCH_SIZE:
         batch_count += 1
         print(f'posting batch #{batch_count:_} ({len(batch):_} rows)')
         response = post_batch(ctx, batch)
         print_response(start, iteration_start, response)

         iteration_start = time.time()
         batch = []

 if len(batch) > 0:
     batch_count += 1
     print(f'posting batch #{batch_count:_} ({len(batch):_} rows)')
     response = post_batch(ctx, batch)
     print_response(start, iteration_start, response)

     iteration_start = time.time()

 print(f'posted {(i + 1):_} rows')
After you run the code, ten rows appear in CluedIn.

-
In CluedIn, create auto-mapping for the data set following the instructions here.
-
In CluedIn, edit the mapping for the data set to select the property used as the entity name and the property used for the primary identifier. For more information about mapping details, see Review mapping.
-
In CluedIn, got to the Process tab of the data set, turn on the Auto submission toggle, and then select Switch to Bridge Mode.

-
Remove or comment on the following lines in the notebook and rerun it.
 if i >= 10:
         break
All table rows will be posted to CluedIn. The output in the notebook will look like this.
 0:00:13.398879 0:00:13.398889: 200 {'success': True, 'warning': False, 'error': False}

 posting batch #2 (100_000 rows)
 0:00:22.021498 0:00:08.622231: 200 {'success': True, 'warning': False, 'error': False}

 posting batch #3 (100_000 rows)
 0:00:30.709844 0:00:08.687518: 200 {'success': True, 'warning': False, 'error': False}

 posting batch #4 (100_000 rows)
 0:00:40.026708 0:00:09.316675: 200 {'success': True, 'warning': False, 'error': False}

 posting batch #5 (100_000 rows)
 0:00:48.530380 0:00:08.503460: 200 {'success': True, 'warning': False, 'error': False}

 posting batch #6 (100_000 rows)
 0:00:57.116517 0:00:08.585930: 200 {'success': True, 'warning': False, 'error': False}

 posting batch #7 (1_222 rows)
 0:01:02.769714 0:00:05.652984: 200 {'success': True, 'warning': False, 'error': False}

 posted 601_222 rows
Give CluedIn some time to process the data, and you should see 601_222 rows in CluedIn.
The same approach works with any other data source. You must change the
get_rowsmethod to pull data from your source.