Data factory pipeline automation
On this page
- Supported sources and formats
- Choosing the right orchestrator
- Prerequisites
- Configure data factory pipeline automation
- Create and configure the service principal
- Create and apply Purview glossary term
- Troubleshooting and tips
In this article, you will learn how to configure pipeline automation to synchronize data between Microsoft Purview (Unified Data Governance) and CluedIn using either Azure Data Factory or Fabric Data Factory.
CluedIn can automatically provision and execute pipelines for assets that you tag in Purview with a designated glossary term. You can choose from the following orchestration engines:
-
Azure Data Factory (ADF) – traditional Azure service.
-
Fabric Data Factory (FDF) – Data Factory experience within Microsoft Fabric.
Supported sources and formats
| Orchestrator | Azure Data Lake (ADLS) | Azure SQL Database/SQL Server | Snowflake | Fabric Files | Fabric Table |
|---|---|---|---|---|---|
| Azure Data Factory (ADF) | Supported (all file formats) | Supported | Supported | Supported (all file formats except Parquet) | Not supported |
| Fabric Data Factory (FDF) | Supported (all file formats) | – | – | Supported (all file formats including Parquet) | Supported |
Note the following:
-
Fabric Files refer to the files stored in Fabric OneLake item folders (Lakehouse and so on).
-
If you need Parquet in Fabric Files or to automate Fabric Table ingestion, use Fabric Data Factory.
Choosing the right orchestrator
Use the following guidance to select the most suitable orchestrator for your scenario:
-
Choose Azure Data Factory (ADF) if:
-
You need to automate data pipelines involving ADLS files (any format), Azure SQL Database/SQL Server, or Snowflake sources.
-
You do not require support for Parquet files in Fabric Files or Fabric Tables.
-
-
Choose Fabric Data Factory (FDF) if you need to automate data pipelines involving ADLS files (any format), Fabric Files (including Parquet), or Fabric Tables.
Prerequisites
Before you begin, ensure that you have the following:
-
Access to Microsoft Purview and a glossary you can edit.
-
A CluedIn tenant with administrator permissions.
-
One of the following orchestration environments available to you:
-
An Azure Data Factory (ADF) resource.
-
Or, a Fabric workspace with Fabric Data Factory (FDF) enabled.
-
Configure data factory pipeline automation
This section outlines the setup steps required to automate pipelines in CluedIn, depending on the orchestrator you choose.
Configure data factory pipeline automation using Azure Data Factory (existing flow)
Follow these steps to prepare Azure Data Factory (ADF) and Microsoft Purview, and then configure the required settings in CluedIn.
To configure data factory pipeline automation using Azure Data Factory
- Create and verify Azure resources:
-
Create (or identify) an ADF resource in the correct subscription/resource group.

-
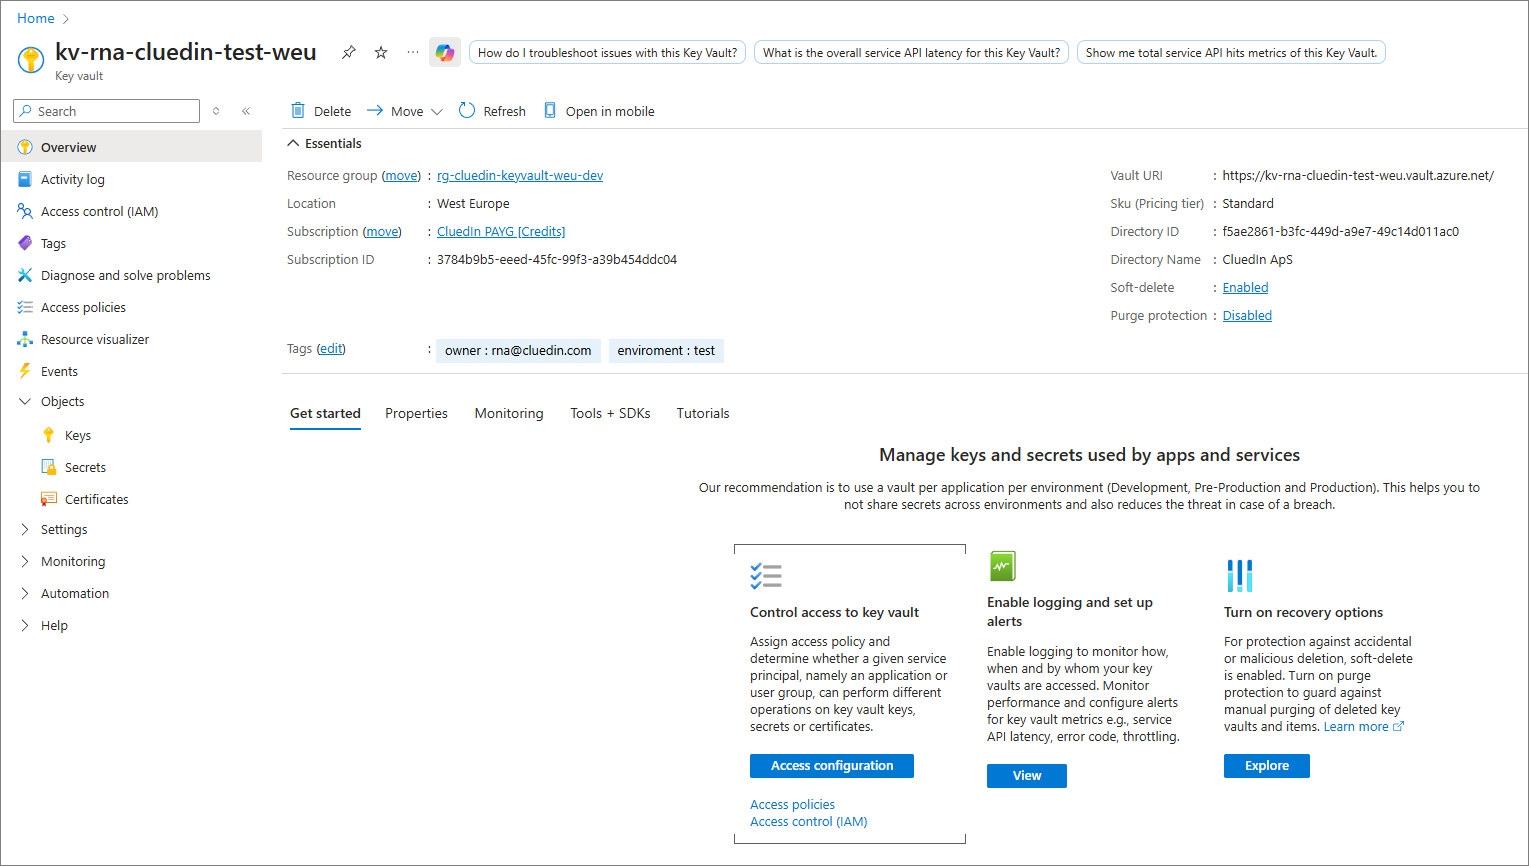
(Optional) Create an Azure Key Vault to hold secrets.
-
-
Set up a service principal. Follow the steps outlined in Create and configure the service principal to create app registration and client secret. There are no ADF‑specific differences for this step.
- Assign roles and permissions:
-
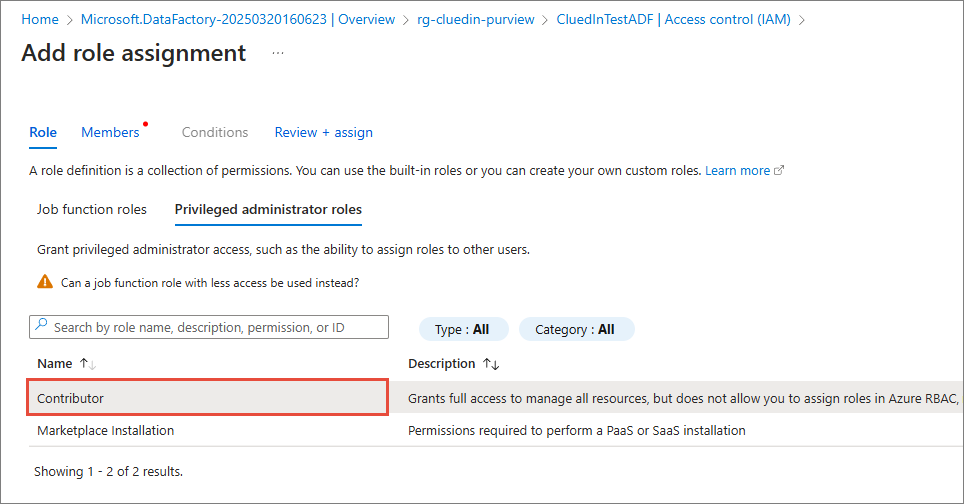
In ADF, assign the service principal the Contributor role (or a least‑privileged custom role that allows pipeline authoring and execution).
-
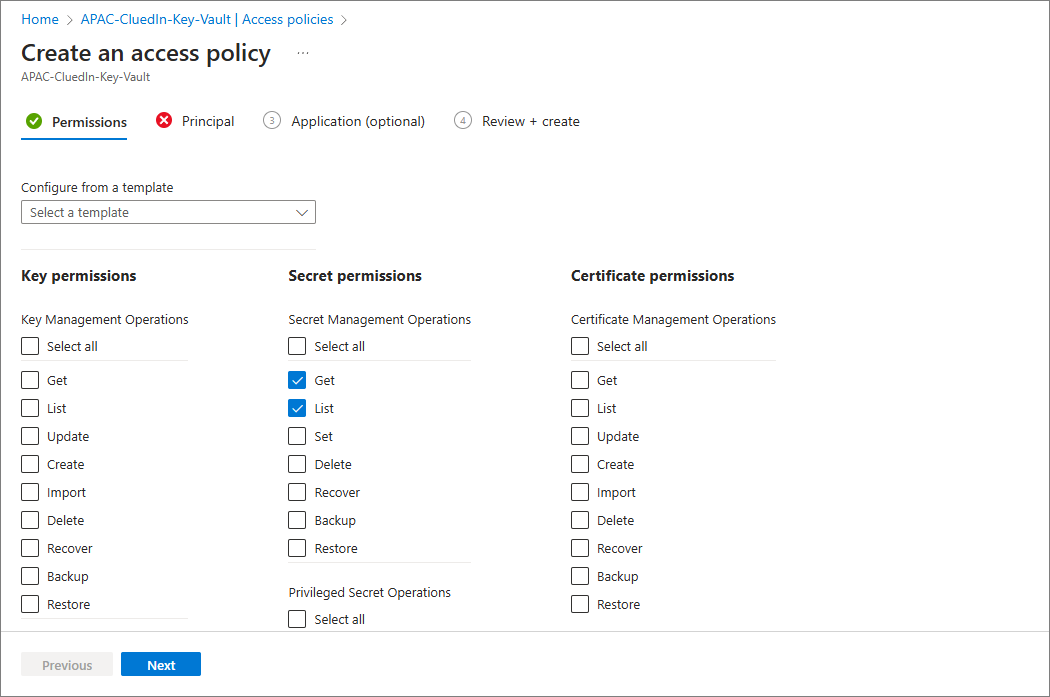
If you are using Key Vault, grant the Get and List secret permissions.
-
Grant data‑plane access where needed:
-
ADLS Gen2: Storage Blob Data Reader (read) and/or Storage Blob Data Contributor (write) on the target containers.
-
Azure SQL/SQL Server: Grant database-level read and/or write access as required.
-
Snowflake: Map a Snowflake user/role and grant warehouse/database/schema/table privileges.
-
-
-
Prepare Purview. Follow the steps outlined in Create and apply Purview glossary term to create and apply the term. There are no ADF‑specific differences for this step.
-
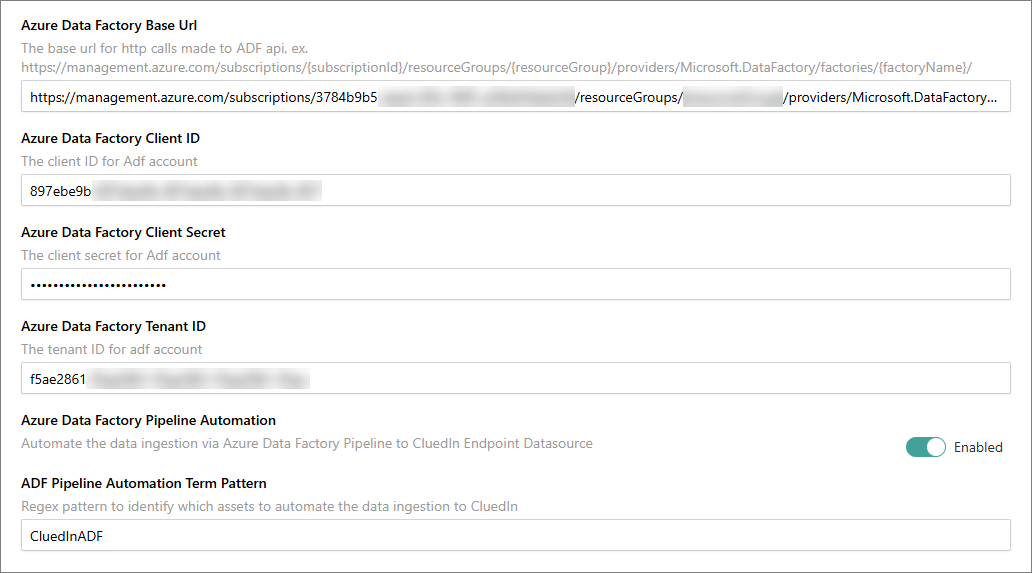
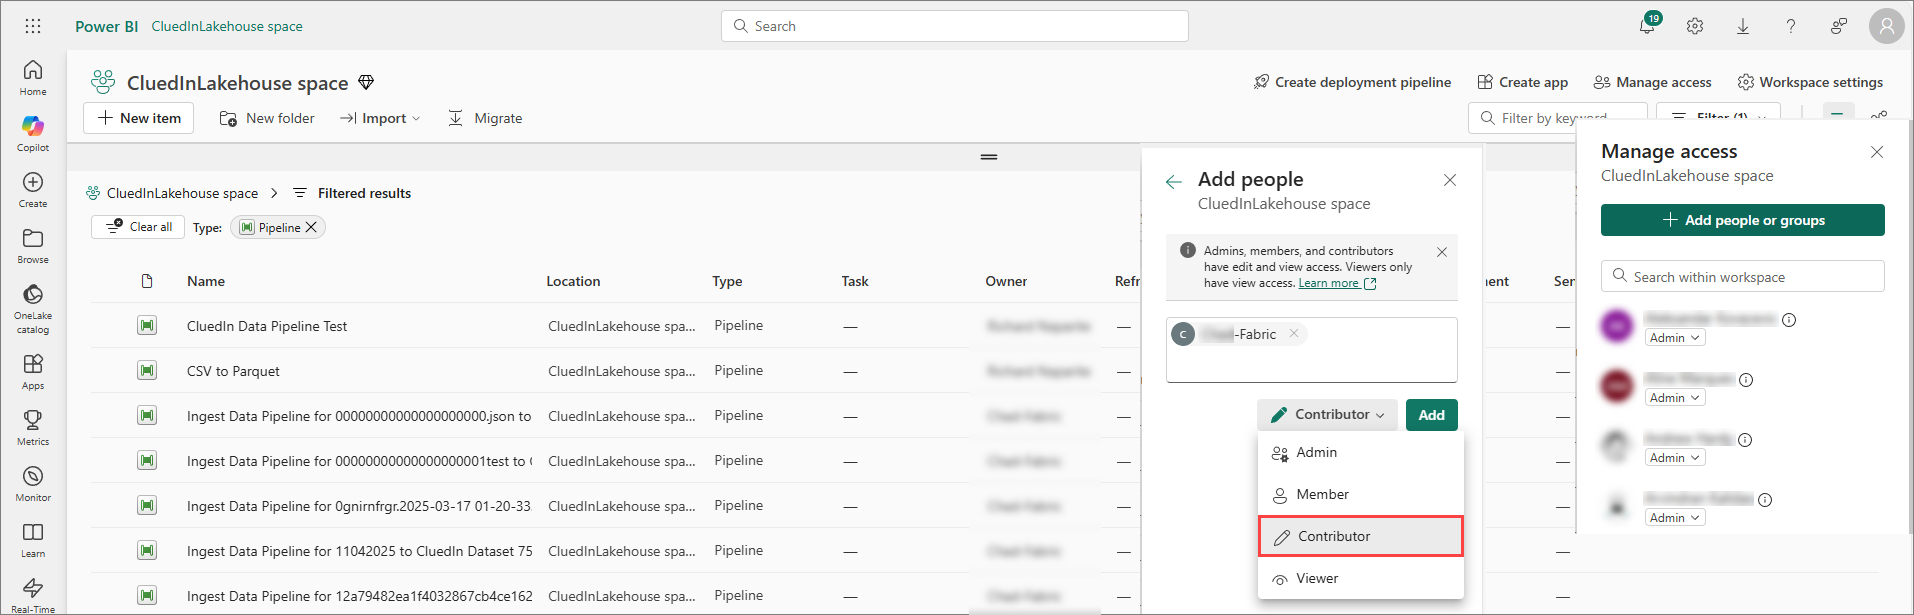
Configure CluedIn (ADF settings). In CluedIn, go to Administration > Azure Integration > Purview. Then, do the following:
-
In Azure Data Factory Base Url, enter the resource ID URL of your ADF. For example,
/subscriptions/.../resourceGroups/.../providers/Microsoft.DataFactory/factories/<name>. -
Enter the data factory Client ID, Client Secret, and Tenant ID (service principal from step 2).
-
Set Pipeline Automation Term Pattern to the glossary term created in Purview (for example, CluedIn_Automate).
-
Enable Data Factory Pipeline Automation.
-
- Validate the setup in ADF:
-
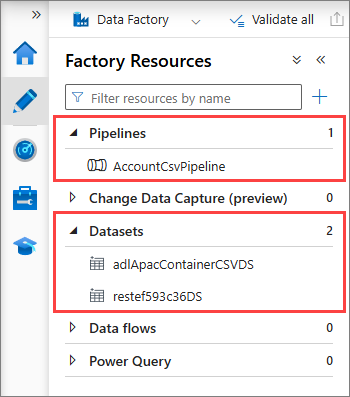
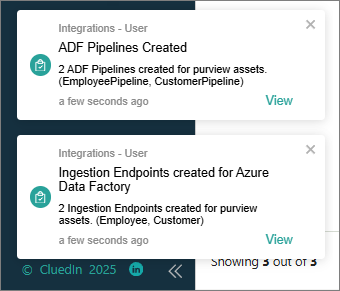
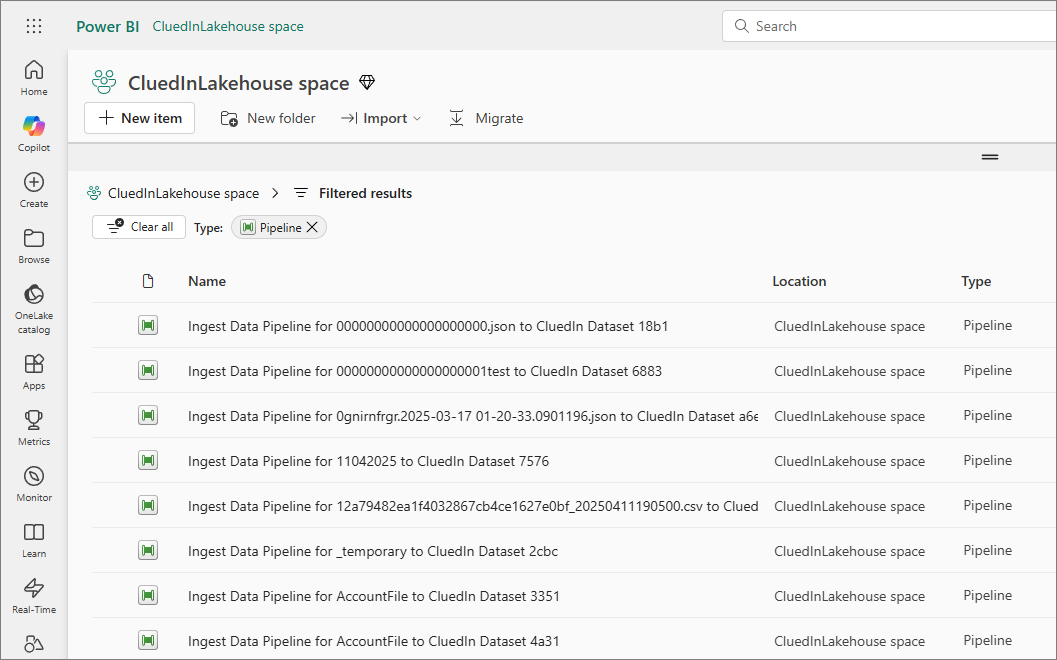
In ADF Studio, go to Author and confirm that CluedIn created the Pipelines and Datasets for your tagged assets.
-
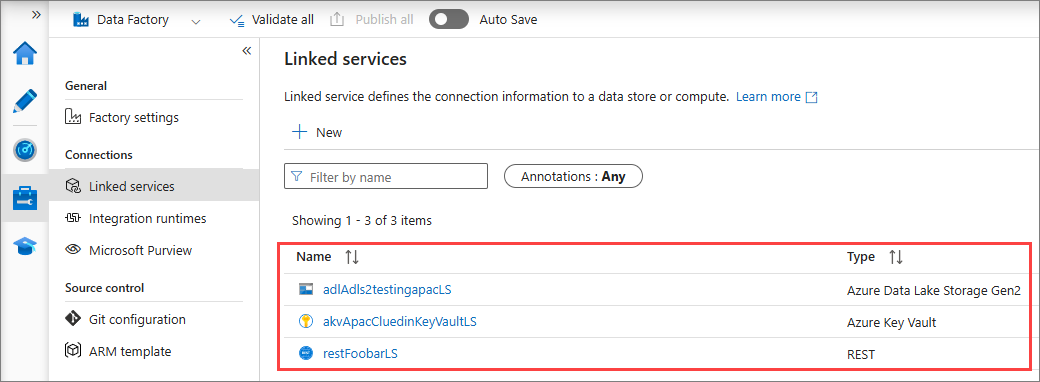
Go to Manage > Linked services and verify the connections (for example, REST to CluedIn, ADLS/SQL/Snowflake as needed).
-
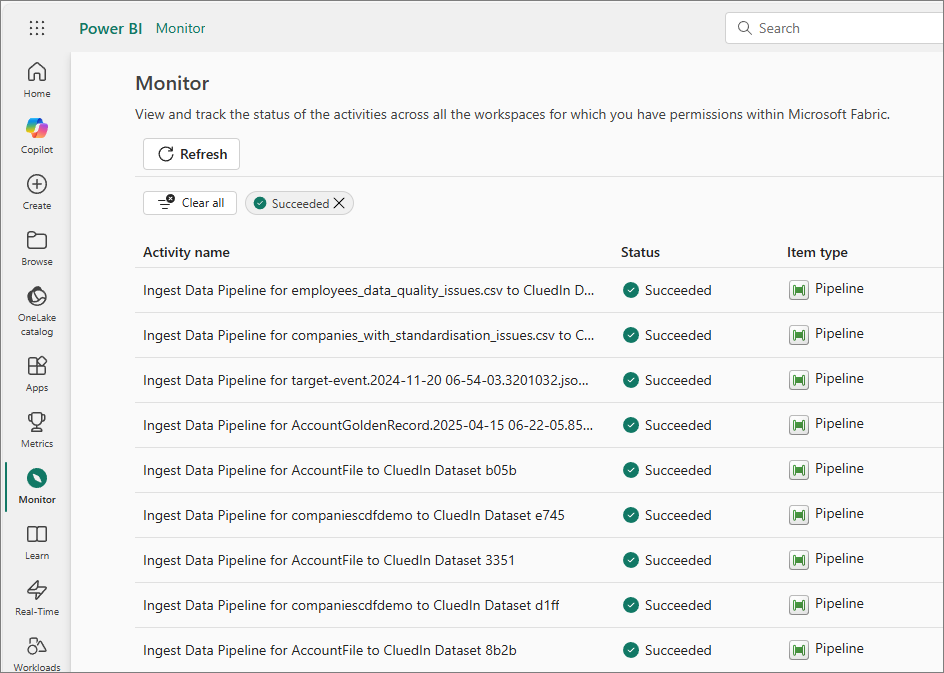
Go to Monitor > Pipeline runs and verify that pipeline execution was successful.

-
-
Verify the ingestion in CluedIn. In the target data source in CluedIn, confirm that the following:
-
A dataset exists for each automated asset.
-
Rows are flowing correctly.
-
Configure data factory pipeline automation using Fabric Data Factory (new flow)
CluedIn now supports pipeline automation through Fabric Data Factory (FDF). Use this option when you need to automate:
-
Parquet files inside Fabric Files (OneLake).
-
Fabric Tables ingestion.
Prerequisites
-
Ensure that you have a Fabric workspace with the capacity and permissions to create data factory items.
To configure data factory pipeline automation using Fabric Data Factory
- Register (or reuse) the service principal:
-
Use the same app registration as for Azure Data Factory (ADF) or create a separate one following the steps outlined in the Create and configure the service principal section.
-
Ensure that the identity has Contributor (or equivalent) access for the Fabric workspace.
-
-
Prepare Purview. Follow the steps outlined in Create and apply Purview glossary term to create and apply the term. There are no Fabric‑specific differences for this step.
-
Configure CluedIn (Fabric settings). In CluedIn, go to Administration > Azure Integration > Purview (or Fabric section). Then, do the following:
-
In Fabric Data Factory Base Url, enter
https://api.fabric.microsoft.com/<workspaceId>(replace<workspaceId>with your Fabric workspace ID). -
Enter the data factory Tenant ID, Client ID, and Client Secret for the service principal.
-
Enable Data Factory Pipeline Automation.
-
Set the Pipeline Automation Term Pattern to your Purview term (for example,
CluedIn_Automate).
-
-
Validate the setup in FDF:
-
In your Fabric workspace, go to Data Factory and verify that pipelines were created for the tagged assets.
-
Run or monitor the pipelines as needed and confirm their successful execution.
-
- Verify the ingestion in CluedIn. In the target data source, confirm that datasets are present and data is flowing.
Create and configure the service principal
This section applies to: Azure Data Factory (ADF), Fabric Data Factory (FDF).
Use a single service principal (app registration) for automation, or separate ones per platform if your organization prefers stricter isolation. CluedIn uses this identity to authenticate with Azure resources and orchestrators.
Security tips
-
Store secrets in Azure Key Vault and reference them wherever supported.
-
Use short‑lived client secrets or certificates with rotation policies.
-
Limit the service principal’s scope using resource‑level RBAC and data‑plane roles.
To create and configure the service principal
-
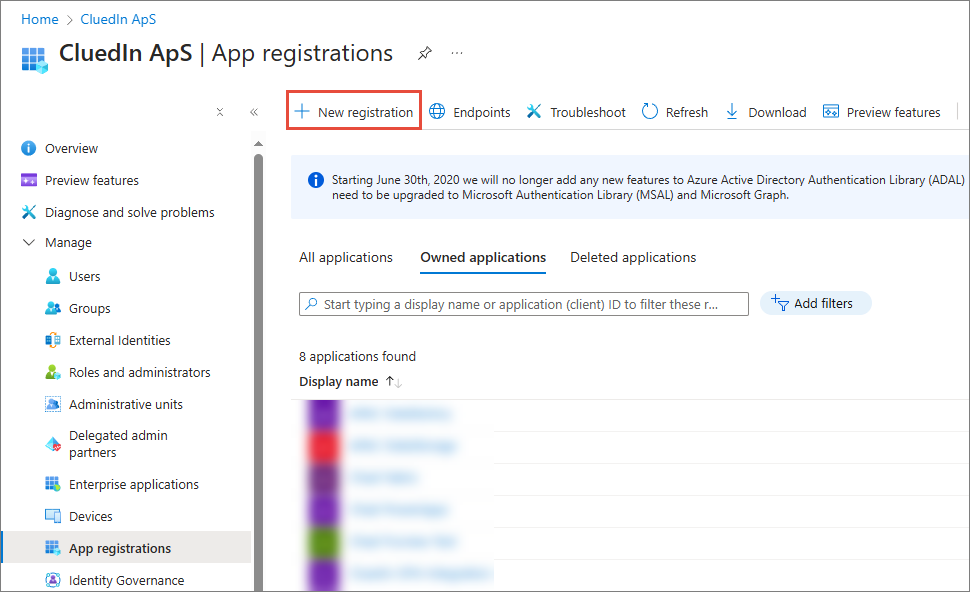
Complete the app registration (Microsoft Entra ID). Register a new application (or choose an existing one dedicated to data movement).
-
Create a client secret. Copy the value securely. You will store this information in CluedIn (and, optionally, in Key Vault).
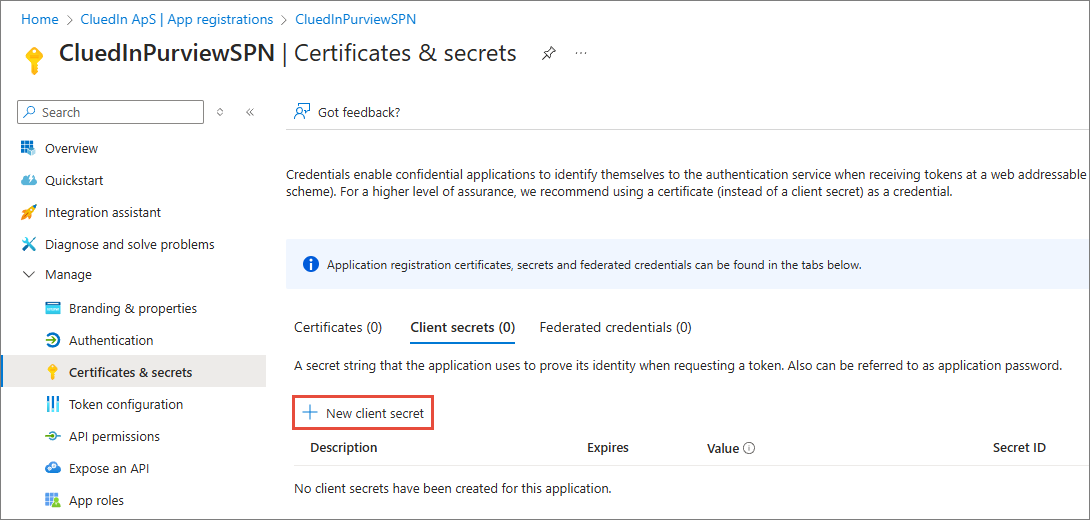
- Record and securely store the following identifiers:
-
Tenant ID
-
Client (Application) ID
-
Client Secret Value
-
-
Set up the required roles and permissions.
Assign the minimum access necessary. If your organization uses PIM, ensure that the service principal can activate the roles when needed.
For ADF:
-
Resource role: Contributor role on the ADF resource (or a custom role with
dataFactory/*as appropriate). -
Key Vault (if used): Get and List on secrets.
-
Data sources (as applicable):
-
ADLS Gen2: Storage Blob Data Reader (read) and/or Storage Blob Data Contributor (write) on the target containers.
-
Azure SQL/SQL Server (via MI/private link): Grant the database permissions per your policy (for example, read on source, write on staging).
-
Snowflake: Create and assign a Snowflake user/role mapped to this automation and grant the warehouse/database/schema/table privileges as needed.
-
For FDF:
-
Fabric workspace: Contributor role (or a role that allows creating and running data factory pipelines).
-
OneLake/Fabric items:
-
Lakehouse or files: Grant permissions on the workspace or item folders.
-
Fabric Table: Ensure that the service principal can read from/write to the Lakehouse and run pipelines that materialize/ingest tables.
-
-
External sources (such as ADLS): Grant the same storage roles as above when reading from or landing to ADLS.
-
-
In CluedIn, go to Administration > Azure Integration > Purview. Then, do the following:
-
Enter the data factory Tenant ID, Client ID, and Client Secret for the service principal.
-
Enable the desired automation options and set the Term Pattern used in Purview.
-
Create and apply Purview glossary term
This section applies to: Azure Data Factory (ADF), Fabric Data Factory (FDF).
Use a single glossary term in Microsoft Purview to mark assets for automation. CluedIn looks for this term to decide which assets to ingest.
To create and apply a Purview glossary term
-
In the Microsoft Purview portal, go to Unified Catalog > Catalog management > Classic types and create or select your glossary.
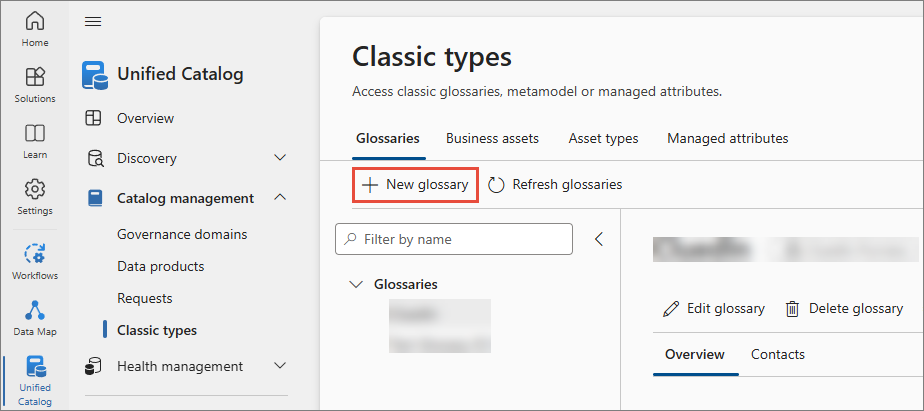
-
Create a new term (for example, CluedInADF).

-
Apply the term to each asset that you want CluedIn to ingest (for example, ADLS path, Fabric file or folder, and so on).
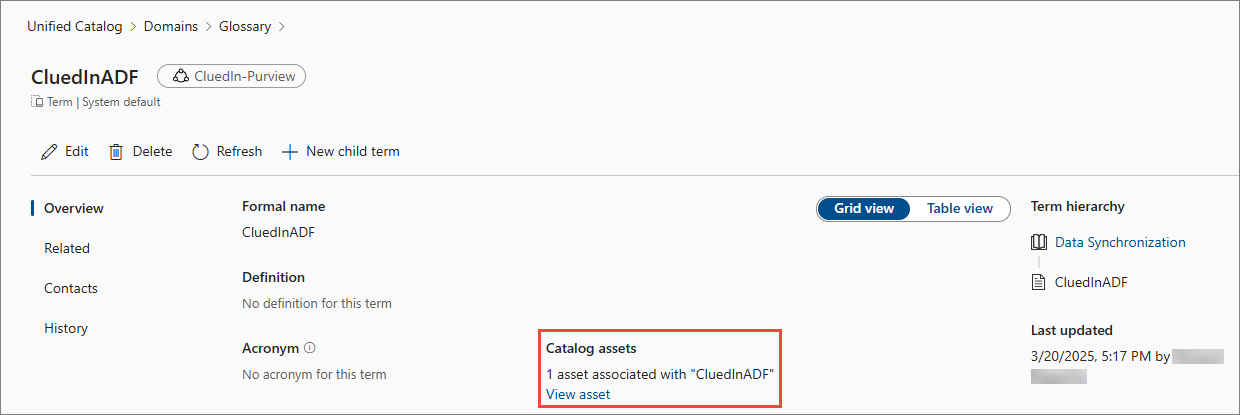
In CluedIn settings, you will reference this exact term string as the term pattern.
Troubleshooting and tips
-
If no pipelines appear after tagging assets, verify that the term pattern in CluedIn exactly matches the glossary term defined in Purview.
-
For permission errors, review Key Vault policies (for ADF) or Fabric connection credentials.
-
When switching orchestrators, make sure that only one automation path targets each asset to prevent duplicate executions.