Approval
On this page
In this article, you will learn how to implement source record approval, which allows you to approve or reject specific records and ensure that only verified records are sent into processing.
You can configure source record approval for data sources of any type (file, ingestion endpoint, database) and for manual data entry projects.
Source record approval flow
When source record approval is configured for a data source, each record goes through several stages. When a non-owner user processes the data set or when a new ingestion appears for the data set that is in the auto-submission mode, CluedIn first checks if the record should be sent to quarantine. If yes, the record is sent to quarantine and does not move forward in the processing pipeline. When a quarantined record is approved, it moves to the next stage where CluedIn checks if the record requires approval. If yes, the record is sent to the approval area and does not move forward in the processing pipeline. When the record is approved, it moves to processing, resulting in the creation of a new golden record or aggregation to an existing golden record.
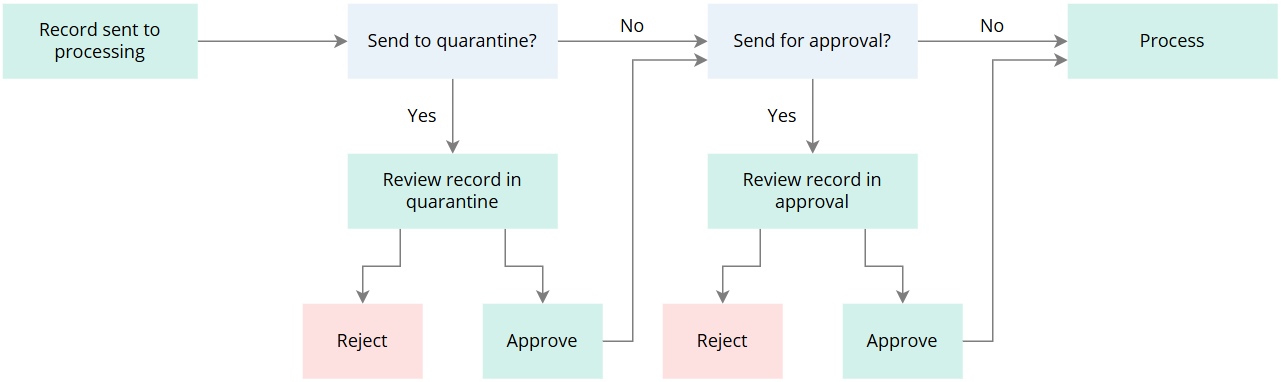
After source record approval, the record does not go back to any previous stages in the processing pipeline; it goes straight into processing.
Difference between quarantine and approval
When the record is in quarantine, you can edit it and fix some data quality issues. When the record is in the approval area, you cannot edit it; you can only approve or reject it.
Configure source record approval
In this section, you will learn how to configure source record approval in data sets and manual data entry projects. Only owners can configure source record approval.
Source record approval in data sets
Source record approval is particularly useful for data sets created via the ingestion endpoint. If you have already completed the initial full data load and now want to ingest only delta records on a daily basis, the approval mechanism can help you ensure that only verified delta records are processed. The owners of the data source can then review such delta records and decide whether they should be processed.
You can configure source record approval using one of the following methods:
-
Property rules – use to define the conditions for sending the source record for approval based on the property values of the record.
-
Pre-process rules – use to define the conditions for sending the source record for approval based on the whole record, and not its specific property values.
-
Advanced mapping code – use to define complex logic for sending the source record for approval.
To configure source record approval in a data set
-
On the navigation pane, go to Ingestion > Sources.
-
Find and open the data source and its data set for which you want to configure source record approval.
-
Define the rules for sending the source records for approval in one of the following ways:
-
By adding a property rule:
-
Go to the Map tab, and then select Edit mapping. Make sure you are on the Map columns to vocabulary key tab.
-
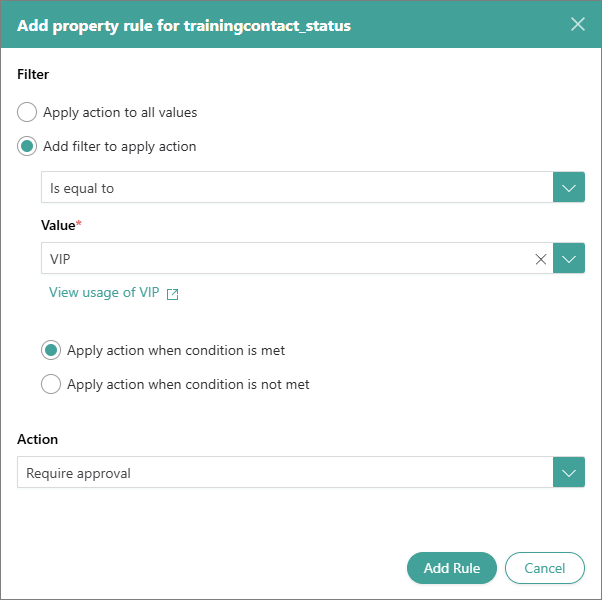
Find the vocabulary key by which you want to determine whether the record should be sent for approval. Then, next to this vocabulary key, select Add property rule.
-
In the Filter section, select whether you want to apply the rule to all values of the records (Apply action to all values) or to specific values (Add filter to apply action). For example, you might want to send the record for approval if the vocabulary key contains a specific value.
-
In the Action dropdown list, select Require approval.
-
Select Add Rule.
-
-
By adding a pre-process rule:
-
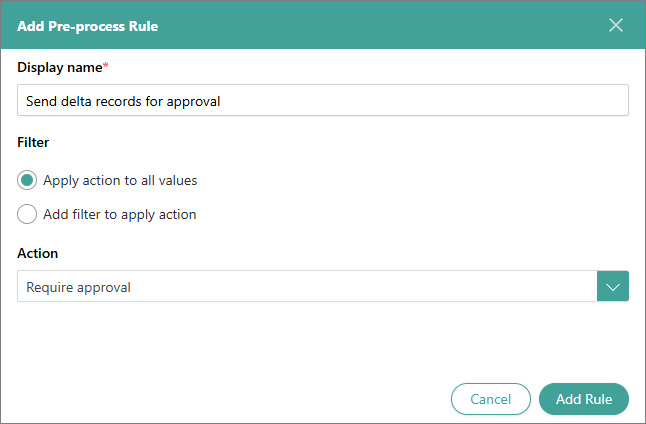
Go to the Pre-process Rules tab, and then select Add Pre-process Rule.
-
Enter the name of the rule.
-
In the Filter section, select whether you want to apply the rule to all records (Apply action to all values) or to specific records (Add filter to apply action).
-
In the Action dropdown list, select Require approval.
-
Select Add Rule.
-
-
By writing advanced mapping code:
-
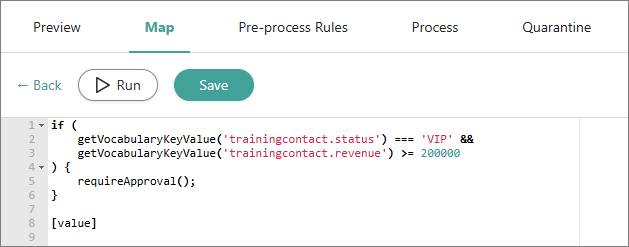
Go to the Map tab, and then select Advanced.
-
On the left side of the page, write the code to define the conditions for sending the source records for approval. You can write any JavaScript code.
-
Select Save.
-
-
-
Go to the Process tab, and make sure that Auto-submission is enabled. This way only delta records will be sent for approval, rather than all records from the Preview tab.
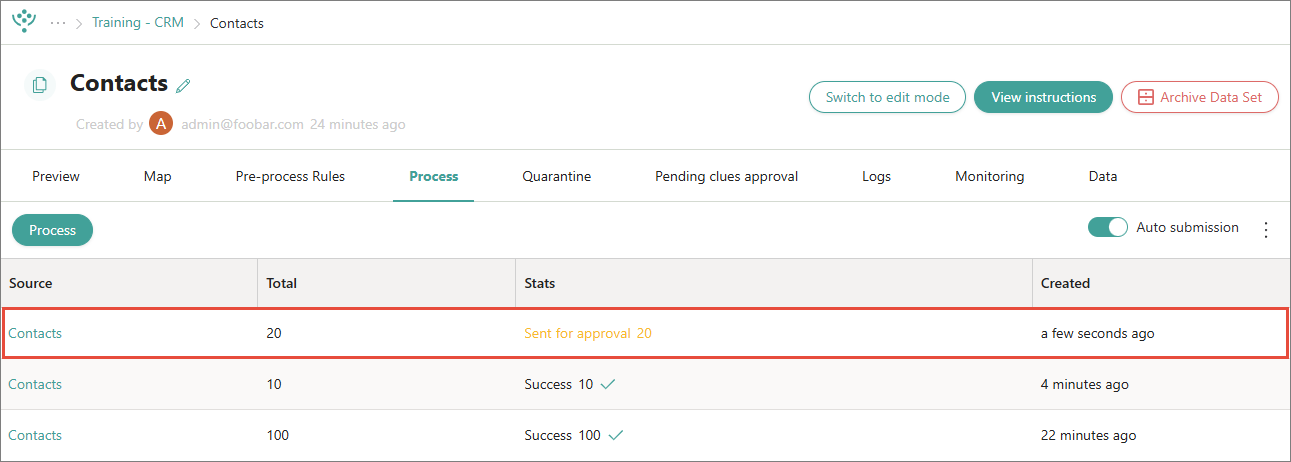
Now, when delta records are ingested to CluedIn and they meet the conditions in pre-process rules, property rules, or advanced mapping, a new entry appears on the Process tab, informing that these records have been sent for approval.
Additionally, the owners of the data source will receive a notification in CluedIn about the records pending approval. The owners of the data source can now review these records and approve or reject them.
Source record approval in manual data entry project
Source record approval is useful for manual data entry projects as it grants project owners full control over the records created in the project. The owners of the manual data entry project can review new records added by non-owner users and decide whether they should be processed and turned into golden records.
To configure source record approval for manual data entry
-
On the navigation pane, go to Ingestion > Manual Data Entry.
-
Find and open the manual data entry project for which you want to configure source record approval.
-
In the upper-right corner, select Edit.
-
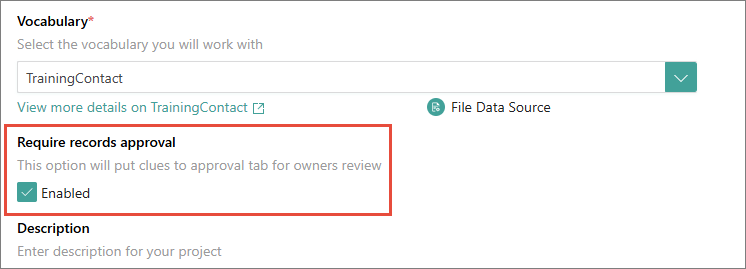
In the Require records approval section, select the checkbox to enable the approval mechanism.
-
Select Save.
Now, when a non-owner user adds a new record in the manual data entry project, you will receive a notification about a record pending your approval. You can then review such record and approve or reject it.
Review records pending approval
To review source records pending approval, you require the following:
-
You should be added to the Permissions tab of the data source. This is necessary to view source records. For more information about access to data, see Source control.
-
You should be added to the Owners tab of the data set. This is necessary to approve or reject source records. For more information about the right to approve and reject, see Ownership.
If you have the required permissions to the data source and you are among the owners of the data source, you will receive a notification every time the records pending your approval appear in CluedIn. Additionally, you will receive a daily email summarizing the records that require your approval.
To track the records that require your approval, on the navigation pane, go to Home > My Tasks. Here, you will find two tables:
-
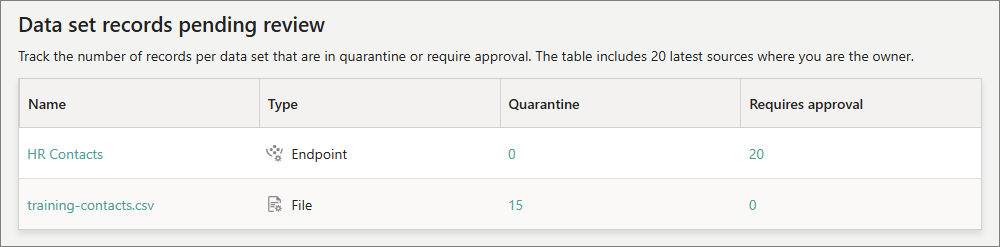
Data set records pending review – this table allows you to track the number of records per data set that are in quarantine or require approval. The table contains information about the data sources for which you are the owner.
-
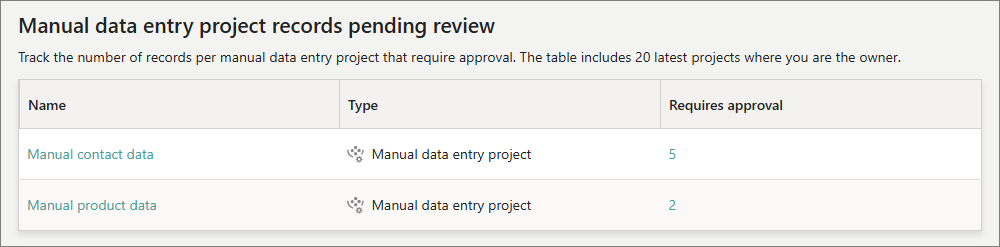
Manual data entry project records pending review – this table allows you to track the number of records per manual data entry project that require approval. The table contains information about the manual data entry projects for which you are the owner.
To review records pending approval
-
Find the records pending approval by doing one of the following:
-
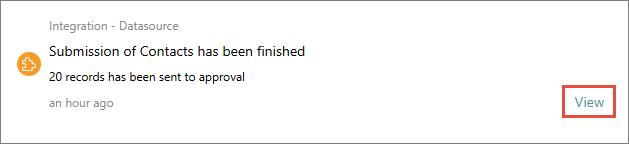
In the notification about records being sent for approval, select View.
-
In the daily email about records pending approval, select the number of records that require your approval.
-
In the Data set records pending review or Manual data entry project records pending review table, select the number of records that require your approval.
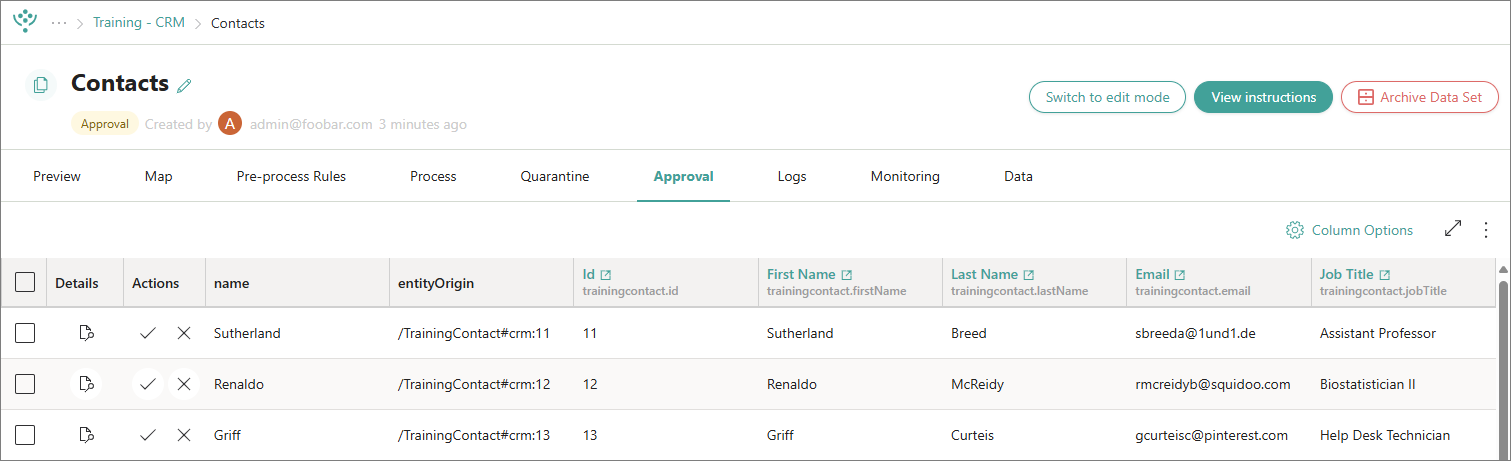
As a result, the Approval tab of the data set opens.
-
-
On the Approval tab, review the records. To find the reason why a record has been sent for approval, select the icon in the Details column. Then, do one of the following:
-
If the source record should be processed, select the check mark in the Actions column for this record.
You can approve records one by one, or you can approve them in bulk. To approve the records in bulk, select checkboxes in the first column for the needed records. Then, open the three-dot menu, and select Approve clues.
To approve all records on the page, select the checkbox in the first column header. Then, open the three-dot menu, and select Approve clues. Keep in mind that this action approves only the records that are on the page, not all records on all the other pages.
Every time you approve a record or a bunch of records, the corresponding entry is added to the Process tab meaning that these records have now been processed.
-
If the source record is invalid, wrong, and should not be processed, select the cross mark in the Actions column for this record.
You can reject records one by one, or you can reject them in bulk. To reject the records in bulk, select checkboxes in the first column for the needed records. Then, open the three-dot menu above and select Reject clues.
To reject all records on the page, select the checkbox in the first column header. Then, open the three-dot menu, and select Reject clues. Keep in mind that this action rejects only the records that are on the page, not all records on all the other pages. To reject all records, open the three-dot menu and select Reject all clues.
-