Local installation guide
On this page
- Clone CluedIn repository
- Authenticate to CluedIn ACR
- Start CluedIn
- Create your sign-in credentials
- Troubleshooting
- Results
- Next steps
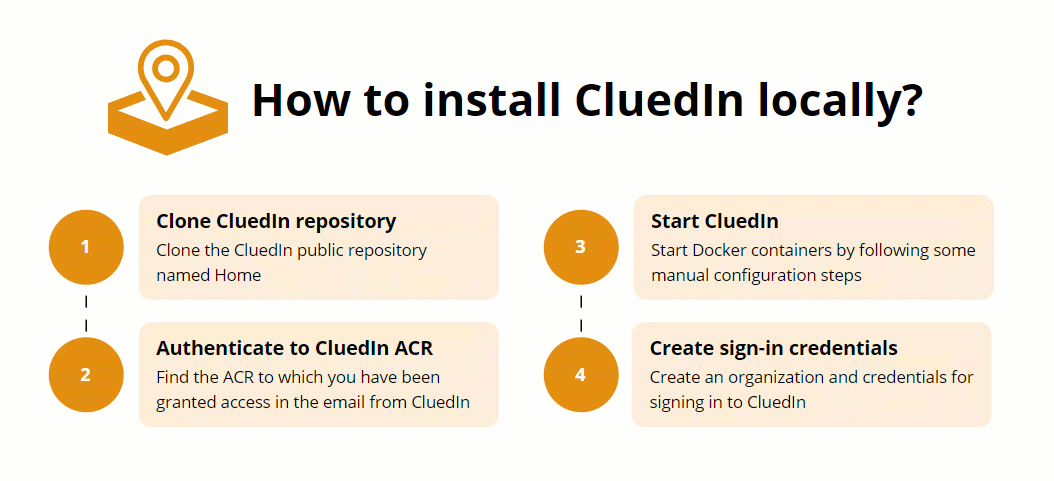
In this article, you will learn how to install CluedIn locally.
CluedIn team performs installation activities on all business days except Friday. Deploying on a Friday carries higher risk because issues may not surface immediately and can escalate into weekend incidents with fewer people available to respond. As a best practice, it is recommended to schedule installations earlier in the week (Tuesday–Thursday) to allow time for monitoring, troubleshooting, and stabilization.
Clone CluedIn repository
The first step for the local installation of CluedIn is to clone the CluedIn public repository named Home https://github.com/CluedIn-io/Home.
To clone the CluedIn repository
-
At the command prompt, run the following command.
git clone https://github.com/CluedIn-io/HomeYou will get an output similar to the following.
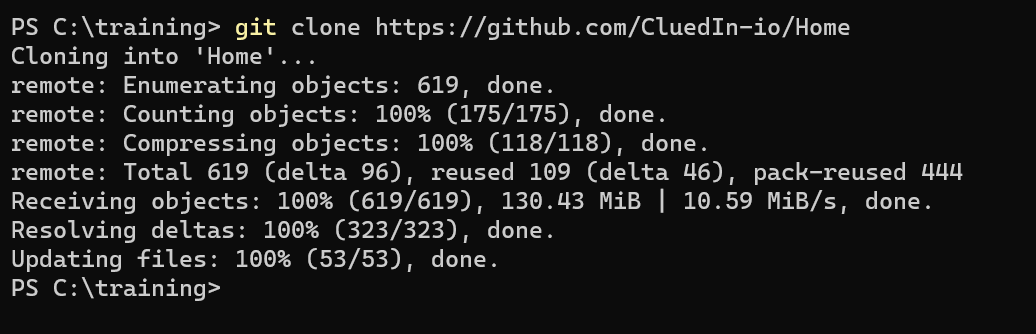
Alternatively, you can clone the repository using your preferred Git client.
Authenticate to CluedIn ACR
Prerequisites
-
For Windows environments: Modify the PowerShell execution policy to enable running local scripts. To do that, use the
Set-ExecutionPolicy RemoteSignedcommand.
-
For Windows environments: Run your terminal session as an administrator.
-
For non-Windows environments: Use the
sudocommand.
CluedIn uses two ACRs:
-
Production – the registry name is cluedinprod. This registry is used to store all official images from CluedIn.
-
Testing & development – the registry name is cluedindev. This registry is used internally by CluedIn to develop the software. Occasionally, this registry can be used by partners and customers to test new functionality before it is officially released.
You can find the ACR to which you have been granted access in the email from CluedIn.
In the following instructions, we use 2025.05 as the version number. You should always use the latest version number. You can find the list of releases here.
To authenticate to CluedIn ACR
-
Open to the checkout directory by running the following command:
cd Home -
Sign in to Docker. Depending on the registry to which you have been granted access, do one of the following:
-
For Production, run the following command:
docker login cluedinprod.azurecr.io -
For Early Access, run the following command:
docker login cluedindev.azurecr.io
-
-
Enter the username and password that you received in the email from CluedIn.
-
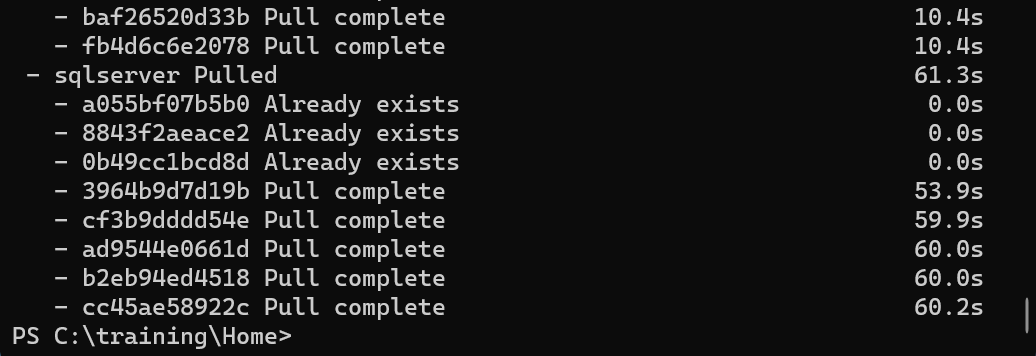
To verify your access, pull images from the ACR by running the following command:
pwsh .\cluedin.ps1 pullThis process might take some time.
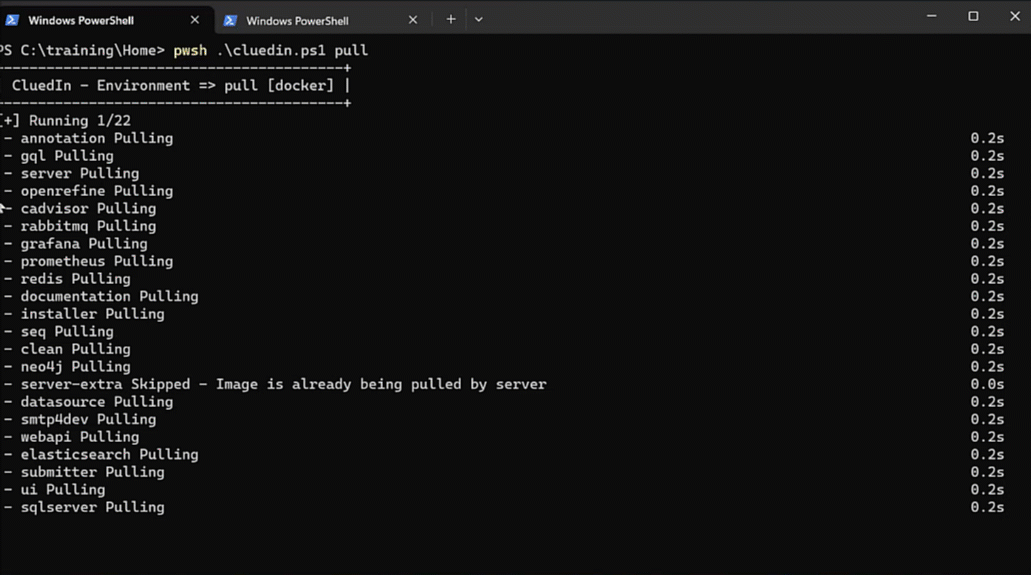
You will get an output similar to the following.
-
Create an environment. In the following command, we use
202505as the name of the environment and2025.05as the version number.To create an environment, run the following command:
pwsh .\cluedin.ps1 env 202505 -tag 2025.05For the environment name, you can use any string of characters. However, periods (.) are not allowed in the environment name.
For the tag, always use the latest version as stated on the release page. You can use the version number in one of the following formats:year.month(for example,2024.07);year.month.update(for example,2024.07.04); ormajor.minor(for example,4.3).You will get an output similar to the following.

Environment is used for having scripts that can start CluedIn of different versions. Docker does not support multiple CluedIn versions running in parallel.
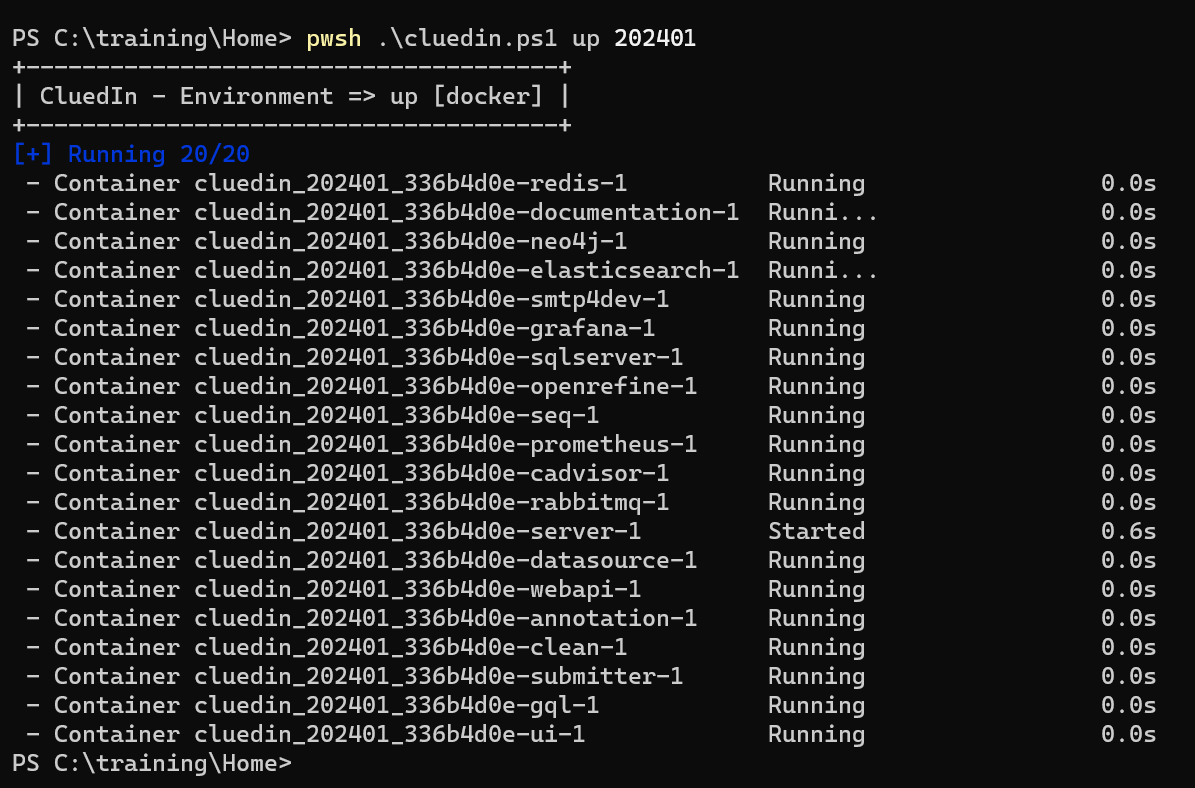
Start CluedIn
To start CluedIn, run the following command:
pwsh .\cluedin.ps1 up 202401
where 202401 is the name of the environment.
You will get an output similar to the following.
Create your sign-in credentials
The last step of the local installation of CluedIn is to create an organization and credentials for signing in to CluedIn.
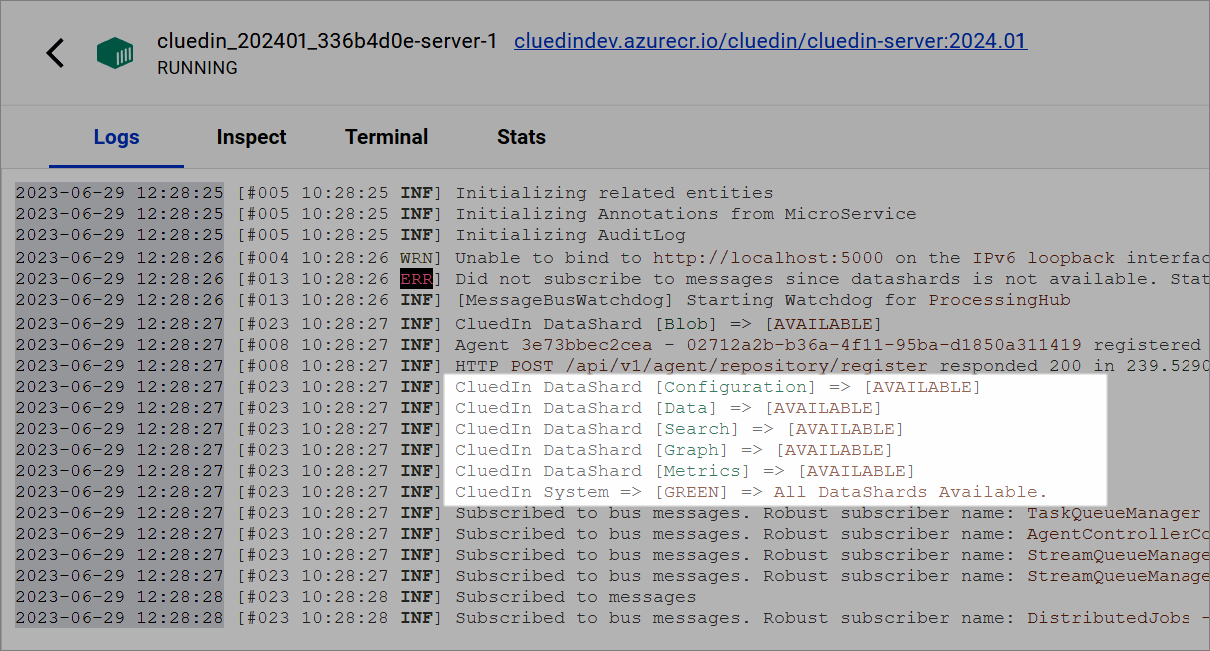
Prerequisites
Make sure that the server has started correctly. To do that, in Docker Desktop, select the server and look for a similar section in logs.
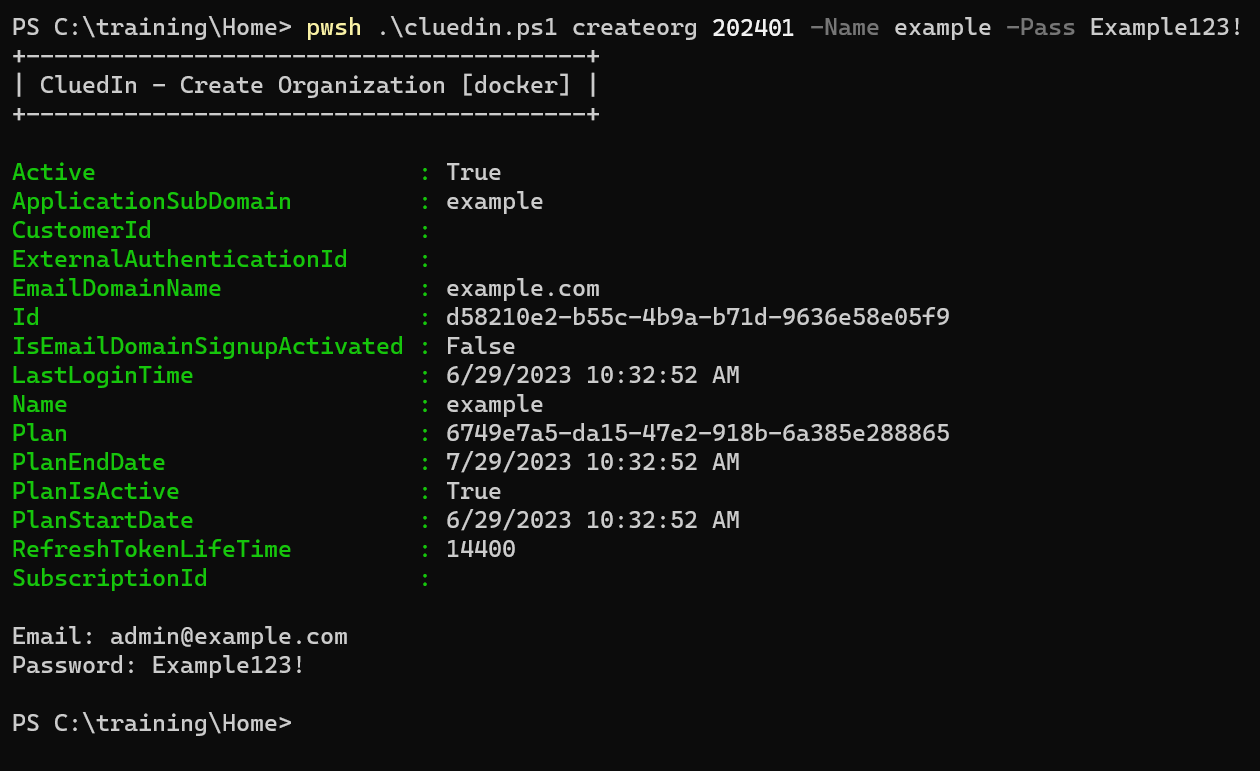
In the following procedure, we’ll use 202401 as an environment, example as an organization name, and Example123! as a password for signing in to CluedIn.
To create organization and sign-in credentials
-
Run the following command:
pwsh .\cluedin.ps1 createorg 202401 -Name example -Pass Example123!You’ll get the credentials for signing in to CluedIn.
-
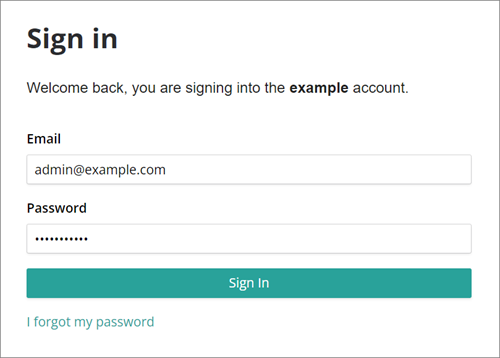
Open the CluedIn sign-in page by running the following command:
pwsh .\cluedin.ps1 open 202401 -Org example
As a result, CluedIn opens in your default browser.
By default, CluedIn uses the following address:
http://app.127.0.0.1.nip.io:9080. If the nip.io domain does not work, refer to the Troubleshooting section. -
Sign in to CluedIn using the credentials that you received in step 1.
Troubleshooting
When the nip.io domain does not work, do the following:
-
In the hosts file (
C:\Windows\System32\drivers\etc\hosts), add the following lines:127.0.0.1 cluedin.local 127.0.0.1 app.cluedin.local 127.0.0.1 foobar.cluedin.local -
In the .env file, find the following line:
CLUEDIN_DOMAIN=127.0.0.1.nip.io -
Replace the line that you found in step 2 with the following line:
CLUEDIN_DOMAIN=cluedin.local
Results
You have installed CluedIn locally.
Next steps
Add more features to CluedIn with the help of extension packages. Learn how to do that in Extension packages.